jftx
Fire Starter
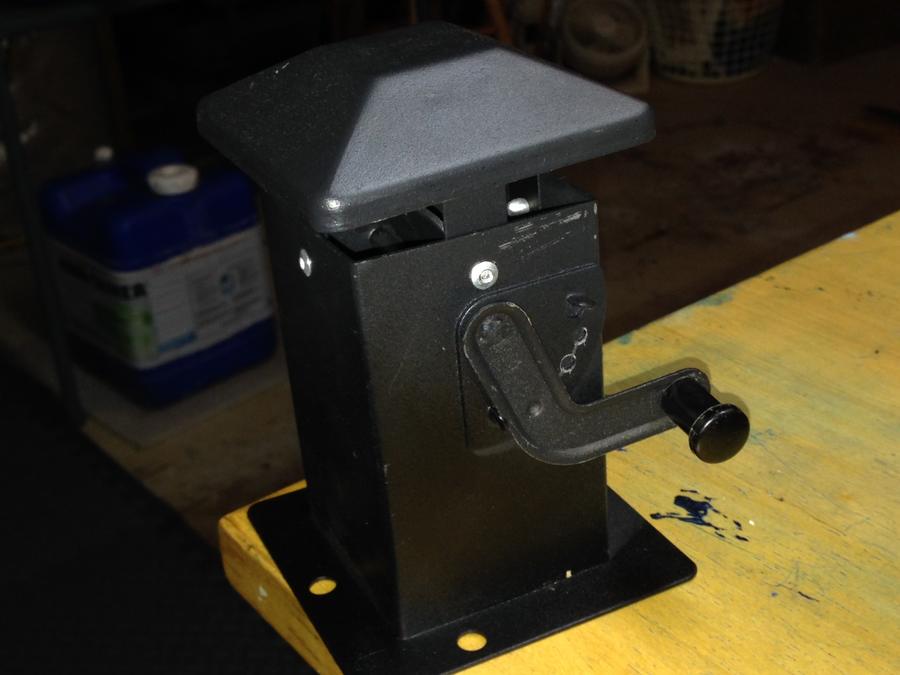
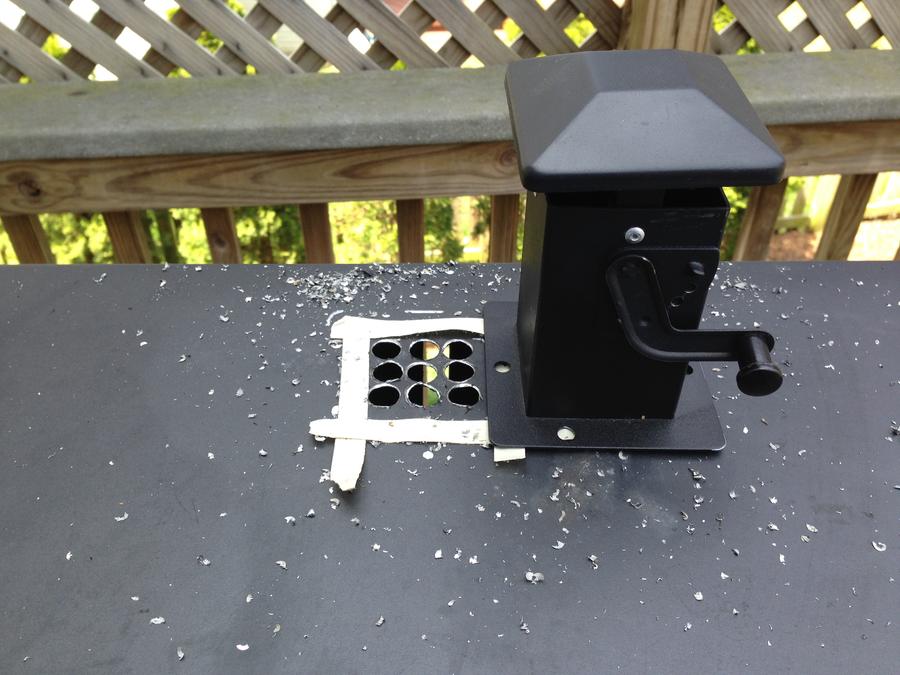
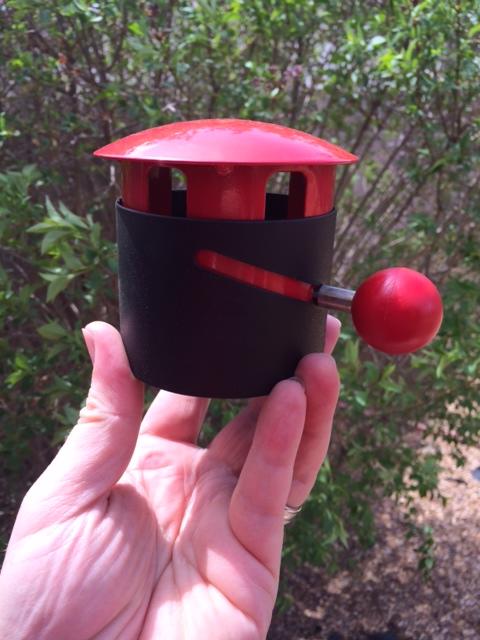
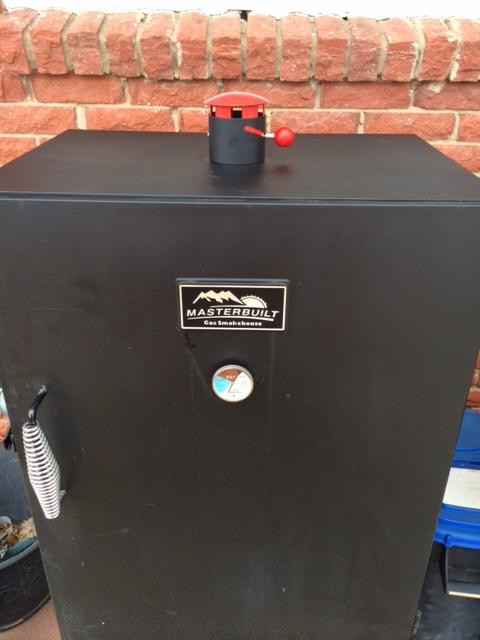
I too added a stack to mine but I went with the Landmann stack instead of the Masterforge. I like the overall design for a couple of reasons. As you can see in the picture below, the rain cap is domed instead of pointy. I think that it will wear easier on my cover. I also like the fact that it is short but almost 3" in diameter. I also like the novelty of the design. It's not something you see everyday.
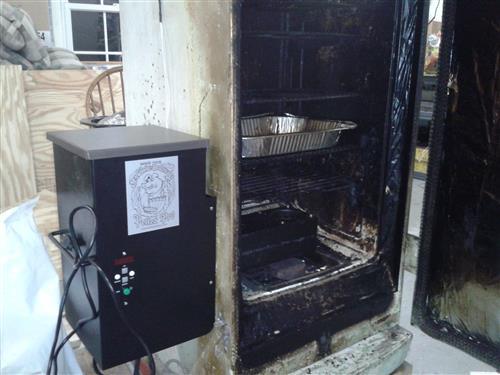
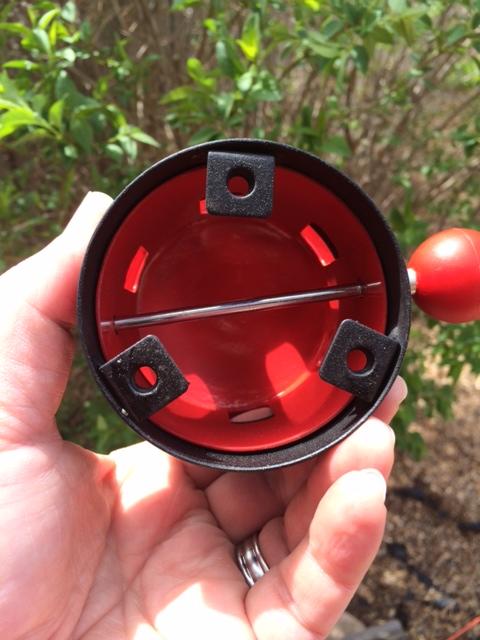
I used a 3" metal hole-saw on the top of the XL. Like I said, the stack is a little larger than 3" so it sat very well on top of the smoker after cutting the hole in it. I wasn't sure how the stack attached to the smoker before I received it and I wasn't able to figure it out from looking at the pictures. I guessed that there would be tabs involved and I ended up being right...there's a first time for everything...
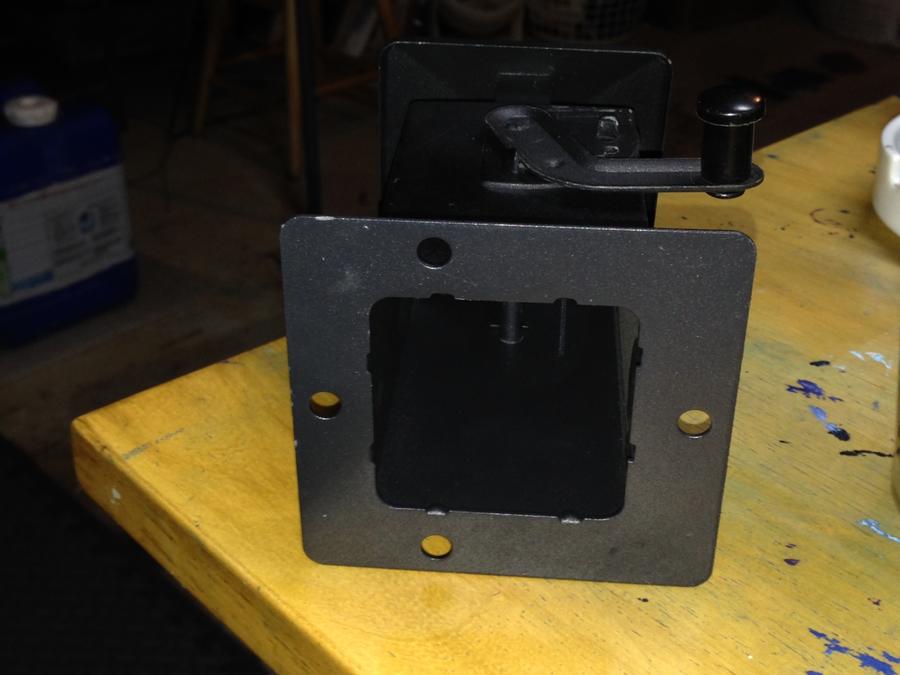
While I was waiting "patiently" for the stack, I thought it would be a good idea to reinforce the hole that I cut in the smoker with a plate of some sort and after seeing that it had tabs, it made it easy for me to go that route. My father-in-law used a plasma cutter to cut an adapter/reinforcing plate out of 10 gauge steel. I drilled 1/4' holes in the adapter to accommodate the fasteners.
I shot the adapter with some high heat paint and went to putting it all together.
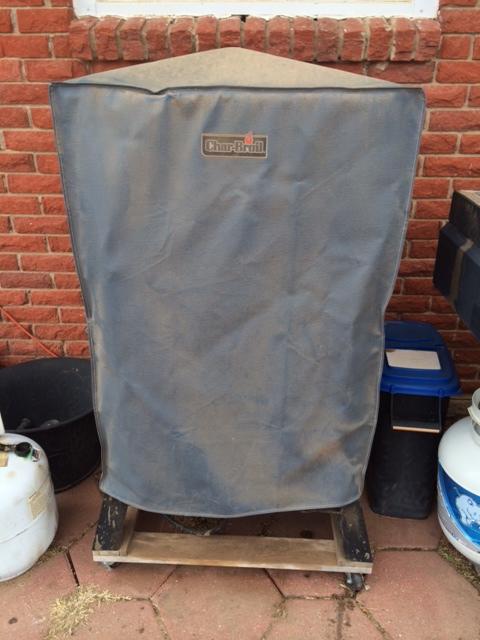
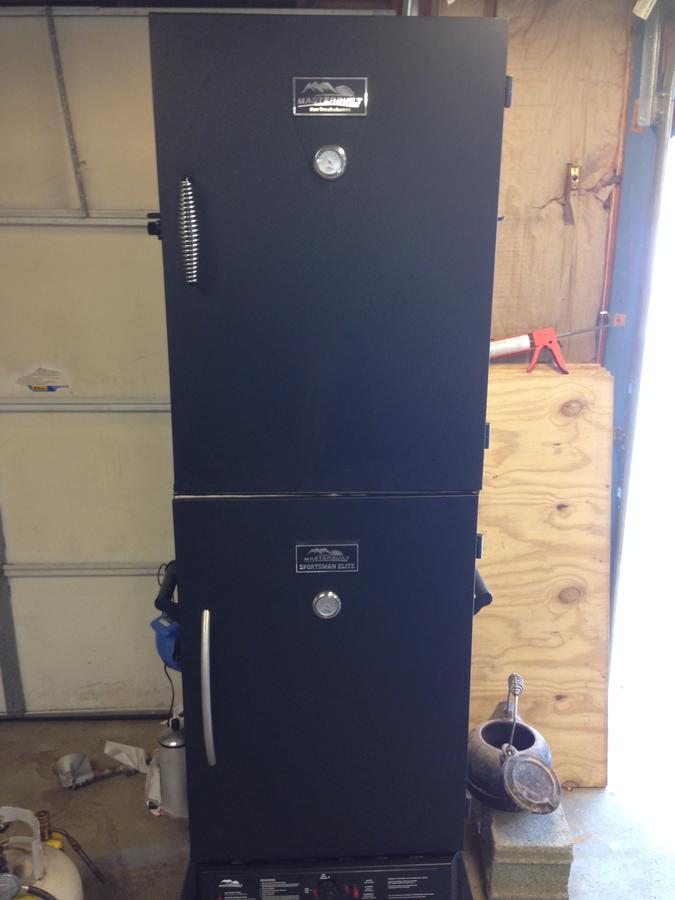
I had considered mounting the adapter to the smoker with fasteners of some sort but didn't worry about it after seeing the fit and finish when I joined the stack to the adapter. I was happy with how well it "sandwiched" the smoker between the adapter and stack. Overall, I am very happy with the way it came out. I haven't fired it up yet because I want to give the paint a chance to dry really well. I may end up adding some high heat silicone to the base of the stack, but I'll make that decision when I am able to see how much, if any, smoke leaks around the base. Hell, nothing else is sealed on it so I may not worry about. The CharBroil cover still fits nicely over the entire unit. The stack was 6 bucks and it cost 9 to ship it.
I used a 3" metal hole-saw on the top of the XL. Like I said, the stack is a little larger than 3" so it sat very well on top of the smoker after cutting the hole in it. I wasn't sure how the stack attached to the smoker before I received it and I wasn't able to figure it out from looking at the pictures. I guessed that there would be tabs involved and I ended up being right...there's a first time for everything...
While I was waiting "patiently" for the stack, I thought it would be a good idea to reinforce the hole that I cut in the smoker with a plate of some sort and after seeing that it had tabs, it made it easy for me to go that route. My father-in-law used a plasma cutter to cut an adapter/reinforcing plate out of 10 gauge steel. I drilled 1/4' holes in the adapter to accommodate the fasteners.
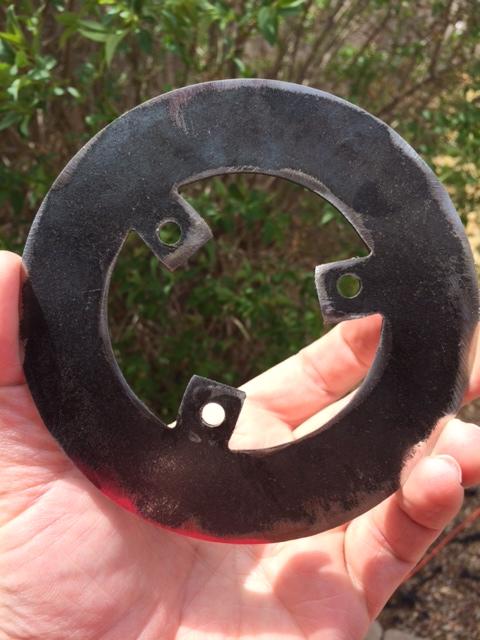
I shot the adapter with some high heat paint and went to putting it all together.
I had considered mounting the adapter to the smoker with fasteners of some sort but didn't worry about it after seeing the fit and finish when I joined the stack to the adapter. I was happy with how well it "sandwiched" the smoker between the adapter and stack. Overall, I am very happy with the way it came out. I haven't fired it up yet because I want to give the paint a chance to dry really well. I may end up adding some high heat silicone to the base of the stack, but I'll make that decision when I am able to see how much, if any, smoke leaks around the base. Hell, nothing else is sealed on it so I may not worry about. The CharBroil cover still fits nicely over the entire unit. The stack was 6 bucks and it cost 9 to ship it.