- Mar 6, 2009
- 4
- 10
I know there is already a thread about how to bypass the MES controller and add an Auburn PID but I did it a little differently so I thought I would share. Also, I had revived that other thread and asked a question but never got an answer so I thought it better to start a new thread, with a variation of how I did it, as that thread was probably not getting any "eyeballs".
Bypassing the MES controller is necessary when using an Auburn PID because the smoker will otherwise just shut off after a couple of minutes when you try to use both controllers (setting the MES to full temp and full time) and won't function at all with just the Auburn plugged in and no MES controller.
I had the same issue many other MES owners have experienced and my heating element terminals had completely corroded and disintegrated due to moisture, and of course this happened in the middle of a smoke. I drilled off the back, clipped the terminal off, crimped on a new one to "band aid" it together and started my research (leading me here). I read the thread on rewiring the MES and ordered the 12ga oven wiring kit to completely rewire the smoker and ordered some food grade, high temp, RTV with the intent of encapsulating the heating element terminals in RTV and protect the element from the elements (see what I did there?).
The more I dug into the unit, the more I wanted to keep the insulated cabinet but gut the electronics and add an Auburn PID. Admittedly I wasn't having any issues with my MES controller but I'm totally my own worst enemy of "while I'm here I might as well do this too"...apply that to every tinker I do.
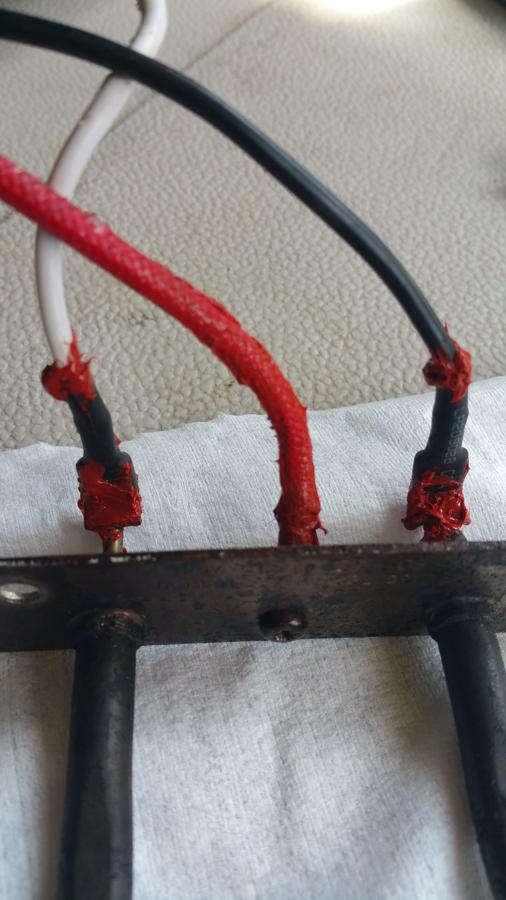
I decided that, for me, the best way to bypass the controller and add the PID is to remove all "middlemen", all possible splices and points of failure by wiring the AC cord directly to the heating element, didn't use that 12ga wiring after all.
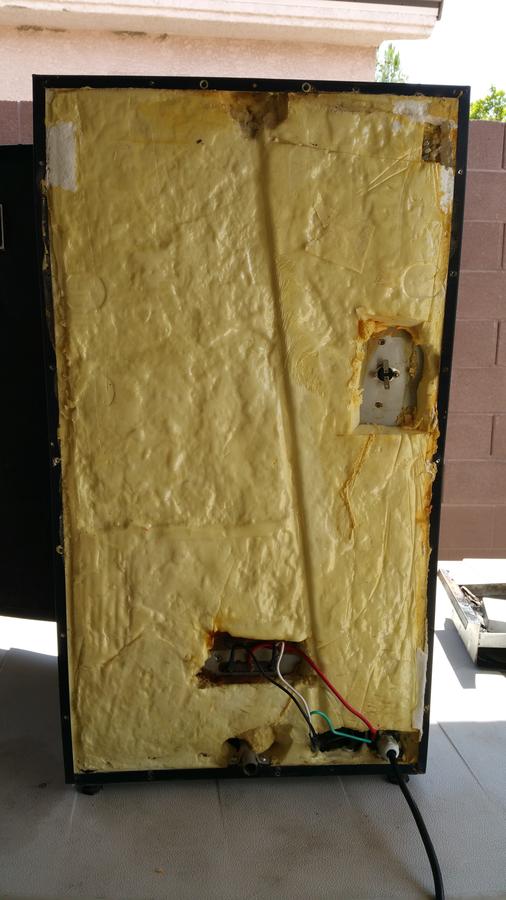
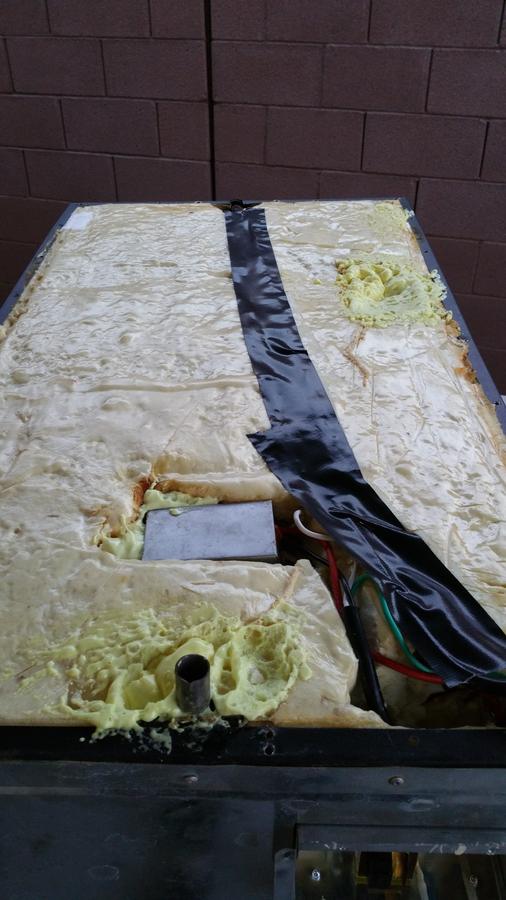
Here's the gutted unit and I cut out all of the other wiring and bypassed the controller:
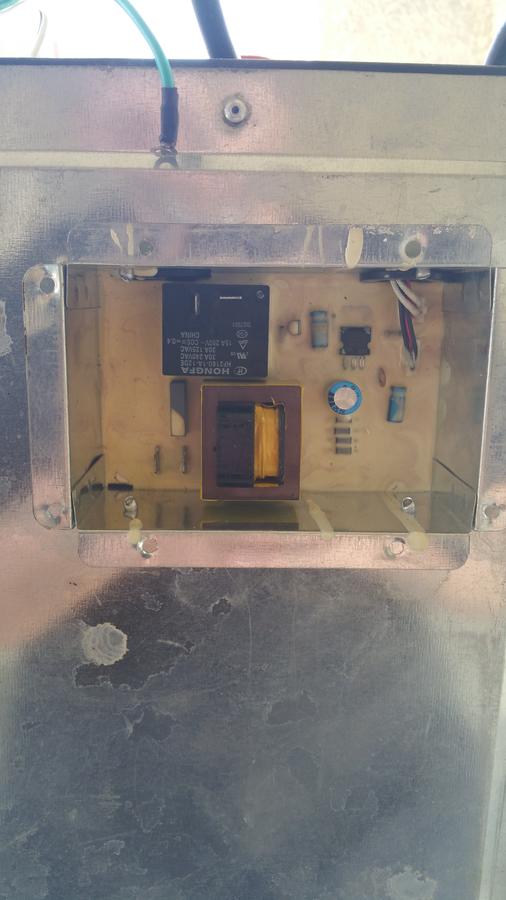
Nothing going to the transformer:
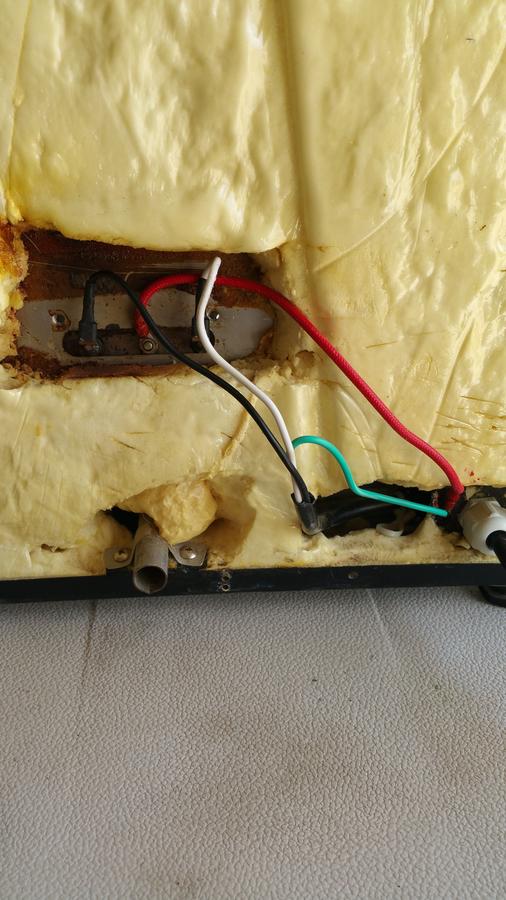
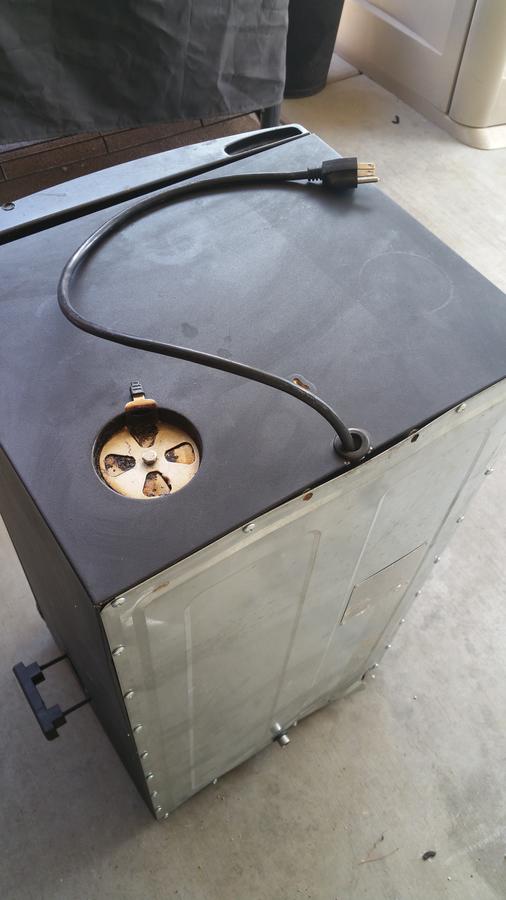
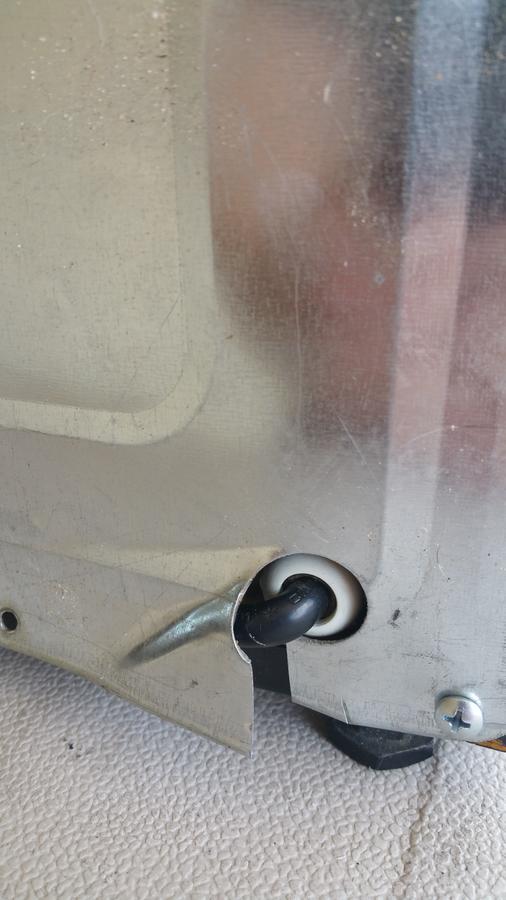
The terminals from the AC cord don't reach the heating element, so after removing everything I loosened the threaded friction nut holding the AC cord in place and pulled the AC through to create some slack...fits like it was meant to be:
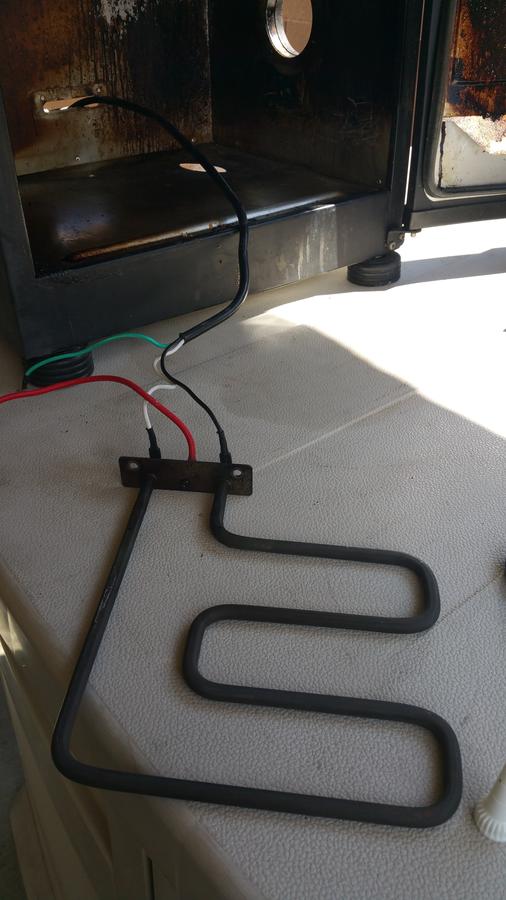
I then plugged it into the Auber, then the Auber into the wall, and tested it to make sure everything was working (ignore the fact that it's fully re-assembled in this pic, only pic I had):
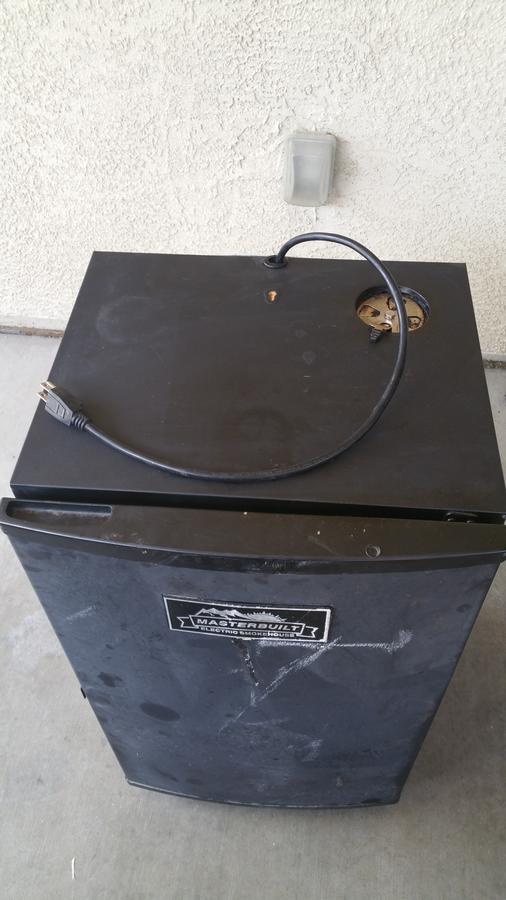
I let it all cool off and unplugged the AC cord from the element and unscrewed the ground wire, pulling the AC cord completely out and then threaded it down from the top of the unit (ignore the fact it's fully assembled), the rubber grommet now in the top hole was originally down at the base of the AC cord in the back sheet of metal:
Pulled the AC cord down for enough slack to pull the heating element out along with AC cord. I slathered up the heating element with high temp, food safe, RTV to encapsulate the terminals from moisture:
Sealed any holes and smoothed out a sharp edge with a bead of RTV:
Filled in any voids with some spray in insulation:
Notched out the insulation to create a channel for the AC cord so the back panel would fit and taped it up, just because:
Fully re-assembled, used #10 x 1/2 sheet metal screws to put the back on:
Notched the back panel to create some relief for the AC cord:
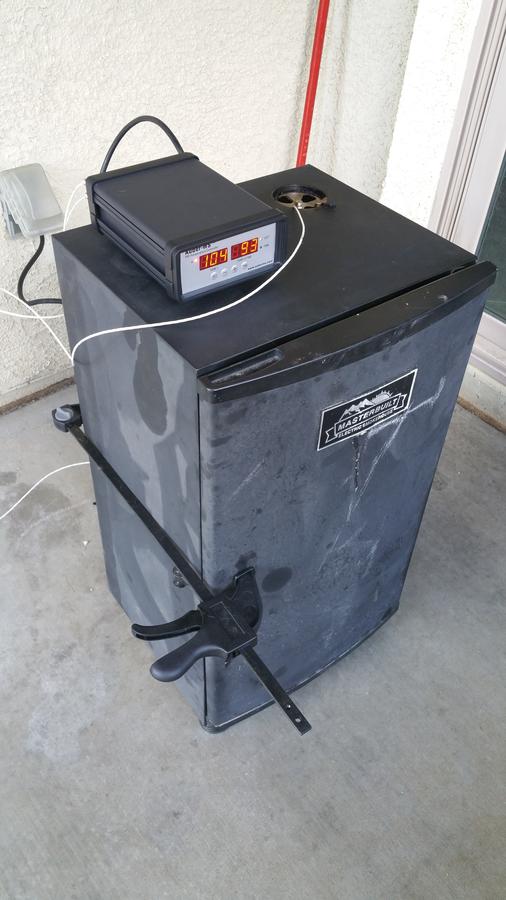
My door latch had also broken, using a $5 18" clamp from Harbor Freight...just don't get clamp happy, snug is all you need:
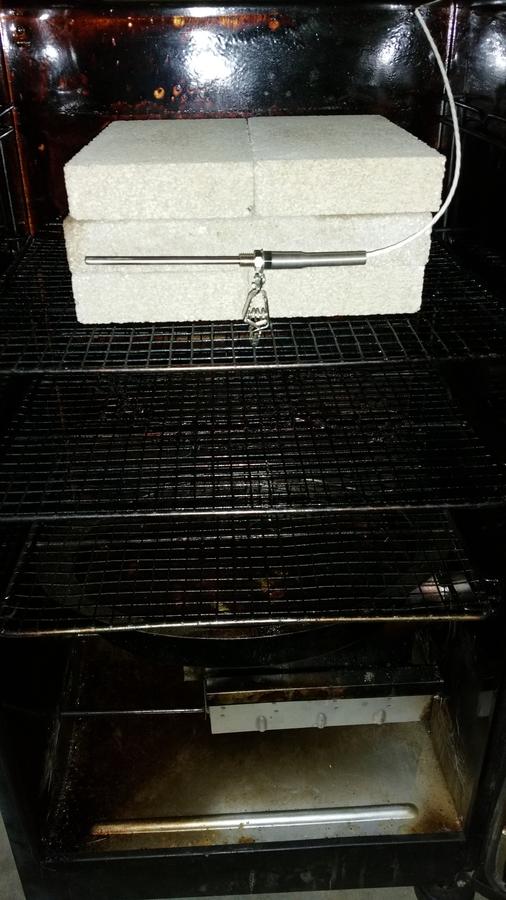
My simulated load consists of 6 fire bricks and water in the water pan:
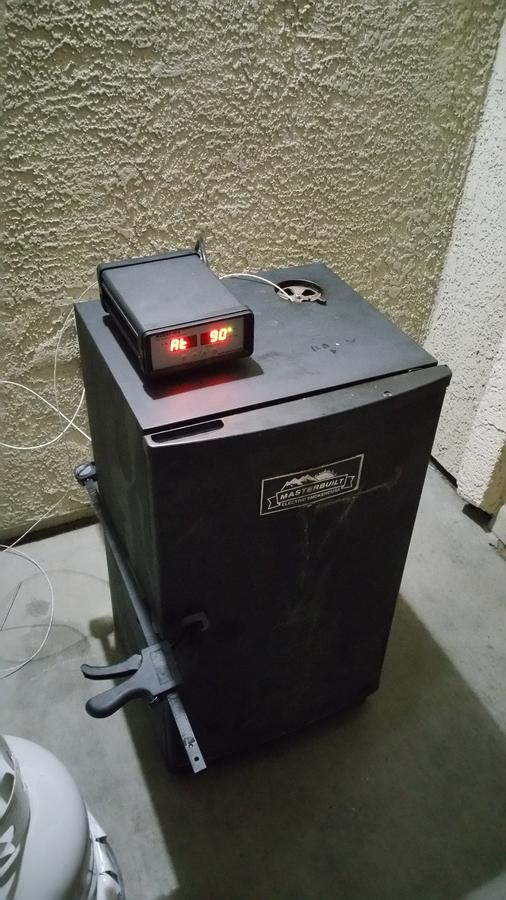
Auto Tune in progress:
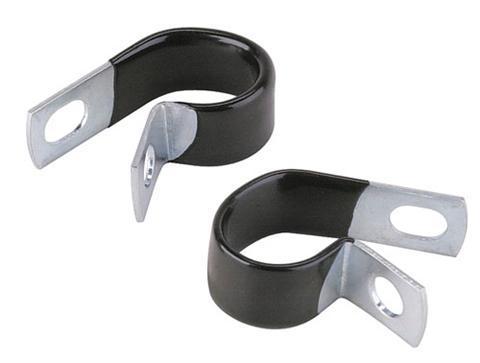
If I had to do it all over again I would probably consider just running the AC cord up the side by adding "P" clamps and just attach them with the machine screws, instead of notching out the back insulation and running it up to the top hole. Just as effective, less work, no removal of any insulation.
Bypassing the MES controller is necessary when using an Auburn PID because the smoker will otherwise just shut off after a couple of minutes when you try to use both controllers (setting the MES to full temp and full time) and won't function at all with just the Auburn plugged in and no MES controller.
I had the same issue many other MES owners have experienced and my heating element terminals had completely corroded and disintegrated due to moisture, and of course this happened in the middle of a smoke. I drilled off the back, clipped the terminal off, crimped on a new one to "band aid" it together and started my research (leading me here). I read the thread on rewiring the MES and ordered the 12ga oven wiring kit to completely rewire the smoker and ordered some food grade, high temp, RTV with the intent of encapsulating the heating element terminals in RTV and protect the element from the elements (see what I did there?).
The more I dug into the unit, the more I wanted to keep the insulated cabinet but gut the electronics and add an Auburn PID. Admittedly I wasn't having any issues with my MES controller but I'm totally my own worst enemy of "while I'm here I might as well do this too"...apply that to every tinker I do.
I decided that, for me, the best way to bypass the controller and add the PID is to remove all "middlemen", all possible splices and points of failure by wiring the AC cord directly to the heating element, didn't use that 12ga wiring after all.
Here's the gutted unit and I cut out all of the other wiring and bypassed the controller:
Nothing going to the transformer:
The terminals from the AC cord don't reach the heating element, so after removing everything I loosened the threaded friction nut holding the AC cord in place and pulled the AC through to create some slack...fits like it was meant to be:
I then plugged it into the Auber, then the Auber into the wall, and tested it to make sure everything was working (ignore the fact that it's fully re-assembled in this pic, only pic I had):

I let it all cool off and unplugged the AC cord from the element and unscrewed the ground wire, pulling the AC cord completely out and then threaded it down from the top of the unit (ignore the fact it's fully assembled), the rubber grommet now in the top hole was originally down at the base of the AC cord in the back sheet of metal:

Pulled the AC cord down for enough slack to pull the heating element out along with AC cord. I slathered up the heating element with high temp, food safe, RTV to encapsulate the terminals from moisture:
Sealed any holes and smoothed out a sharp edge with a bead of RTV:
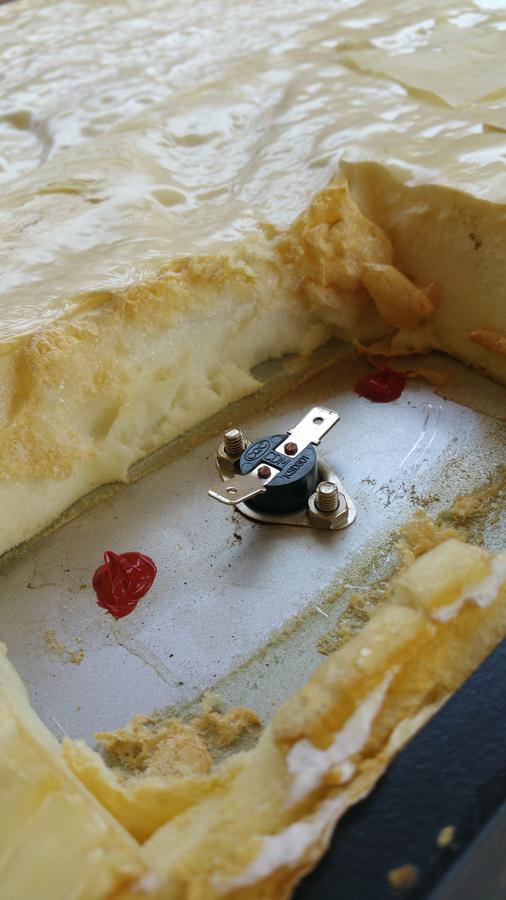
Filled in any voids with some spray in insulation:
Notched out the insulation to create a channel for the AC cord so the back panel would fit and taped it up, just because:
Fully re-assembled, used #10 x 1/2 sheet metal screws to put the back on:

Notched the back panel to create some relief for the AC cord:
My door latch had also broken, using a $5 18" clamp from Harbor Freight...just don't get clamp happy, snug is all you need:
My simulated load consists of 6 fire bricks and water in the water pan:
Auto Tune in progress:
If I had to do it all over again I would probably consider just running the AC cord up the side by adding "P" clamps and just attach them with the machine screws, instead of notching out the back insulation and running it up to the top hole. Just as effective, less work, no removal of any insulation.