
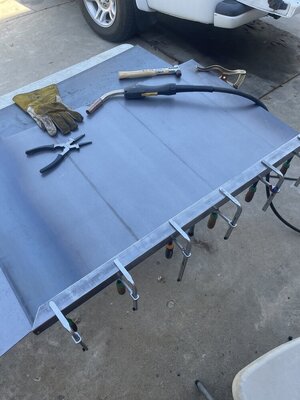
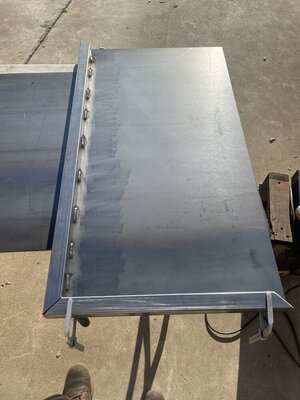
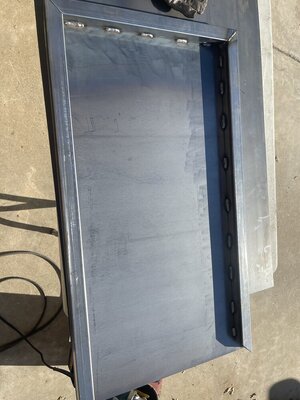
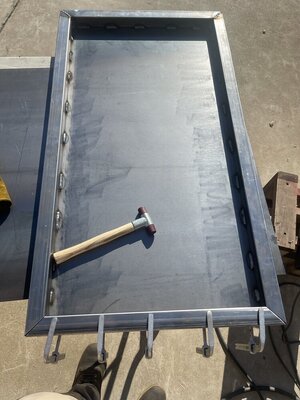
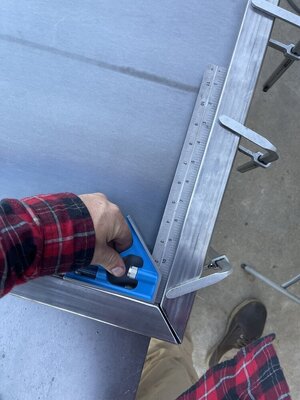
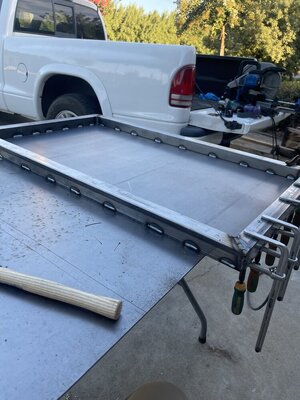
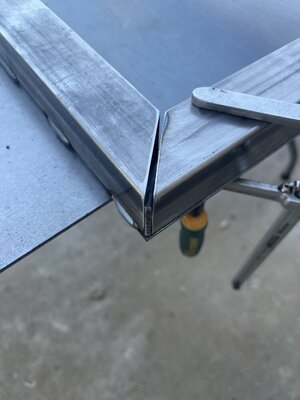
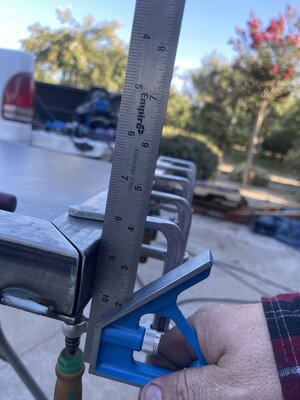
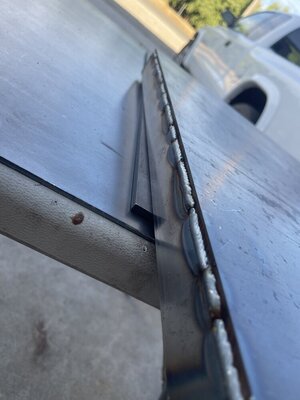
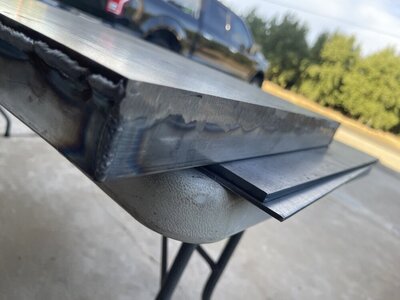
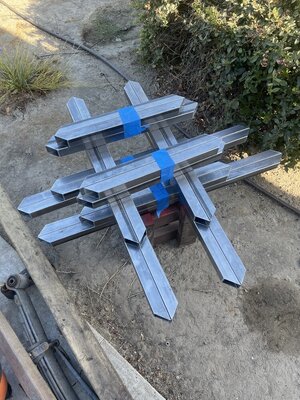
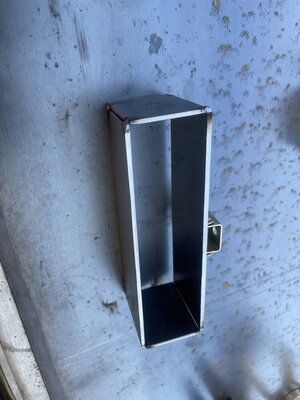
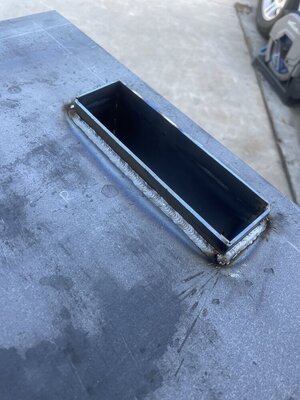
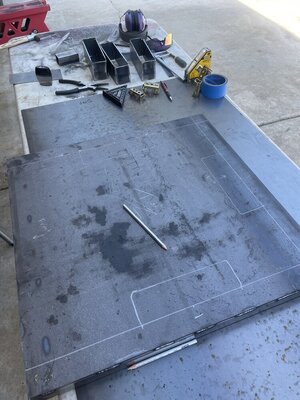
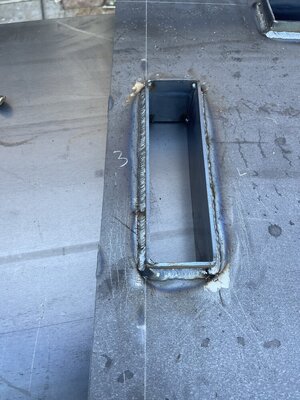
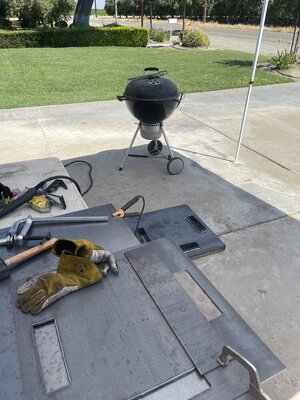
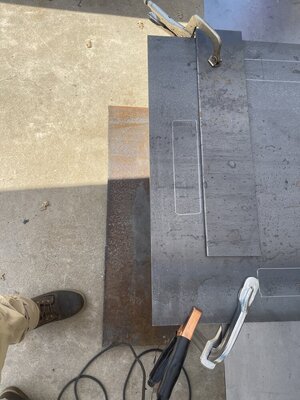
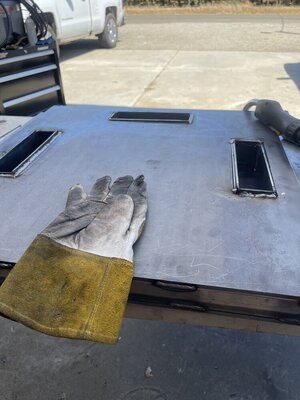
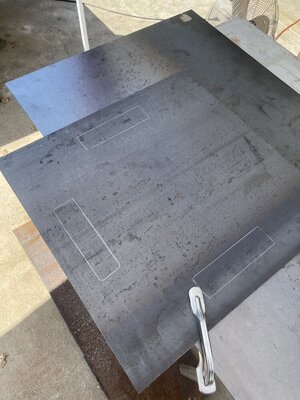
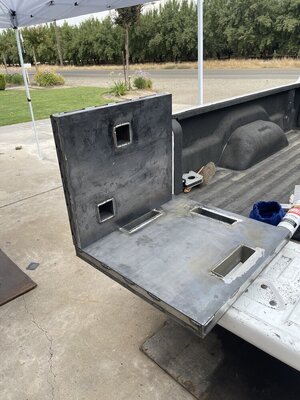
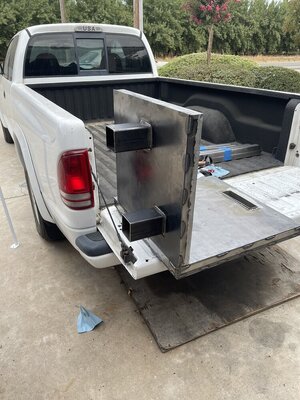
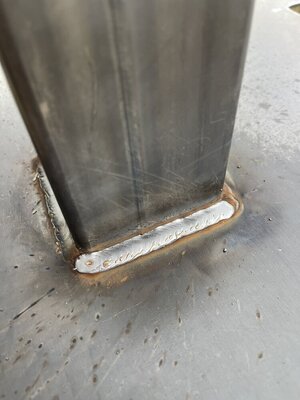
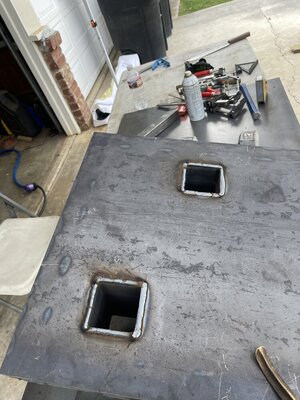
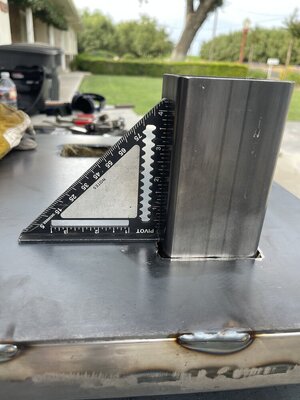
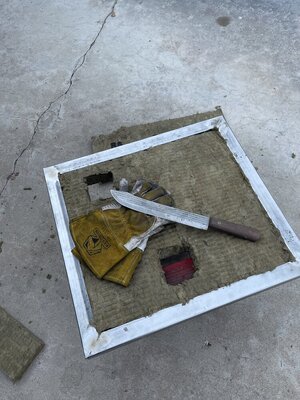
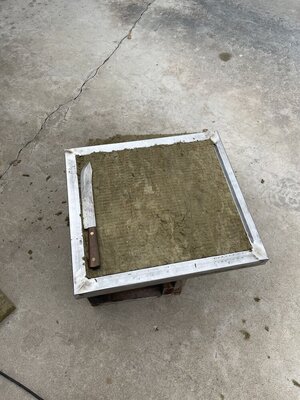
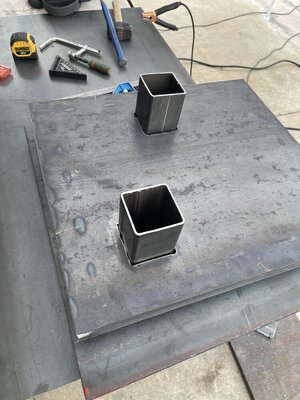
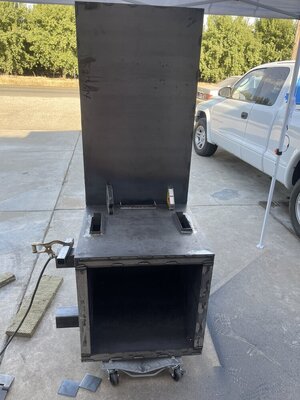
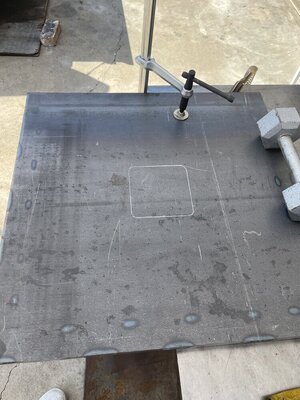
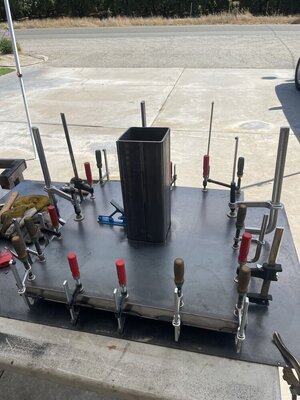
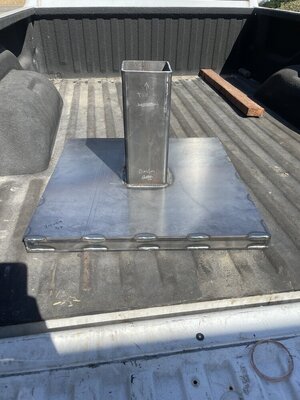
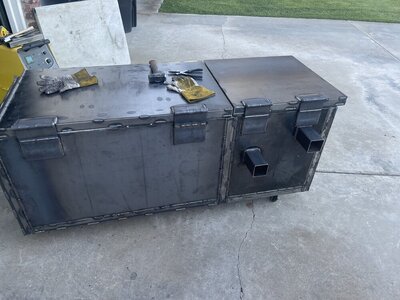
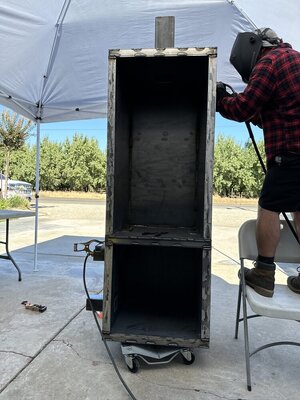
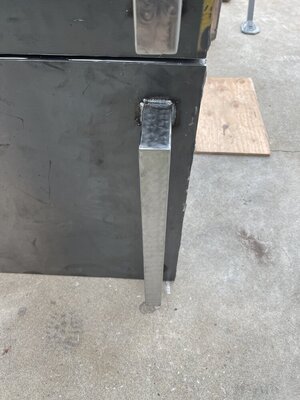
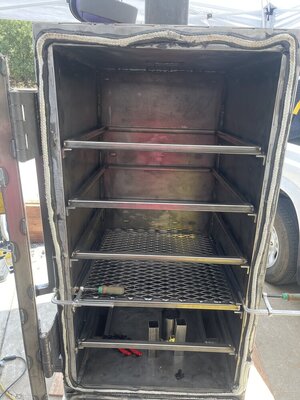
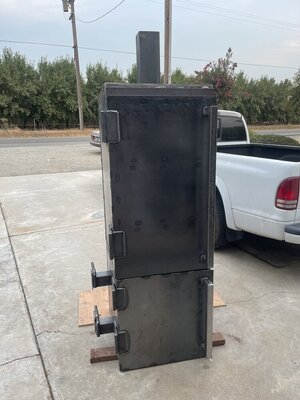
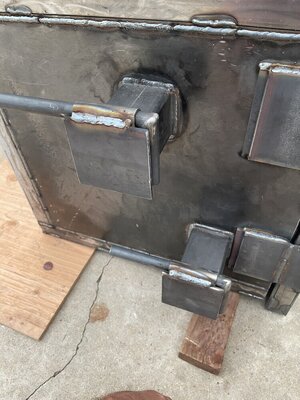
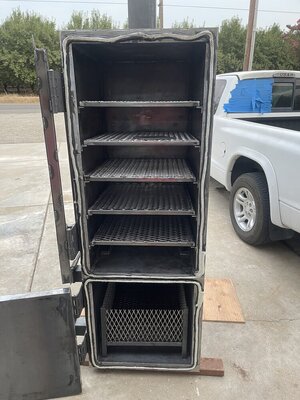
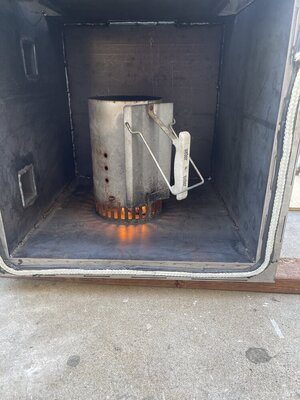
Hello all, thought id throw my build on here to help anyone along the way of theyre build an learn from my mistakes lol…. This is my first Smoker build so bare with me , input is Appreciated as i am building this day by day when time permits. Cook Chamber will be 40” tall by 20” wide after 1.5 insulatIon sandwiched in between 10 gauge thick sheets, fire box inner will be 1/4” thick then 1.5 tubing framed an 10 gauge outer sheet…..smoke stack will be 5x5 an 14” tall, air intake will be 3x3 and i will have 2 of them one lower to feed the fire an the other for airflow … the firebox has 3 2x8 air inlets to allow smoke into the cook chamber. Cook chamber is to be completely sealed with no grease drain i am thinking a 2” tall grease pan will do the trick
Vertical Insualted Cabinet Build
- Thread starter CheddarCheeseQ
- Start date
-
Some of the links on this forum allow SMF, at no cost to you, to earn a small commission when you click through and make a purchase. Let me know if you have any questions about this.
SMF is reader-supported. When you buy through links on our site, we may earn an affiliate commission.


SmokingMeatForums.com is reader supported and as an Amazon Associate, we may earn commissions from qualifying purchases.
Similar threads
Hot Threads
-

On the Edge of Trying Sausage Making
- Started by BrianGSDTexoma
- Replies: 35
- Sausage
-

Featured Blackened Rockfish...
- Started by Gonna Smoke
- Replies: 34
- Fish
-

Took a stroll this afternoon
- Started by Buckeyedude
- Replies: 33
- Field and Stream
-

Smokehouse Almost Done
- Started by BGKYSmoker
- Replies: 28
- General Discussion
