I started smoking a few years ago with a cheap Char Grill offset but it was difficult to maintain temps whenever it got below 70 or there was a steady breeze. I thought about building from scratch but instead decided to modify a Dyna Glo upright offset. The plan was to weld 1"x1" steel tubing to the frame then insulate.
Here is the stock photo...
Here we have it with most of the tubing welded to the Dyna...
Nothing to complicated at this point. We had to change the cook chamber handle a bit and the grab handle on the firebox but in all it was pretty easy fixes.
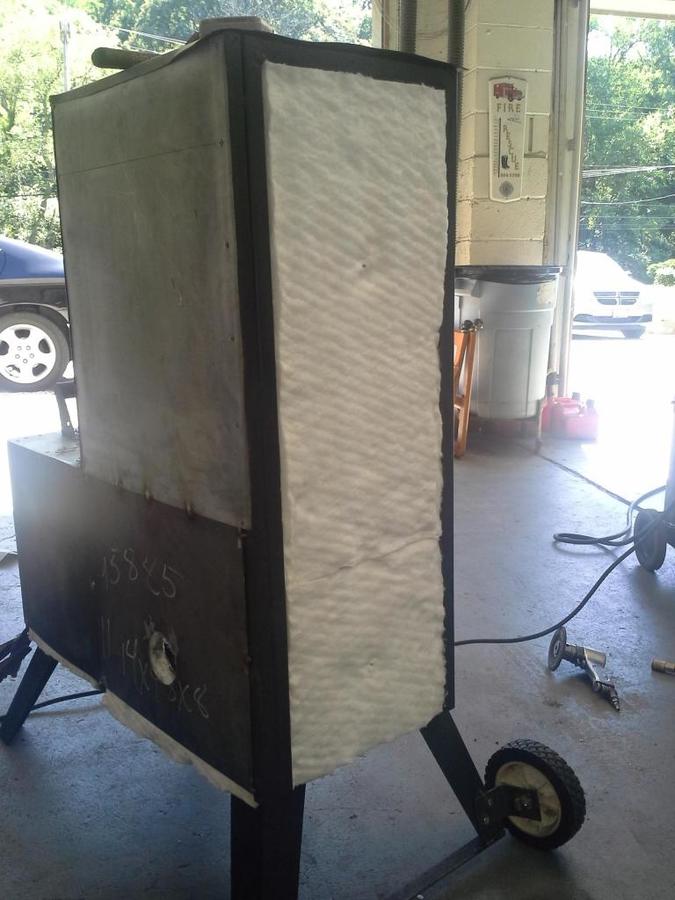
Here is a shot of the insulation. I found it online from Buy Insulation Products . com. I was able to get 50 sqr feet of 24" x 1/2". Surface area was under 23 sqr feet so we just doubled up the insulation...
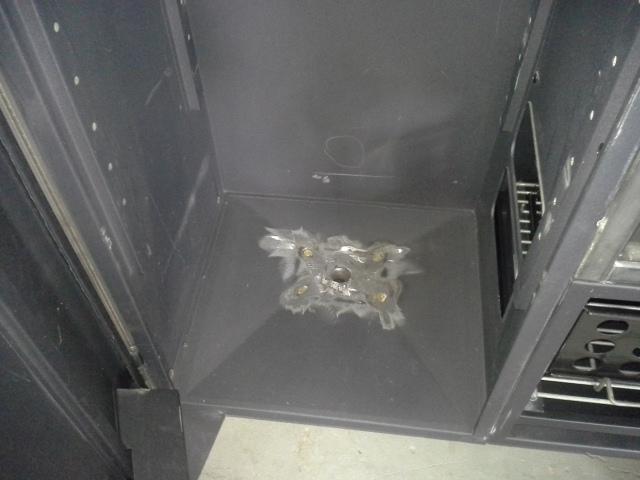
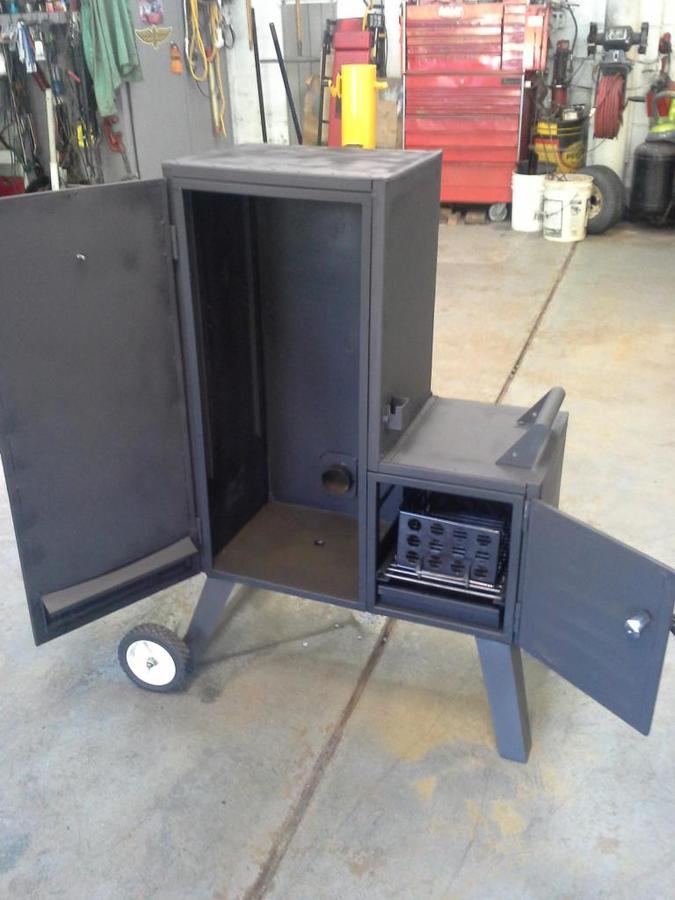
As you can see in the back, we cut a new hole for the chimney as the stock setup was basically a hole in the top with a little chimney and an adjustable baffle. I prefer the whole chamber filled with smoke so it made sense to relocate the opening to the base of the cooking chamber.
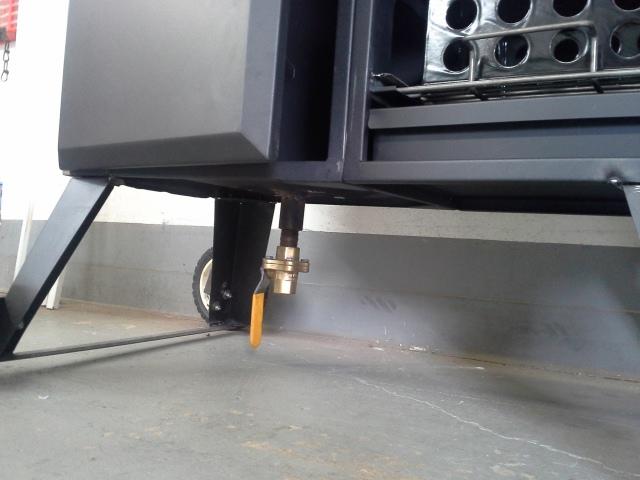
To make clean up a little easier we added a ball valve to the floor...
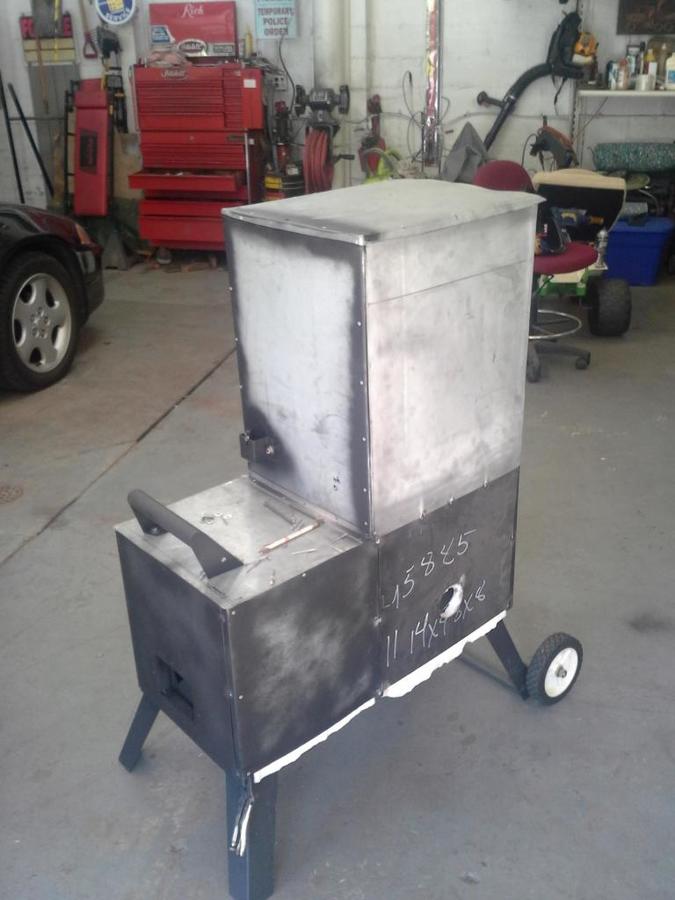
Here we are with most of the sheet metal on...
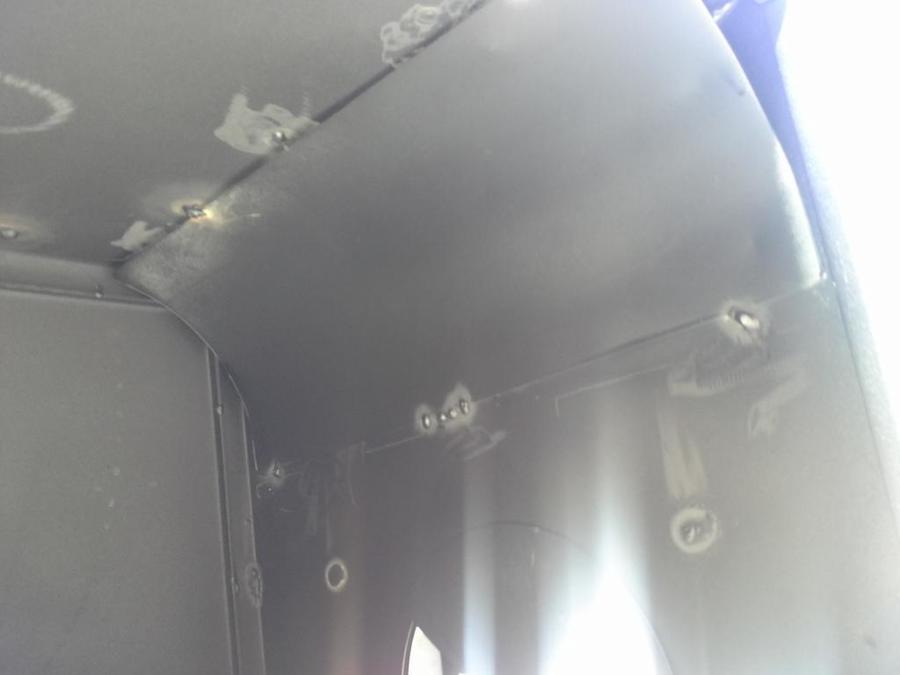
To help the heat flow more efficiently into the cooking chamber we tack welded a small sheet into the top right corner of the firebox. Not sure how much it will help but I just envisioned a big heat buildup in that corner so we went with this idea...
And here we have the final product...
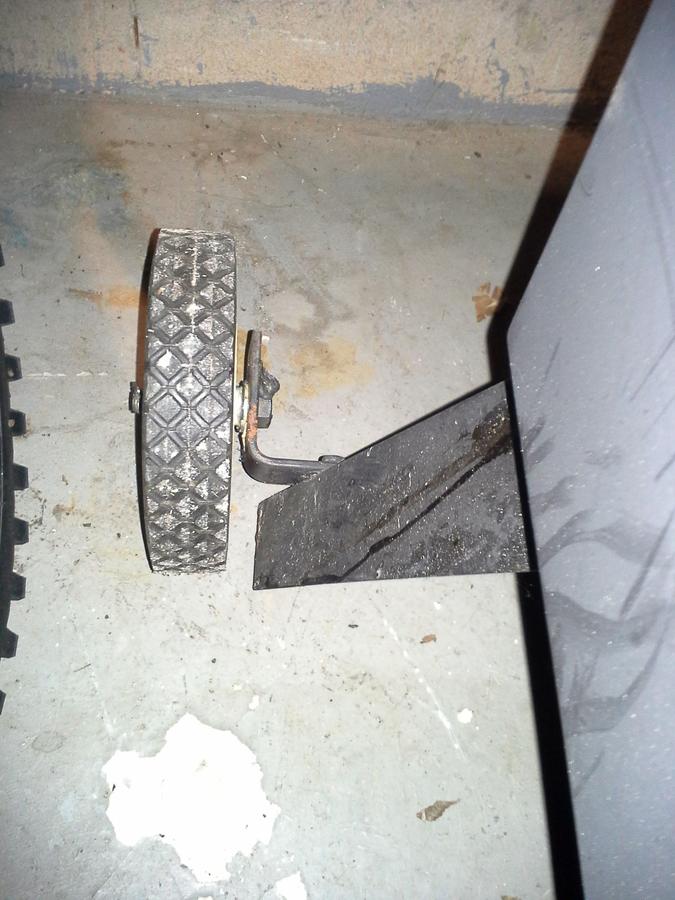
First of all, yes the chimney is yellow. I am a displaced Pittsburgh'r so I bleed black and gold. I'm thinking of naming her "The Terrible Smoker". Speaking of the chimney we went down to our local Meineke and bought a piece of 3" pipe with a 90 degree bend. For the baffle we took the guts from the existing baffle, took the square butterfly off and replaced it with a 3" round piece and we were in business. As for the insulation it has 1" all around except for the bottom which only has 1/2". The doors are a little different in that they were concave to begin with so we placed the insulation on the inside and then covered it with sheet metal. As you can see in the early pictures we also left a gap around the air intake to allow it to work without modifications. Finally we added the wheels to make it more maneuverable.
Lessons learned:
I was hesitant to build from scratch for fear that the firebox would be too big or too small or my airflow would not be just right so I figured if we went with a known product all those worries will go away. Admittedly the Dyna is a cheapo smoker but most complaints revolve around cheap thin steel. What I would do differently though is try to cut weight. This thing is a beast! If you try this on your own, get the thinnest square tubing you can. I think our supplier must have had this lying around because it was way to thick for what we needed. As for the sheet metal initially we were going to go with sheet steel but even the 14 gauge we looked at was very heavy. In the end we went to our local parts shop and bought sheet metal used for patching up auto body work. The other thing I think about before undertaking this task is to know your welding skills. The metal on the Dyna is thin and your sheet metal is thin so it's very easy burn a hole right through.
Cost:
Dyna Glo $163 @ Amazon
Square tubing $100
Sheet metal $50
Insulation $97
Chimney $25
Paint $15
The rest such as rivets, bolts, ball valve were just lying around but I think you could do this whole project for around $500.
Testing:
So far I fired the smoker up twice. What I'm noticing is that I need less than half the charcoal I needed in my old smoker. To be honest my problem has been more about keeping the temperature down than anything else. At around 250 the cooking chamber is warm to the touch but you can hold your hand on it as long as you want. The firebox is hotter but you can still touch for a second or so with getting burned. With the toast test it is obviously hotter right about the vent with the firebox. To combat this I built a heat shield that seems to break up some of the heat and push it to the other side. Otherwise it is pretty even top to bottom and side to side. I did notice that I have some significant gaps in the doors. I ordered gaskets today so I believe that will solve that problem.
If anyone has any questions or suggestions I'm here to help.
Finally, I couldn't have done this without dear old dad. He provided the welding skills and a good bit of the materials.
Thanks Dad!
Here is the stock photo...
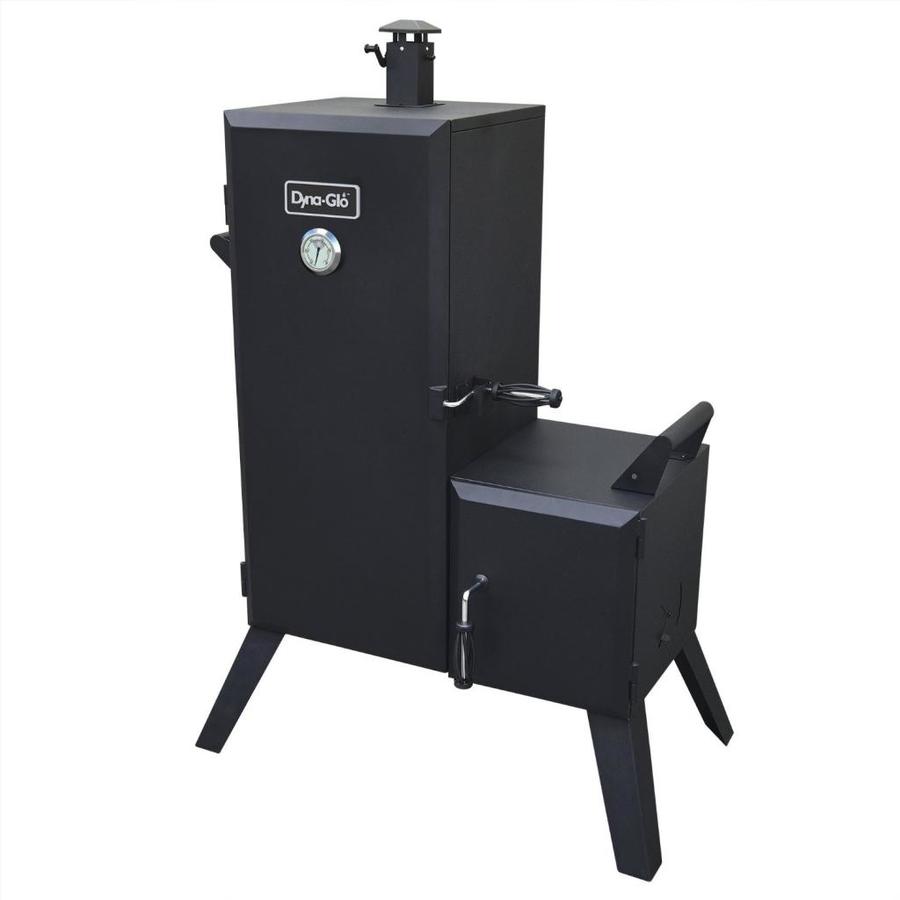
Here we have it with most of the tubing welded to the Dyna...
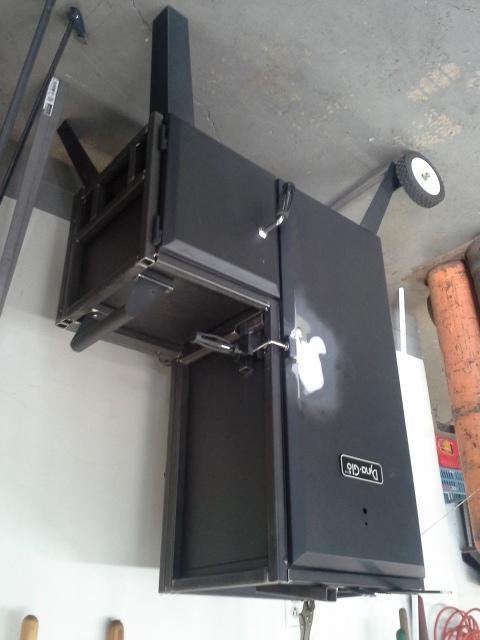
Nothing to complicated at this point. We had to change the cook chamber handle a bit and the grab handle on the firebox but in all it was pretty easy fixes.
Here is a shot of the insulation. I found it online from Buy Insulation Products . com. I was able to get 50 sqr feet of 24" x 1/2". Surface area was under 23 sqr feet so we just doubled up the insulation...
As you can see in the back, we cut a new hole for the chimney as the stock setup was basically a hole in the top with a little chimney and an adjustable baffle. I prefer the whole chamber filled with smoke so it made sense to relocate the opening to the base of the cooking chamber.
To make clean up a little easier we added a ball valve to the floor...
Here we are with most of the sheet metal on...
To help the heat flow more efficiently into the cooking chamber we tack welded a small sheet into the top right corner of the firebox. Not sure how much it will help but I just envisioned a big heat buildup in that corner so we went with this idea...
And here we have the final product...
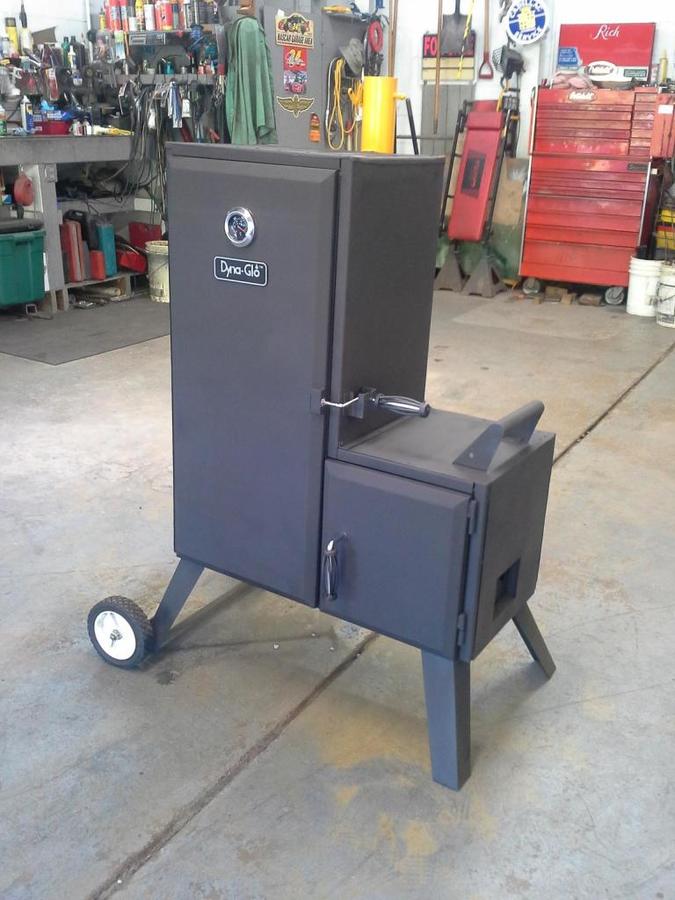
First of all, yes the chimney is yellow. I am a displaced Pittsburgh'r so I bleed black and gold. I'm thinking of naming her "The Terrible Smoker". Speaking of the chimney we went down to our local Meineke and bought a piece of 3" pipe with a 90 degree bend. For the baffle we took the guts from the existing baffle, took the square butterfly off and replaced it with a 3" round piece and we were in business. As for the insulation it has 1" all around except for the bottom which only has 1/2". The doors are a little different in that they were concave to begin with so we placed the insulation on the inside and then covered it with sheet metal. As you can see in the early pictures we also left a gap around the air intake to allow it to work without modifications. Finally we added the wheels to make it more maneuverable.
Lessons learned:
I was hesitant to build from scratch for fear that the firebox would be too big or too small or my airflow would not be just right so I figured if we went with a known product all those worries will go away. Admittedly the Dyna is a cheapo smoker but most complaints revolve around cheap thin steel. What I would do differently though is try to cut weight. This thing is a beast! If you try this on your own, get the thinnest square tubing you can. I think our supplier must have had this lying around because it was way to thick for what we needed. As for the sheet metal initially we were going to go with sheet steel but even the 14 gauge we looked at was very heavy. In the end we went to our local parts shop and bought sheet metal used for patching up auto body work. The other thing I think about before undertaking this task is to know your welding skills. The metal on the Dyna is thin and your sheet metal is thin so it's very easy burn a hole right through.
Cost:
Dyna Glo $163 @ Amazon
Square tubing $100
Sheet metal $50
Insulation $97
Chimney $25
Paint $15
The rest such as rivets, bolts, ball valve were just lying around but I think you could do this whole project for around $500.
Testing:
So far I fired the smoker up twice. What I'm noticing is that I need less than half the charcoal I needed in my old smoker. To be honest my problem has been more about keeping the temperature down than anything else. At around 250 the cooking chamber is warm to the touch but you can hold your hand on it as long as you want. The firebox is hotter but you can still touch for a second or so with getting burned. With the toast test it is obviously hotter right about the vent with the firebox. To combat this I built a heat shield that seems to break up some of the heat and push it to the other side. Otherwise it is pretty even top to bottom and side to side. I did notice that I have some significant gaps in the doors. I ordered gaskets today so I believe that will solve that problem.
If anyone has any questions or suggestions I'm here to help.
Finally, I couldn't have done this without dear old dad. He provided the welding skills and a good bit of the materials.
Thanks Dad!