Debating a UDS build. Advice needed!

  • Some of the links on this forum allow SMF, at no cost to you, to earn a small commission when you click through and make a purchase. Let me know if you have any questions about this.
SMF is reader-supported. When you buy through links on our site, we may earn an affiliate commission.

travisty

Smoking Fanatic
Original poster
SMF Premier Member
Mar 10, 2014
559
169
Salt Lake City, UT
Hi,

I am looking into possible doing a UDS build, but unfortunately even though I would be capable of the build, I don't have the time or tools (like a welder specifically) needed for most of the builds I have seen. I have started looking into the Big Poppa smoker kit option, but looking at it makes it hard to pay so much knowing all I am getting are small hardware items. On top of that, I don't care for their handles, and would probably buy other ones anyway, so that got me back to maybe just doing a build on my own.

All of that being said, can anyone point me in the right direction, or share another post to a simple list of hardware I would need if I decided to do it from scratch, and perhaps some options on how to build a UDS without a welder or torch? Is this even possible? Like with the Big Poppa all I need is a drill basically...

A few other questions/concerns:

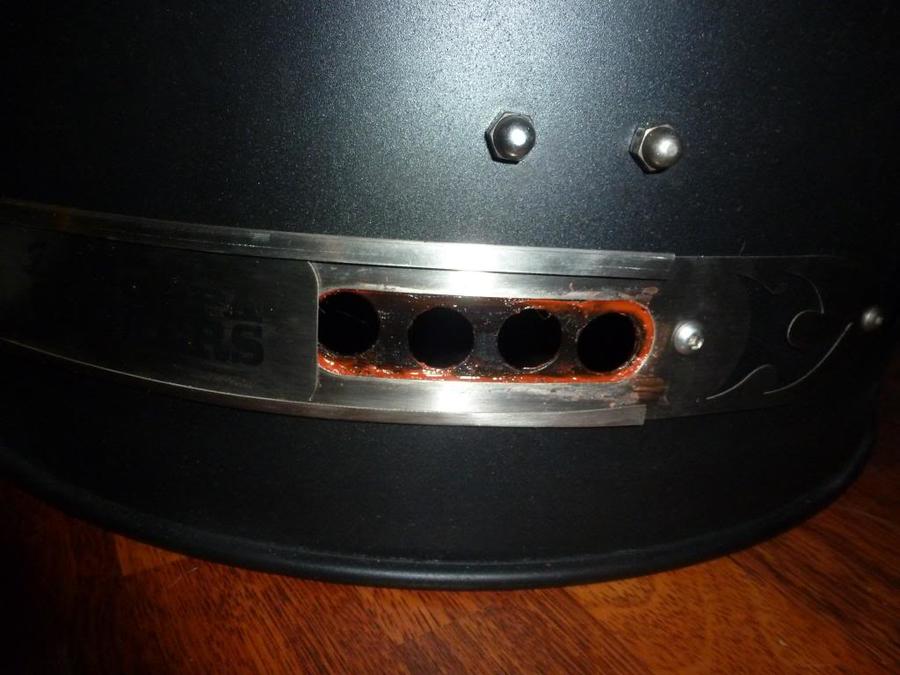
-Are the pipes that some UDS builds have that go up the side of the barrel better for ventilation than a basic vent hole?

-If I have my barrel sand-blasted do I still have to do a burn out?

-Will a scratch build end up costing me about as much or more than the $139 BPS kit? (I already have a barrel)

-Is there anything else I should consider?

FYI: I also looked into the Pit Barrel Cooker, but just don't want to spend that much.

Thanks in advance!!!
 
The BP is unique in their basket system that raises and lowers. It's set up out of the box to do more things than a normal UDS will.   If I were you I'd at least do the basket portion because you can ala cart what you want.  Ask C Farmer that's what he did.   That way you can do whatever handles etc... you want to and still have the unique capabilities of the BP. 

I'd think about the slider intakes too. 
 
I'm new to the forum and i may be talking out of my arse (don't worry i'm used to it) but from what i can see you don't have to have a welder to build a UDS or a miniWSM (or a big WSM) , or probably most other types

I'm new to smoking - but i'm not new to building stuff out of junk, and my experience with that says that while a welder is right handy, (and you can get a okay one for peanuts) when it comes to  joining bits of metal together you can do a lot with a  cheap rivet gun and a rechargeable drill.  Also if you are joining copper pipe and such a cheap gas torch will solder/sweat

In terms of cutting metal a jigsaw with a decent blade will do most things, but an angle grinder and cutting discs is also cheap and handy to have.  Throw in some sand paper a few files and the trusty lump hammer , and you can do most things* ... just think of it as necessity being the mother of invention , if you havent got a specific tool think about how you can do the job without it.

(* a socket set and a set of spanners is also handy to have, and some tin snips, and some clamps... and and and - but we are in the nice to have rather than essential area)

The other thing is that if you do encounter a job that really needs a welder or a cutting torch, i bet you can find a friendly neighbor  hobbyist, or a friendly garage mechanic who will do it for you for a few notes, or some smoked goodness 

on your other questions - i'm not an expert but 

- vents, yes, and more control over how much air is coming in

- personally i'd definitely burn it out if its had oil or nasty chemicals in it - if you are sure its a food barrel  (and not just cos the vendor said so) then you might get away with not doing

- Possibly depending how many tweaks you make to the basic design , but this isnt just about the money , building stuff is fun  (and its what men are meant to do - build shit, smoke stuff, eat it ... think of the satisfaction in having a cook out on something you built from scratch)

- Other points, don't over think it, get out there and do it... if it goes wrong, it goes wrong - its a lesson learnt  (and hey barrels are cheap), and also on cost don't overlook recycling, local dumps, stuff out of skips,  offcuts from local companies or friends etc

hope that helps
 
Hey there Travisty. Maybe I can give you some input from my experience building my UDS. When I decided to do my build, I did have welding capabilities and thought that would be the best way to attach my elbows for my down tubes. After hindsight I am not sure I would do that again and reason being you are trying to weld a nice heavy black iron elbow into a thin metal barrel which is doable but a little tedious. You have to keep all your heat on the elbow and let your weld puddle bridge over to the barrel or you can easily blow bigger holes in the barrel. I would probably use black iron elbows with electrical conduit nuts the next time. I did choose to weld shelving brackets inside mine which is nice for rack adjustability and I welded a table and an accessory hanger also. Your mind is your weak link when it comes to building a UDS because anything is possible. They work great because they are airtight and easy to control. Don't think that you won't spend a good bit of money if you bulid your own because I probably have in the high 200 dollar range invested in mine, but I built it and that's better than anything you can buy online. I am not sure how to share my link on here to my build but if you will go to the forums under UDS builds you will find my build posted with plenty pictures. The name of the post is " finally got the ole UDS together " posted by me J Arnold. The only thing I don't show is my charcoal basket which turned out quiet well itself. If you have any other questions I can help with don't hesitate to ask in my post.
 
Hey guys! thank you so much for all your info and help. I have decided to go the route of the Big Poppa Smoker. I like their product and the adjustable rack. I also like having the hooks, bottle opener and even the big poppa logo on my barrel.
I picked up a food barrel from a farmer here, was previously used for peanut butter, but they had some grain in it. I am gonna do the holes once I get the kit in the mail, then ill do a burn out, then im gonna bring it to a sand blaster who said he would do it for $30 inside and out.
Once I get home with the barrel, ill probably snap some pics, and start a UDS/Big Poppa build thread to document my progress. I also don't like their handles, so im looking for some cook options online, like either using an old barn door handle, or even a cast iron pig I found on amazon as a lid handle.
Anyway, I decided the Big Poppa would be the best place to start for my skill level, then I plan to do a few mods of my own from there.
Keep your eyes out for my new build post. And thanks again for all the great info!!!
 
Ok, thanks
 
When you get the bottom vents on (without the sliding piece in) take some red RTV and seal around the holes.  This will allow the drum to shut down faster when you're done cooking. 
Sweet, Thank you for the pointer! I happen to have a tube on hand from a gasket kit a bought for my Chargriller. Is there any reason to add a dot to each of the screws and plates I put in, or do they get sealed up tight enough on their own?
 
Seal everything so the smoker is air tight when you want it to be....    It will give you the best possible fire control.... 
 
 
Ok, thanks

Sweet, Thank you for the pointer! I happen to have a tube on hand from a gasket kit a bought for my Chargriller. Is there any reason to add a dot to each of the screws and plates I put in, or do they get sealed up tight enough on their own?
The only place I noticed air gaps were around those holes.  If you seal that you should be good to go. 
 
Do you guys think a paint rated for "up to 550 degrees is sufficient, or should I go for 1000 plus? I want to do a better color than black on mine, and seems like most over 550 degrees are just plain black, the best color options are like the 550 degree ones.
 
G2 High Temperature Brake Caliper Paint System Set
  • G2 is available in 11 standard, high-gloss, wear-resistant colors
  • This top-of-the-line BRAKE Caliper Paint System Set from G2
  • The most complete and easy-to-use kit available and includes everything necessary for application
  • Not only is the G2 system attractive, but it offers great chemical and physical protection
Product description

show up to 2 reviews by default
G2[emoji]8482[/emoji] has specially contracted chemical engineers to research and develop our two-part paint which now offers the highest heat resistance on the DIY aftermarket (up to 980 degrees). Easily applied as a brush-on, the paint adds a great styling touch to any brake caliper ultimately highlighting already stylish show-through rims. The G2 BRAKE Caliper Paint System[emoji]8482[/emoji] has many advantages over spray-type paint because it will not flake, and it dries much harder than any rattle-can product.
Dave, that kit does not look sufficient to cover the whole barrel. Do you know if just one will do, or would I have to buy 2-3?
 
No idea....  Look up how many ounces of paint is in each kit.....   One thing for sure...   It will be a beautiful paint job....

Looks like 4 oz. per pack...
 
Interesting - being British I'd not seen Big Poppa before ... I'm not going to buy the kit (they don't ship across the pond anyway), but what are the details on the adjustable basket ?  (Its not clear from their website).... Just wondering if theres idea in their worth stealing  being inspired by
 
basically they have you install some U bolts into the inside of the barrel, you could probably also use the screws with "o rings" on the end like you would use to hang something in the garage. Then the charcoal basket has feet on the bottom, as the 4 outer bars (you can see a pic of their charcoal basket if you go under the shop section of their website) that slide into u-bolts supporting it up higher. If you look up the company's main youtube video it shows sort of how it works.

It would be a really simple thing to replicate I think. Seems to be a really cool option for getting a sear on steaks and such, in addition to regular charcoal grilling.  
 
 
 Seems to be a really cool option for getting a sear on steaks and such, in addition to regular charcoal grilling.  
Yea the basket in the raised mode it's nice to use for reverse sears, grilling and also putting foods around the perimeter for indirect.     You definitely don't need much charcoal in the basket for high heat grilling because the basket is raised right under the cook grate.     Definitely don't use much fuel in the basket for grilling. lol  It gets HOT!!!
 
Last edited:
SmokingMeatForums.com is reader supported and as an Amazon Associate, we may earn commissions from qualifying purchases.

Latest posts

Hot Threads

Clicky