I have finally completed the mods on my new
Chargriller Outlaw and thought I'd share with you guys. Most of these are gathered from numerous mods from this thread with a couple of tweaks of my own.
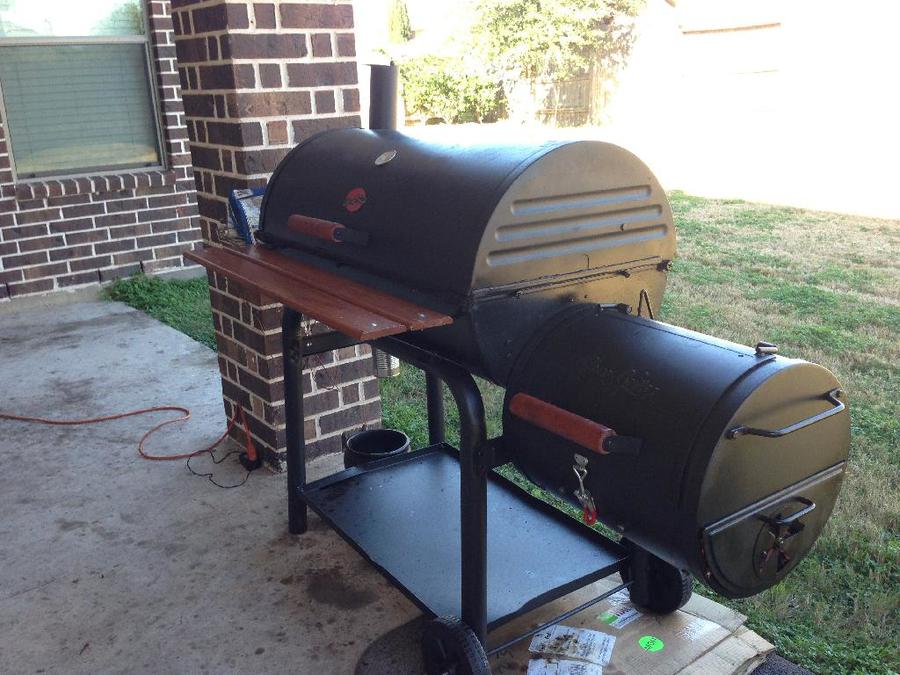
Here's how the cooker started. Found this brand new on craigslist for $95.
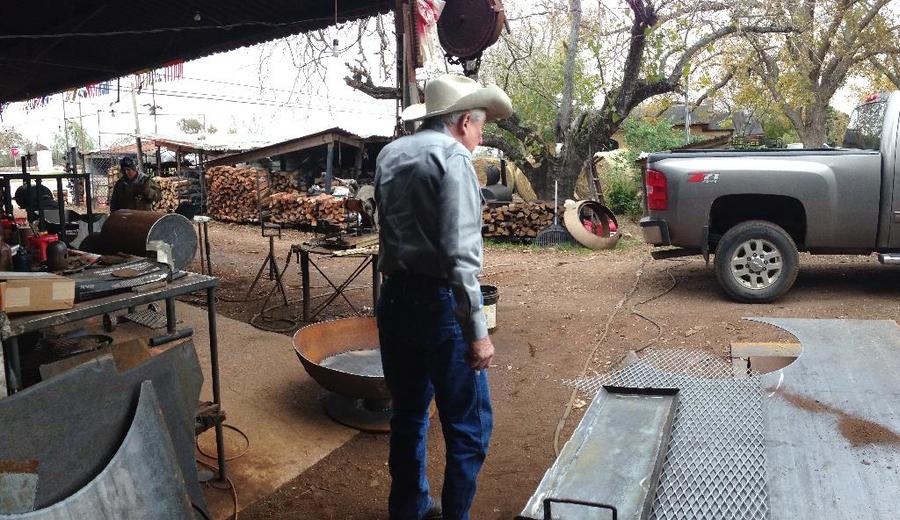
So loving the fact that I'm a 5 minute drive away from Vasbinder's pit maker and 20 minute drive away from Pits by JJ.
Had David Vasbinder make me a new framed out charcoal grate and Jose make me a charcoal basket. Here's David's shop:
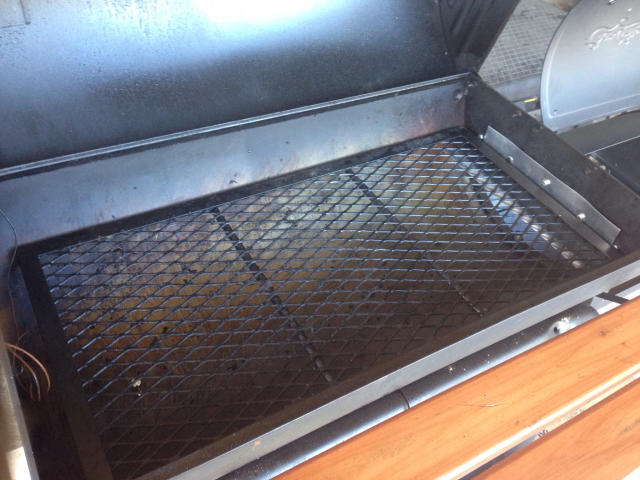
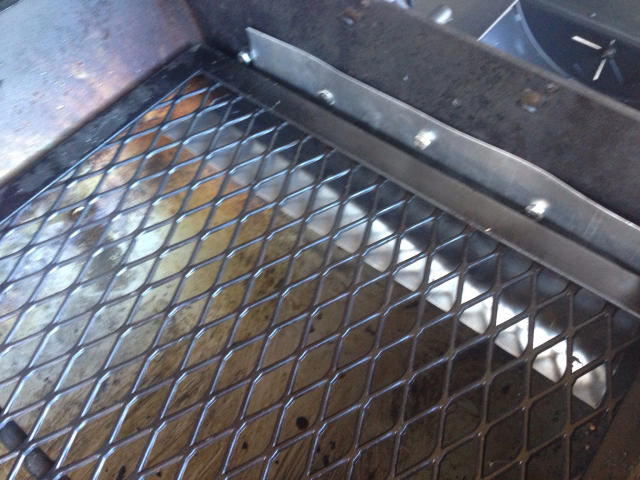
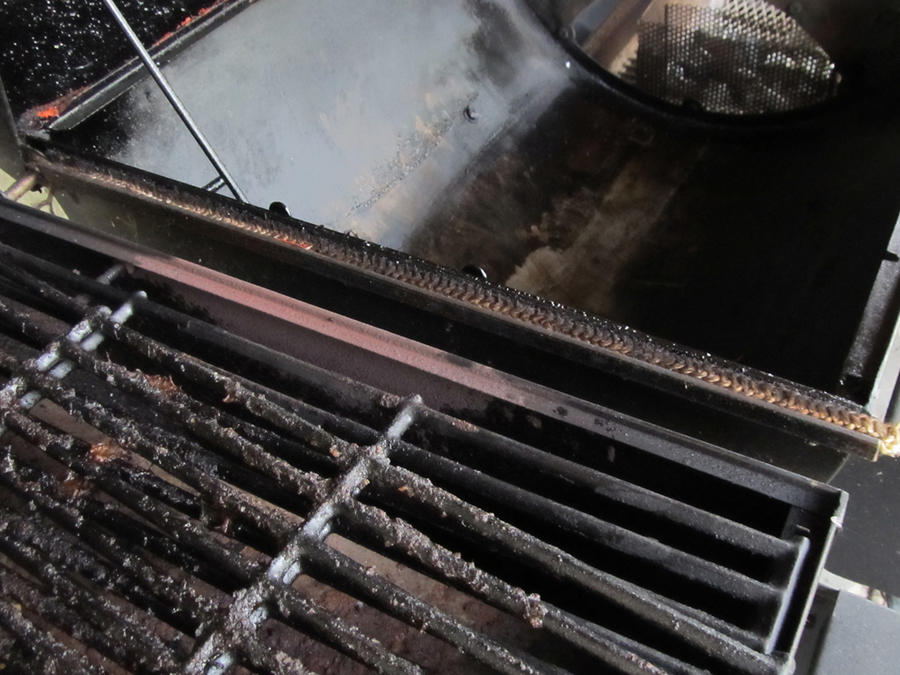
Added the aluminum baffle, a 12x12x6 charcoal basket, and a new 1" framed out 3/4" expanded metal charcoal grate 17" deep and the length of the internal cooking chamber cause the one it comes with is too close to the bottom plate and has no ash clearance. The new charcoal grate also doubles as a bottom deck food grate on the side that has no live charcoals on (I figure I'll always put charcoals only on one side to have hot cold zones)
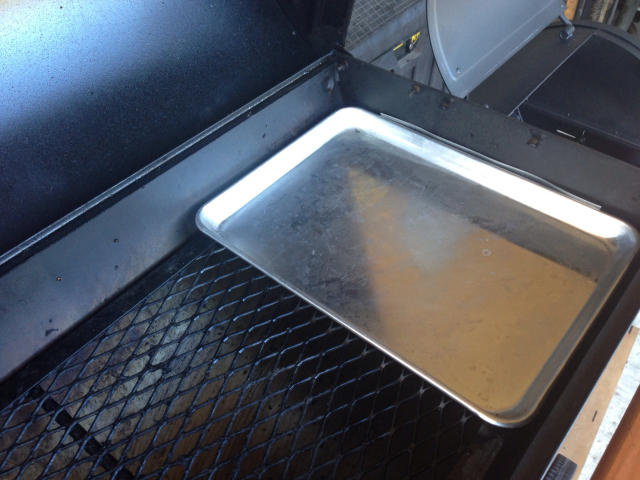
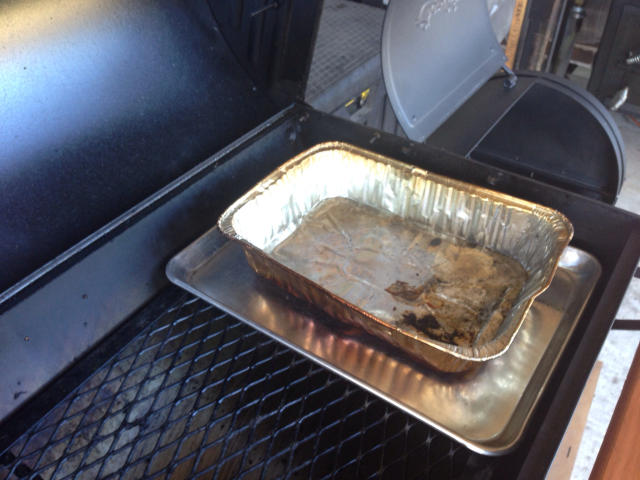
The baffle is folded to come up just to the bottom of the grate, and with a half sheet aluminum pan, I made myself a tuning plate. Which I can put a water pan for heat sink if need be.
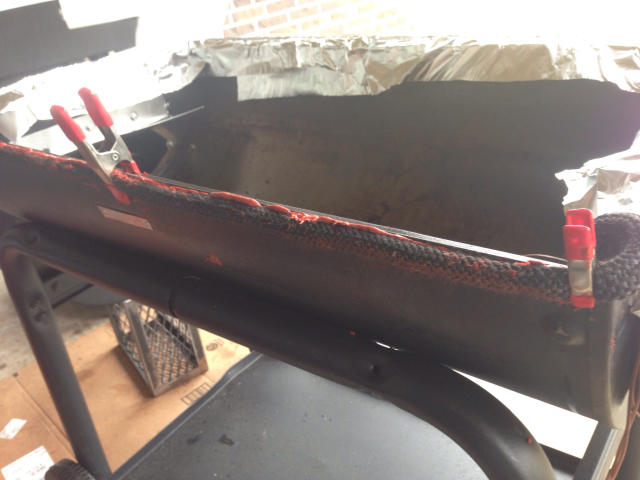
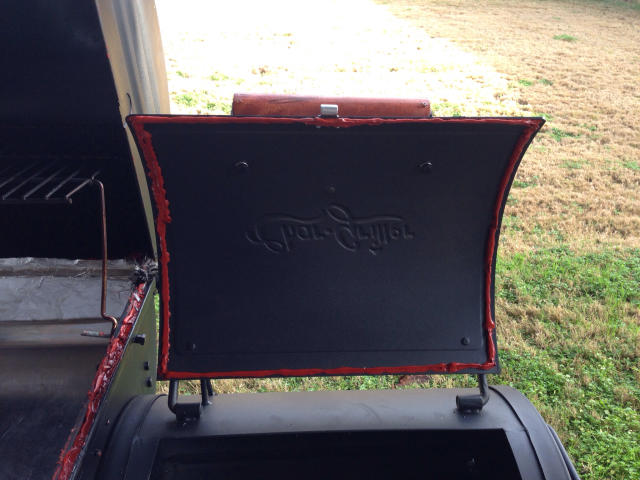
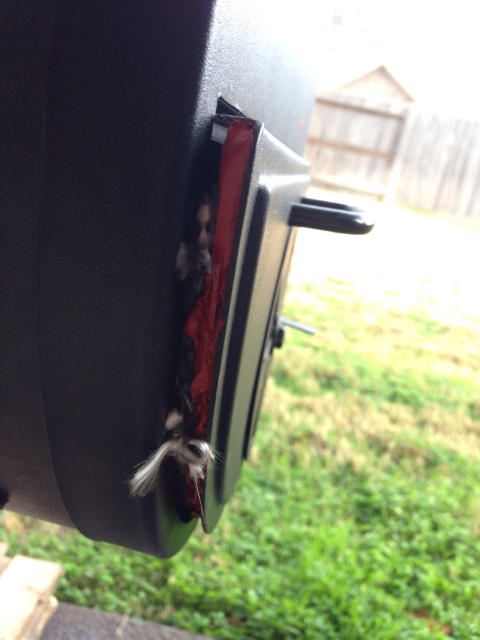
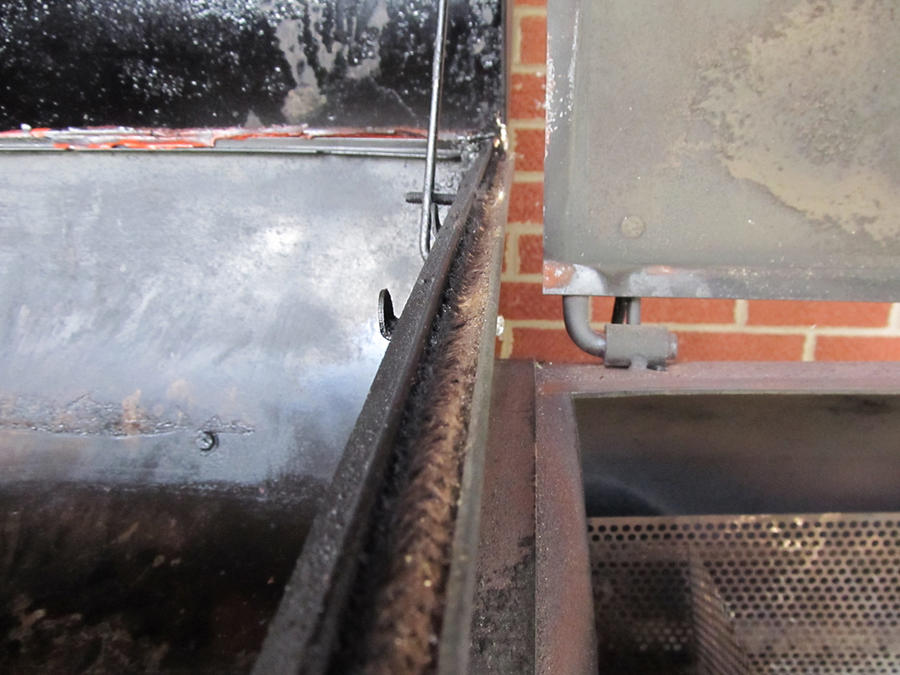
I attached a 5/8" Rutland gasket rope with Red Permatex Gasket Maker silicone to the back side to close up the gap between the bottom and lid.
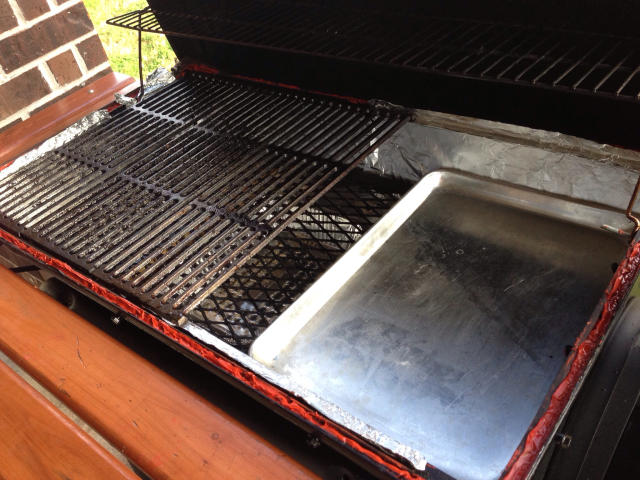
Then I made a half inch angle iron channel around the front and sides and fill with Red Permatex silicone to seal those up. Tried to put the rope but 5/8" is too big and prevented the lid from closing properly. Needed the 1/4" size but for now this will do. You can also see how the triple decker set up now with the new bottom grate, the factory cast iron grate, and the warming rack.
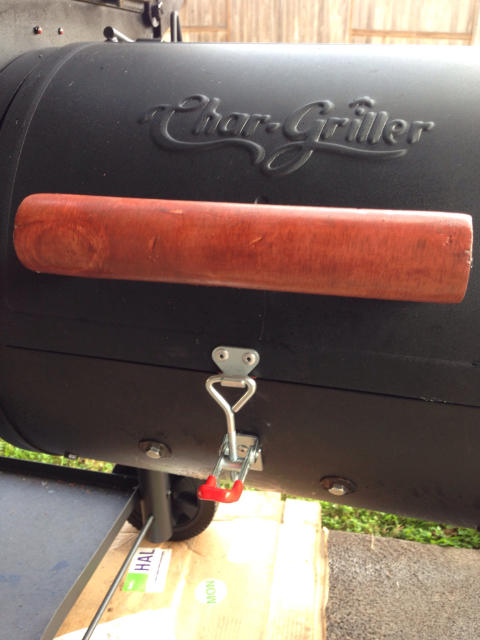
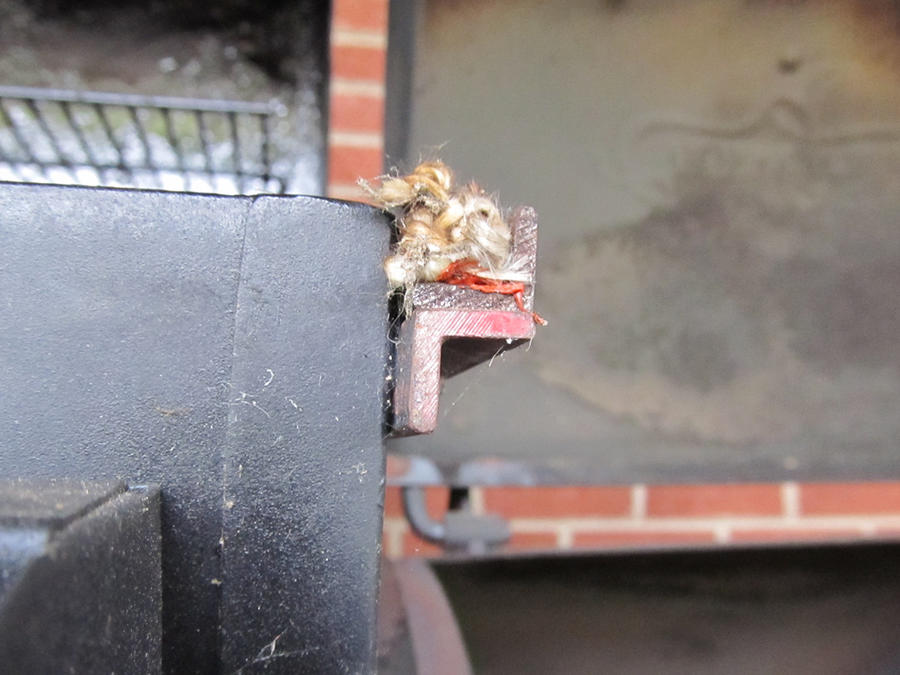
I did a cook with this set up and while it was fine, I want to mazimize my cooking chamber space, so I decided to add the SFB and added a toggle latch secured by pop rivets.
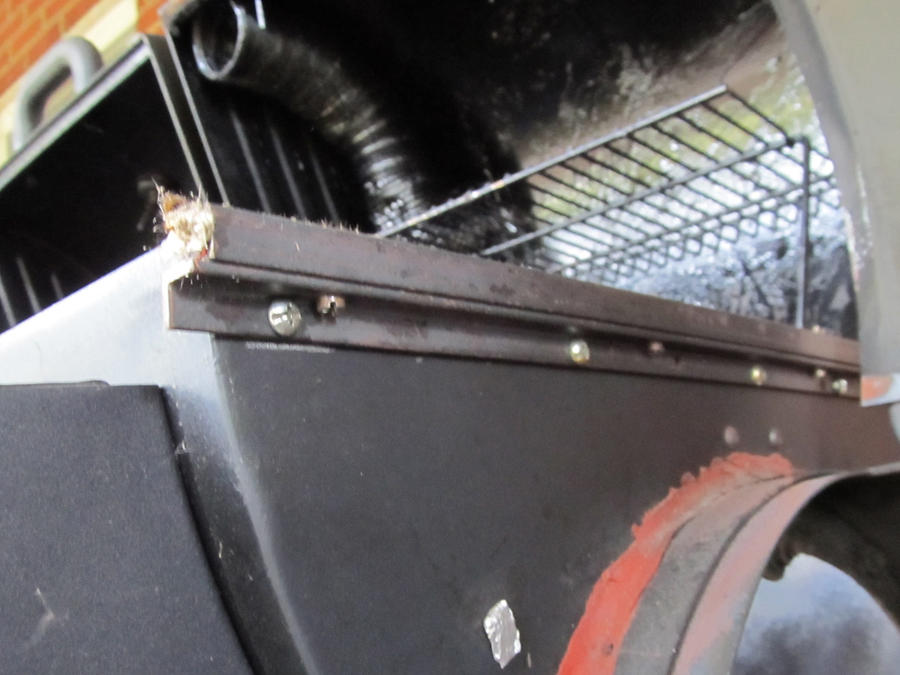
Then I sealed the lid edges with red permatex. This worked well to seal the sfb from losing heat, although I'm not sure how long the red permatex will last on there being that it's so hot. I did 2 cooks with it and it has held up with minor needs for touchups.
This nex job is sealing the bottom edges of the sfb tray. After first cook I had to trim a lot of it back out cause it was not allowing the tray to close properly. The upper edges seal job was necessary though. Cause I found that openings on these will allow heat to escape there instead of going to the cooking chamber because of path of least resistance.
So here's the cooker after those mods, and I couldn't for the life of me get it to go past 180F on the middle grate (measured by a calibrated stoker probe), even with the vents wide open. My baffle was only covering the right third of the CC, so the smoke couldn't have drafted straight out of the chimney. I guess with all the sealing that I did, there's not enough air flow going into the sfb
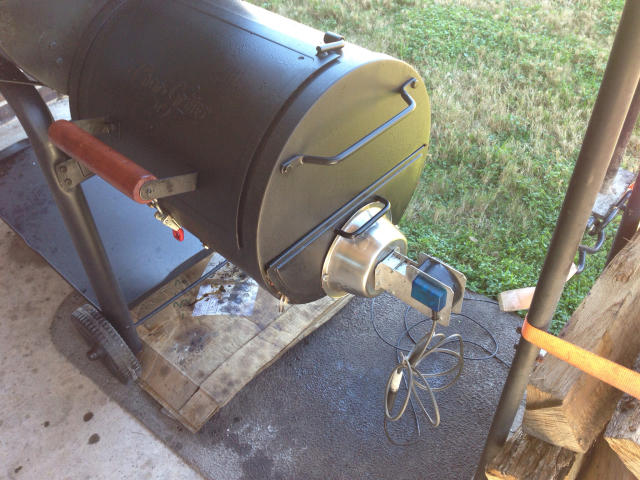
So I took the Stoker fan out of my Lonestar Grillz, drill a hole with a hole saw bit in a wal mart 3.5" metal dog food bowl, and mounted the fan on the bowl and the bowl on to the sfb
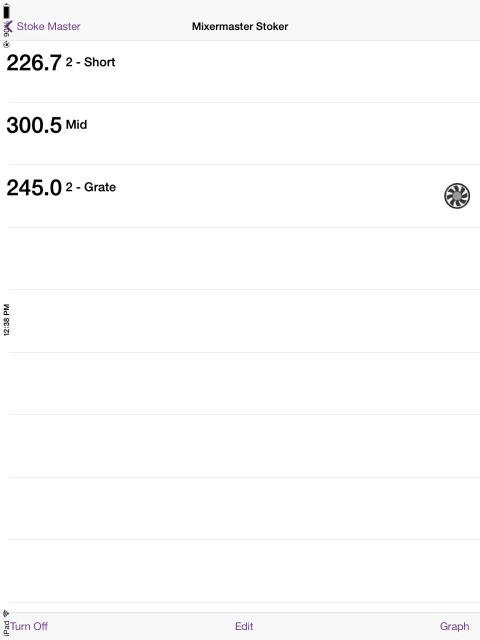
Voila... (In Borat's voice) Great Success!! The Grate probe (Labeled 2 - Grate) is placed on the Cast Iron grate level, the mid length probe (Labeled Mid) is placed on the warming rack (which should be called the scorching rack cause the hottest point of the pit is at the top of the dome where the heat pools before it makes it's way out close to grate level through the 3" drier vent extension. The Short length probe (Labeled 2 - Short) is placed on the bottom deck (the framed out charcoal grate I added) and is the least hot part of the pit. I found that by targeting 240F on the middle grate, I can get 300-325 on the warming shelf for poultry, put briskets on the middle grate, and put ribs on the bottom deck at 225. Perfection!!
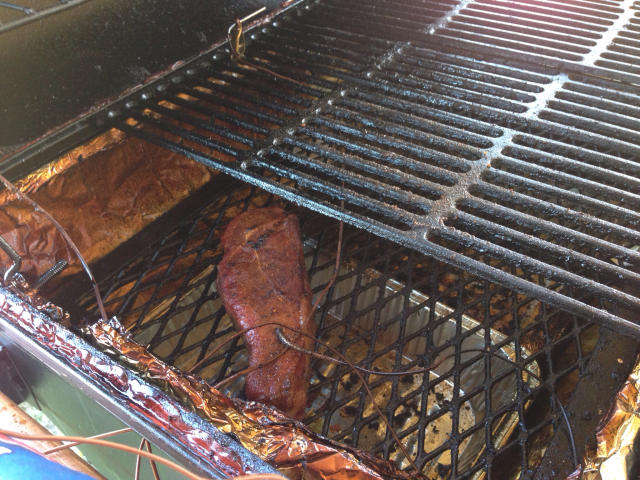
So in the middle of this test run, I got hungry, so I pulled out a frozen prime NY strip and placed it on the bottom deck (coldest grate) for slow thaw and reverse sear. I want to maximize the time it sits there for flavor and not have it heat up too fast. Threw a mesquite chunk on top of the charcoal basket in the sfb and let it ride. 30 minutes later, I can now insert the probe in it, spray canola oil on it and sprinkle my steak seasonings on it.
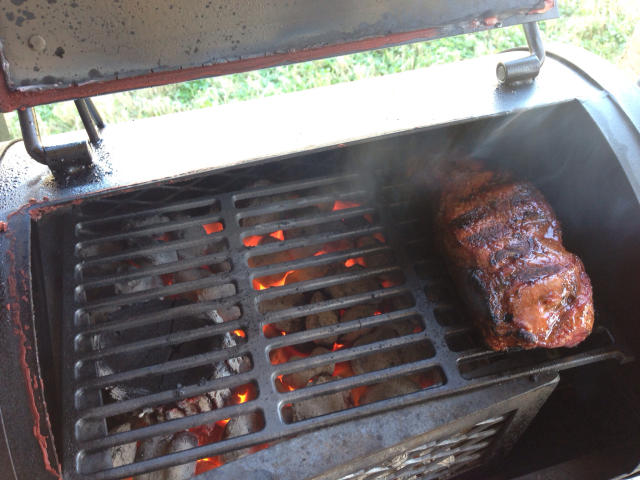
Meanwhile, I placed one of my cast iron sfb grate on top of the charcoal basket to let it scorch, and when the steak hits 100F, it's time to sear it. The aroma of searing steak is now intoxicating. I still place it a little to the side to prevent flareups.
I am one happy camper tonight that I now have two excellent cookers, and this new one turns to be the one that'll give me 4 hours of sleep run on an overnight cook. I tested each full load of charcoal basket to easily give me 4-5 hours of consistent 240F middle grate temp with stoker.