So, I've been smoking meat for over a year now (not long, I know) on a 16" diameter Meco vertical charcoal water smoker. It made decent meat...some great ribs, chicken, salmon...you know the drill. However, there were a couple of things that bothered me about it.
First, the stupid thing was very sensitive to the weather, due to its thin metal body. Cold weather (welcome to Canada!), rain, even just a little wind would cool it down far more than I wanted. I build a wooden box to go around it to help insulate a bit and prevent the elements from getting at it, but that was just a minor fix.
Second, I butcher a 200lb pig every year and make my own sausage and bacon, along with all the other fun things we get from pigs. I would smoke them, but it would take multiple runs to get everything done. A solution had to be found.
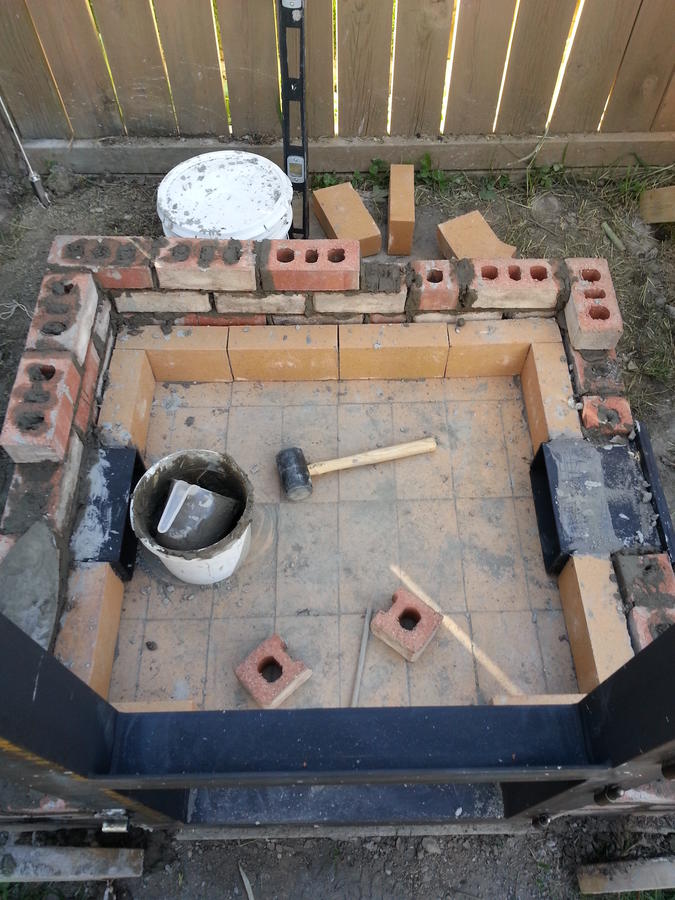
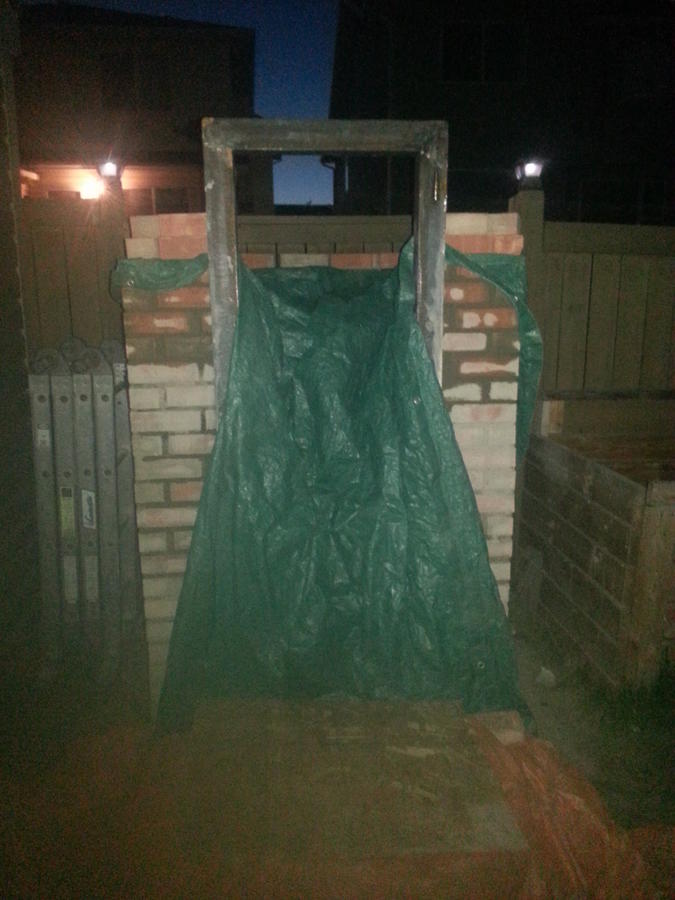
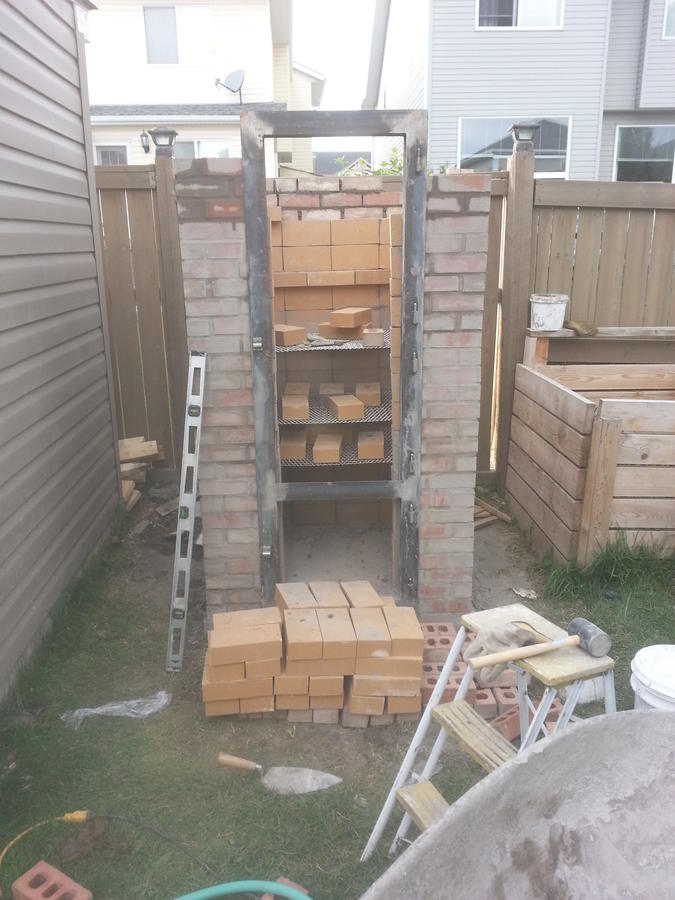
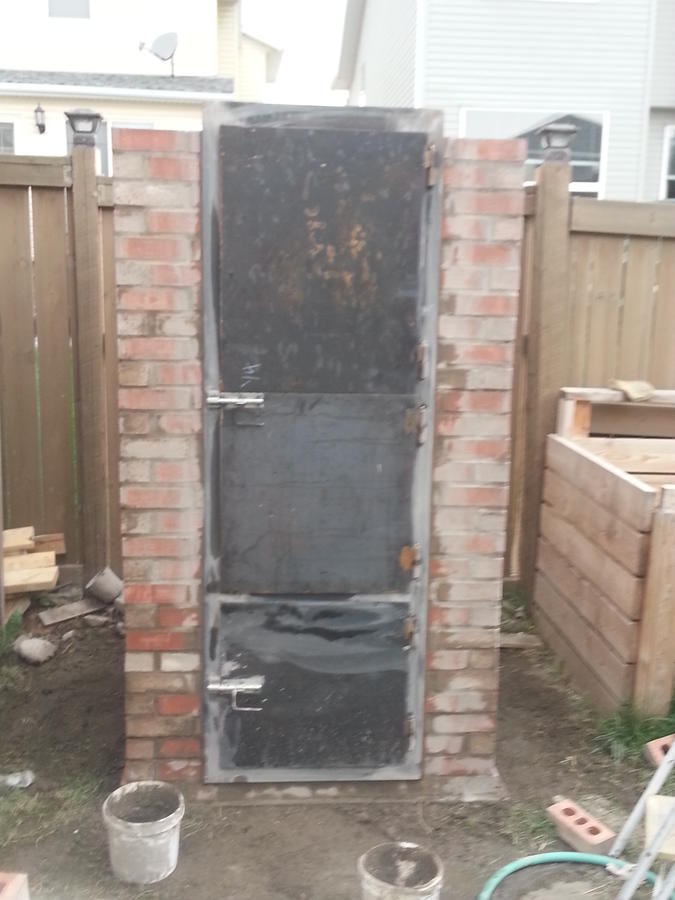
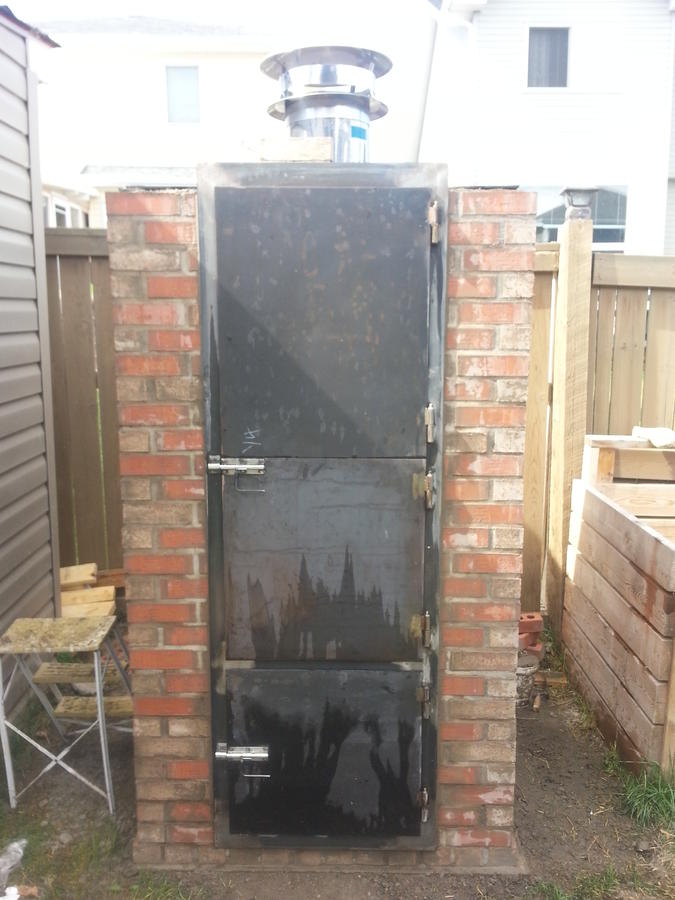
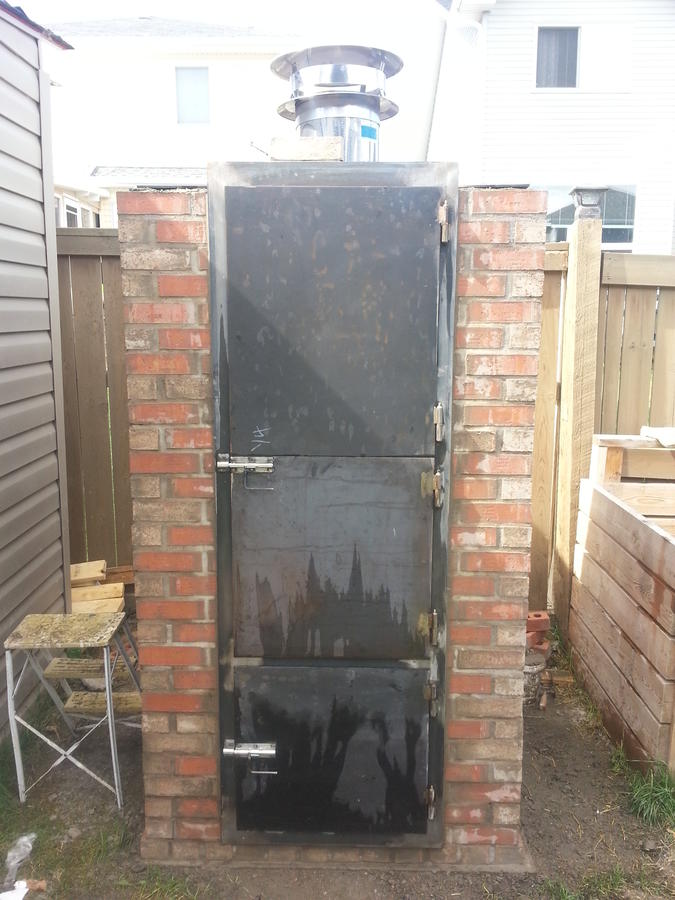
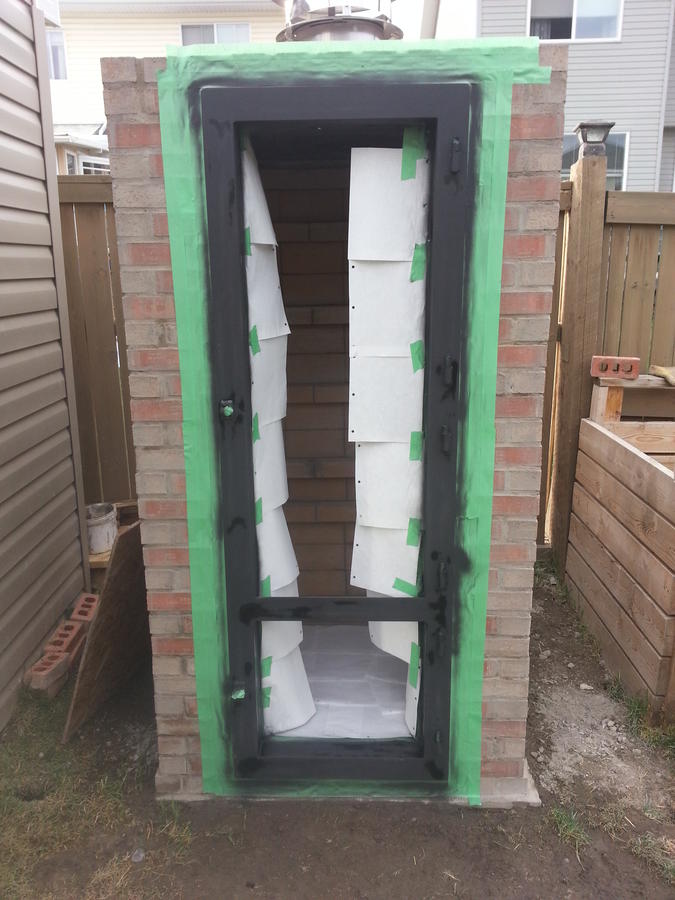
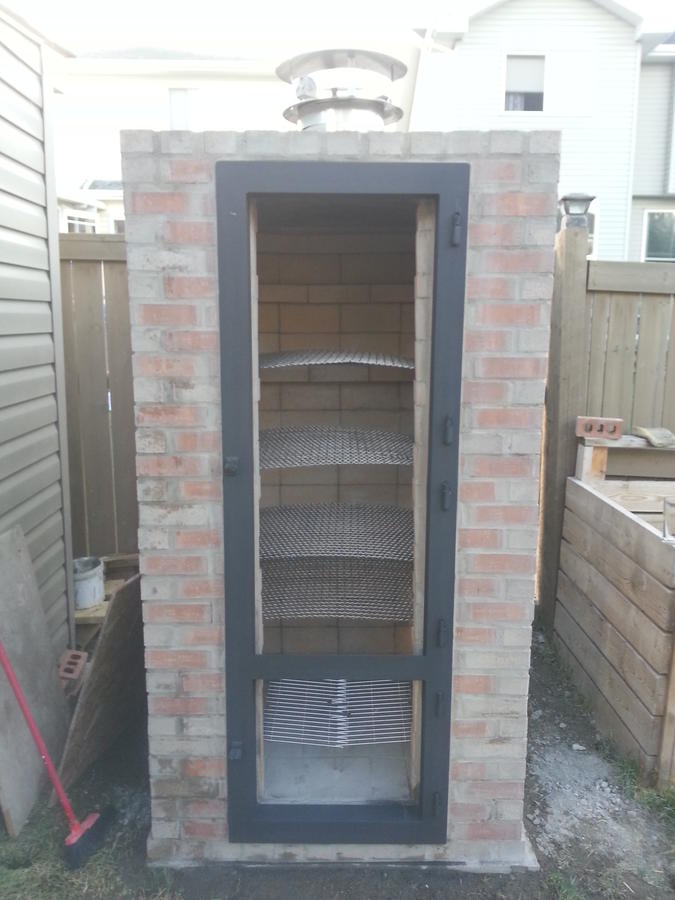
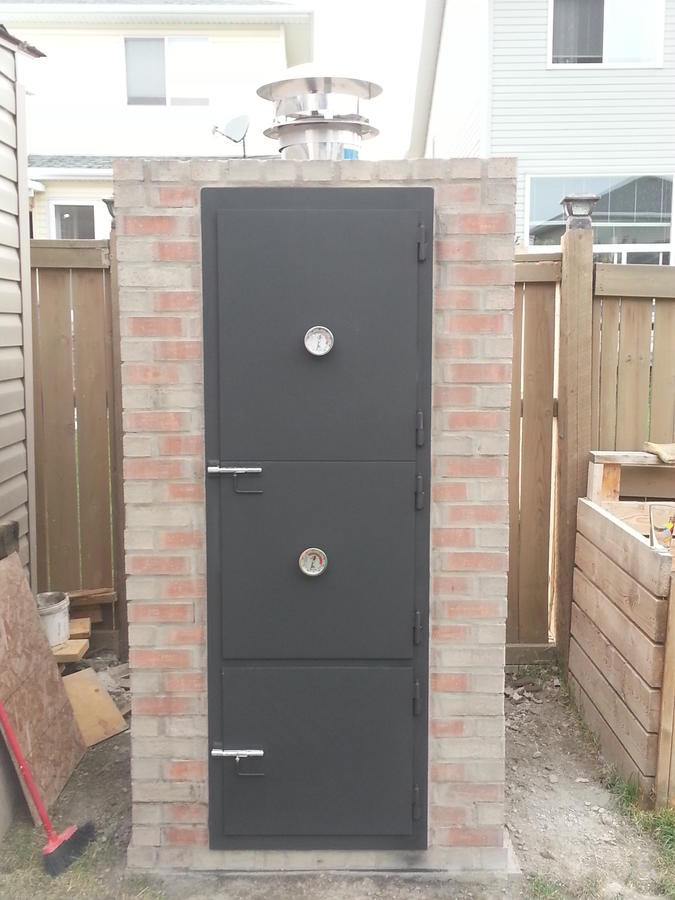
Here are a few shots of some of my original plans. It would be a dual layer brick smoker, with fire brick on the inside and red brick on the outside.
I have to give a shout out to Wes W, whose smoker was a good part of the inspiration for this build. Prior to this, I knew nothing about masonry - give me some plywood and 2x4s, and I'm set...but this was a different animal altogether. At any rate, this is what I did to change my smoking life.
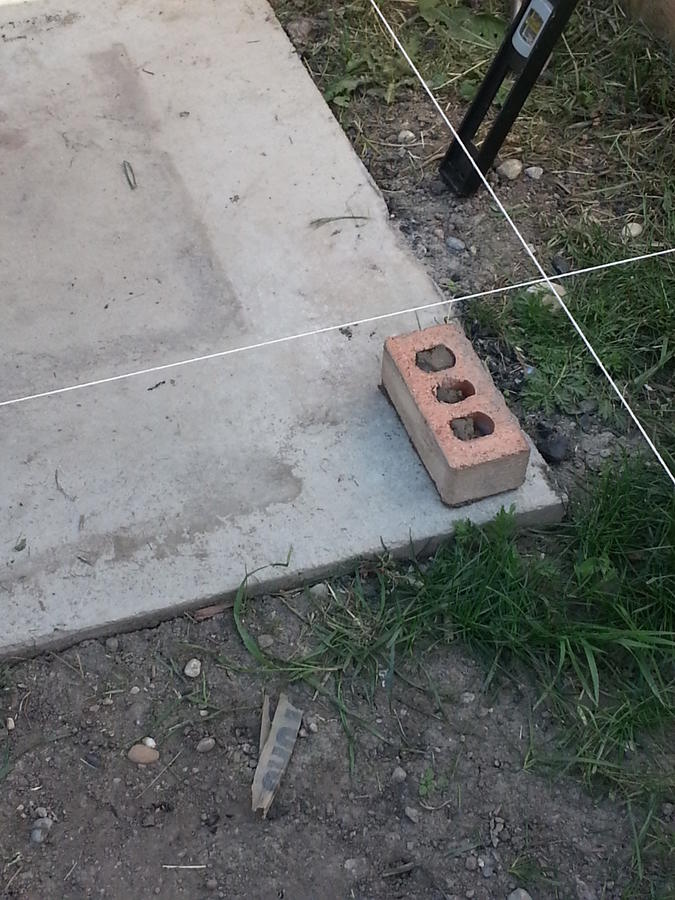
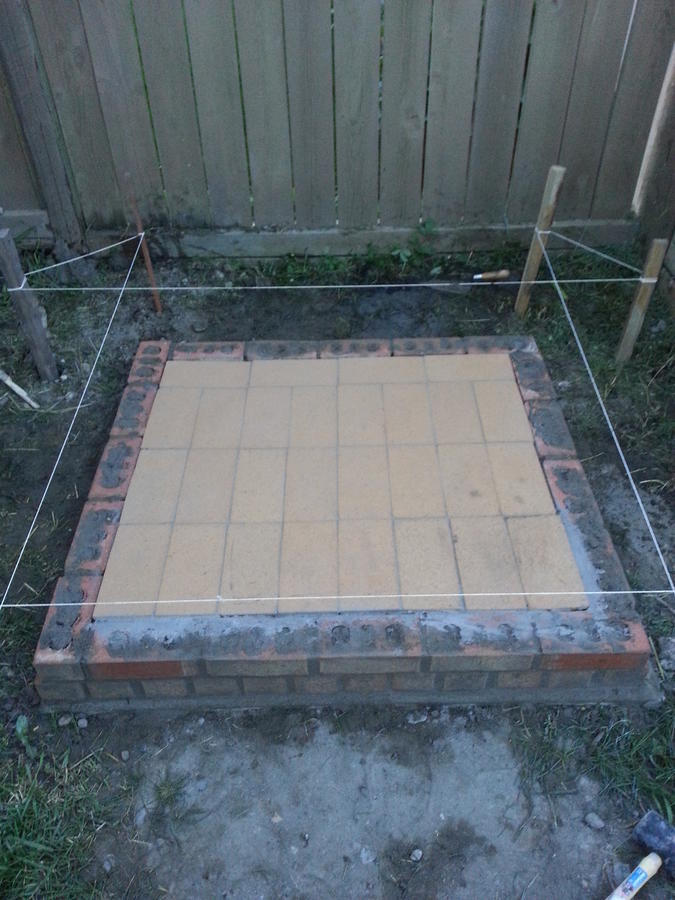
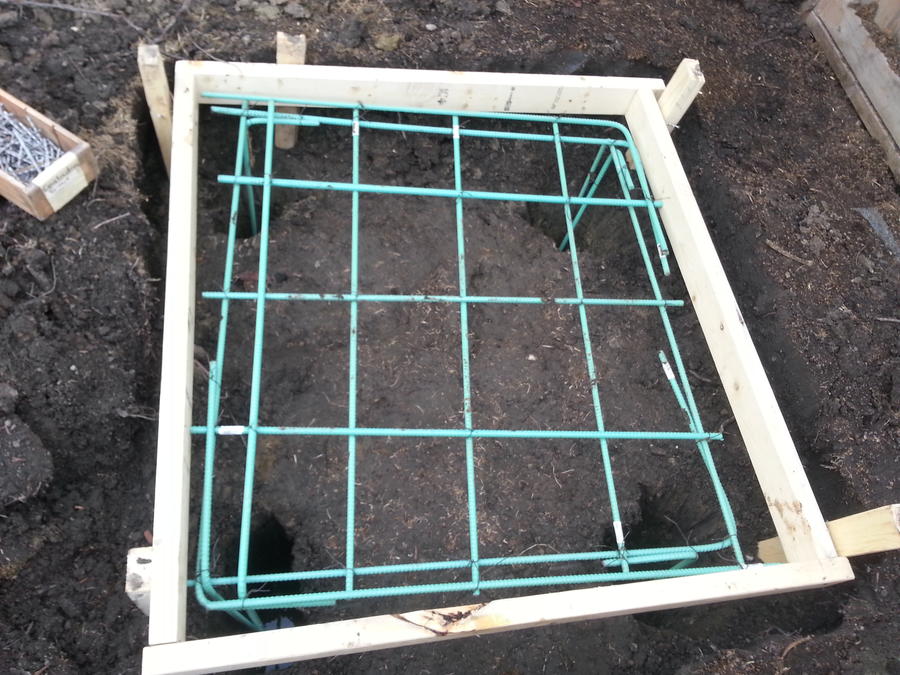
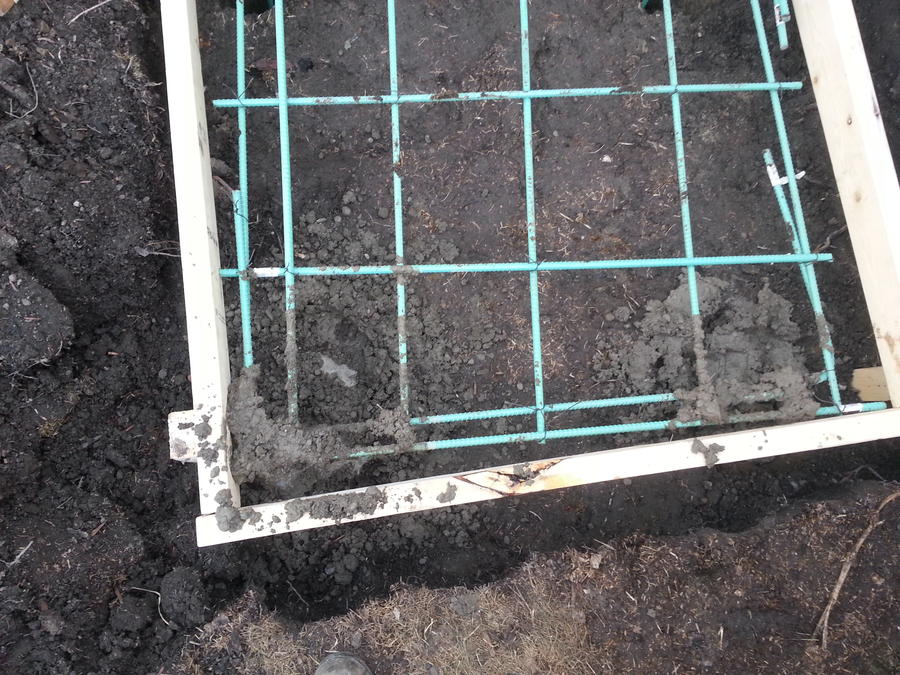
I knew I needed a decent base for this, so I planned to pour a concrete pad 46"x42". I wanted the pad to be just barely bigger than the smoker, to reduce the footprint in my suburban yard. With my father-in-law's guidance, we dug a hole and began prepping the rebar that would add strength to the concrete.
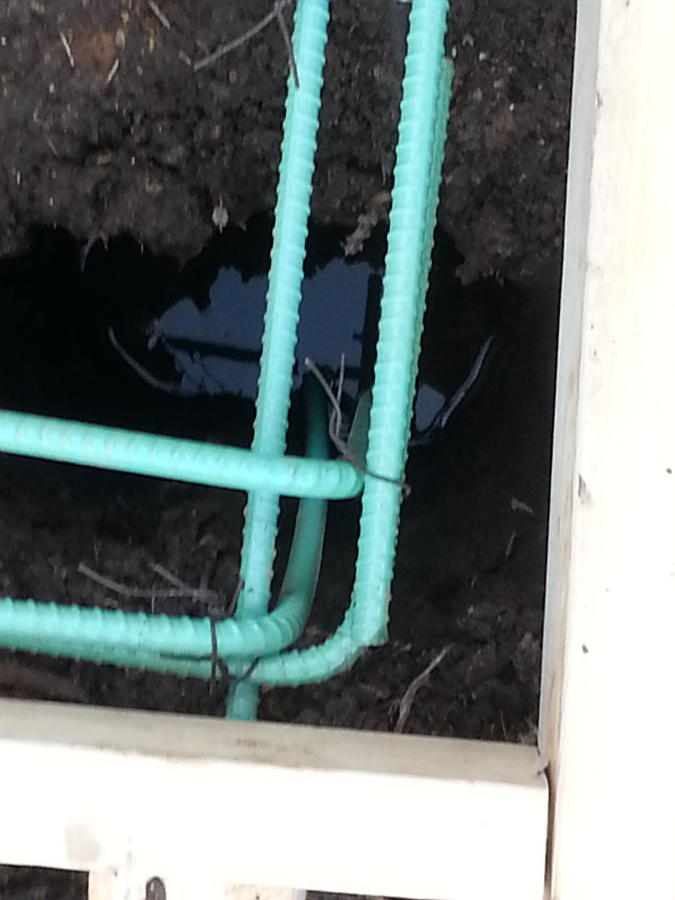
At each of the four corners, we dug support holes three feet deep, where we would create concrete pillars reinforced with rebar sticking down. My father-in-law was a one-man concrete business for decades, so I trusted him to know what to do as far as building a base that would hold the weight and last with our type of soil and climate.
We poured in a bunch of gravel before adding concrete.
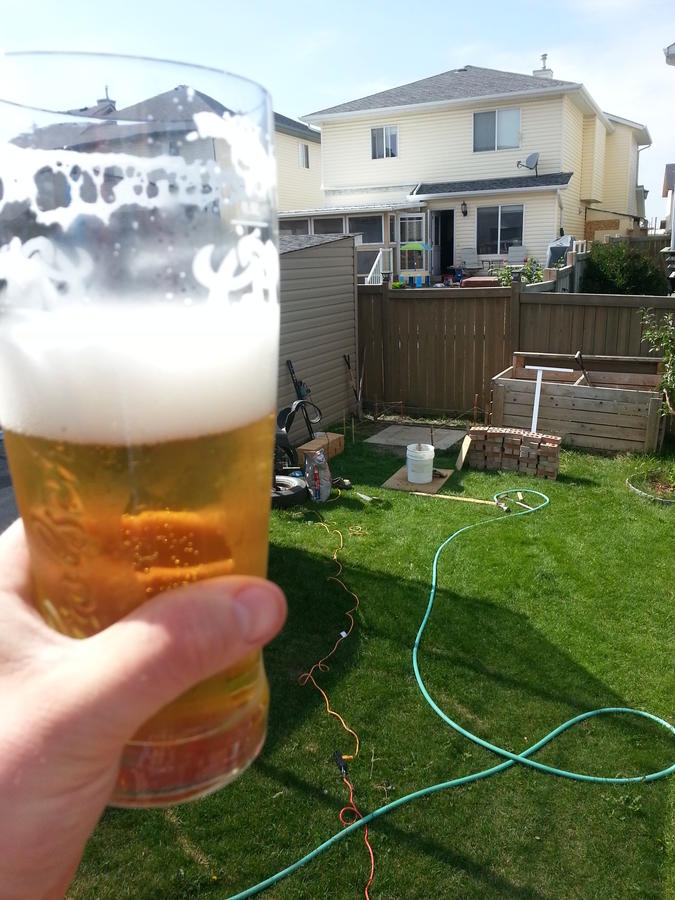
I created a disaster of the back part of my yard. Needless to say, my wife was nervous. However, the pad was poured, and I just had to wait a month for proper curing before I would be comfortable cranking through the rest of it!
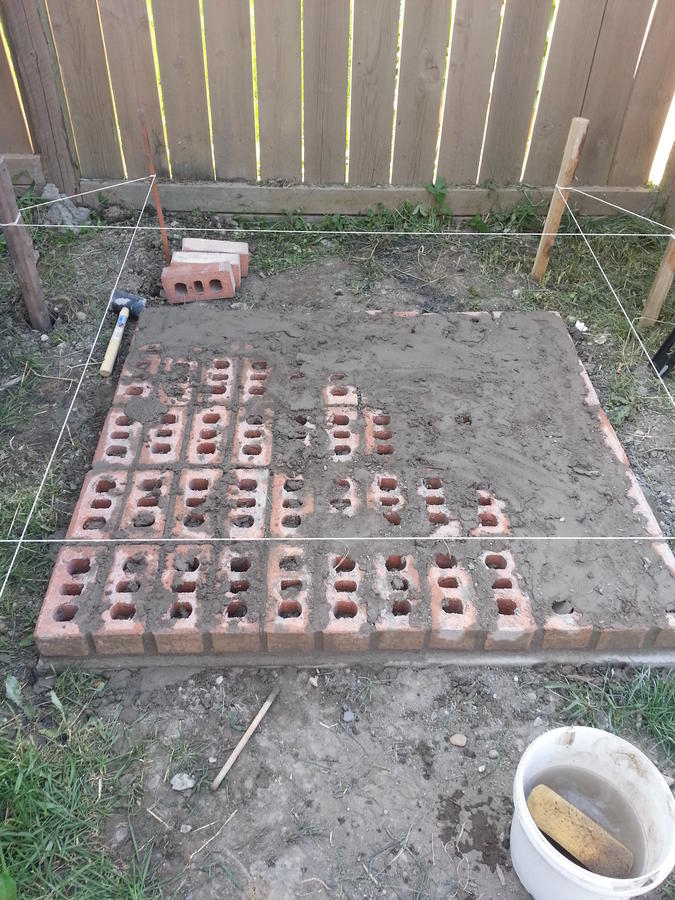
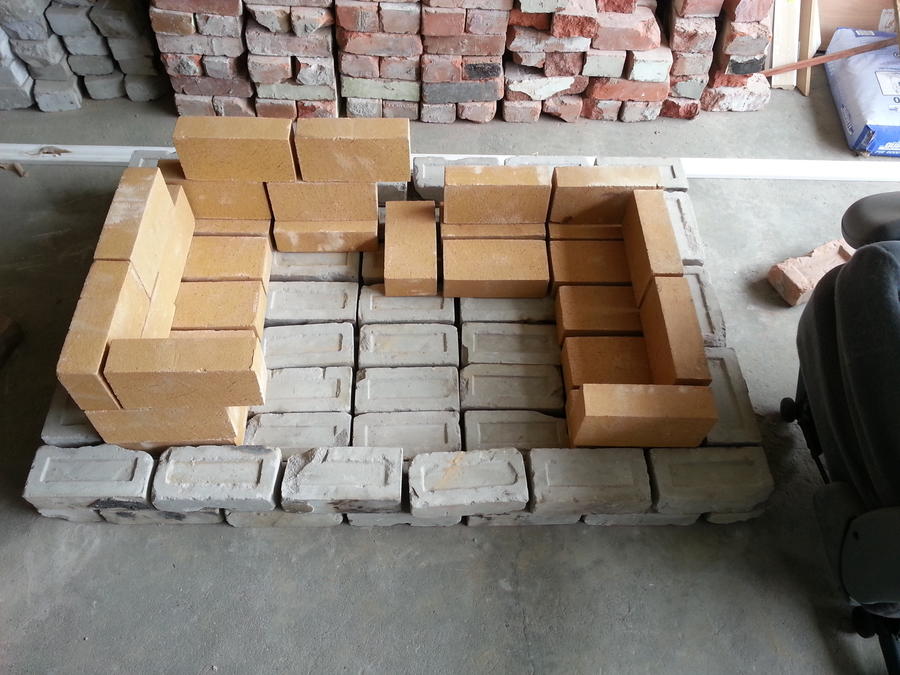
In the meantime, I scoured local online classified sites, tracking down all the free brick I could. I had well over 500 brick for the outside perimeter, but had to buy the fire brick new. I set up a trial layout in my garage, trying to figure out the exact spacing. (Ha!)
After amassing a ton of used brick, I decided that it looked like crap. Balls. I managed to get rid of it using the same site where I acquired it. Then, I was off to the place where I got the fire brick. I found some brick on clearance that would be perfect for the job!
Sadly, these three pallets of brick and mortar sat in my garage for a few months, until I had the time to proceed with the project. So much for my full summer of smoking sweet meat!
The build was next...
First, the stupid thing was very sensitive to the weather, due to its thin metal body. Cold weather (welcome to Canada!), rain, even just a little wind would cool it down far more than I wanted. I build a wooden box to go around it to help insulate a bit and prevent the elements from getting at it, but that was just a minor fix.
Second, I butcher a 200lb pig every year and make my own sausage and bacon, along with all the other fun things we get from pigs. I would smoke them, but it would take multiple runs to get everything done. A solution had to be found.
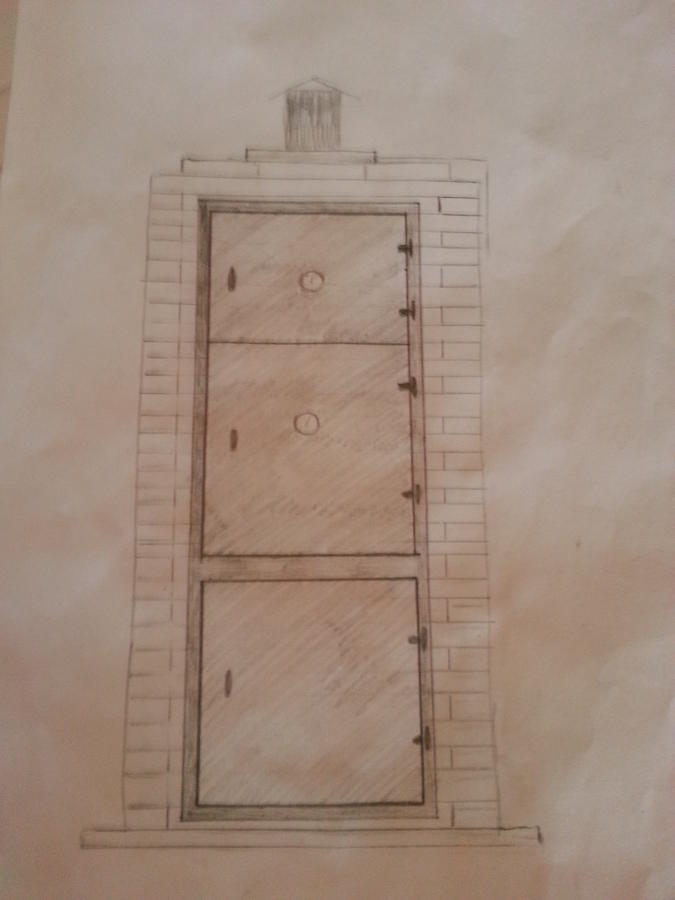
Here are a few shots of some of my original plans. It would be a dual layer brick smoker, with fire brick on the inside and red brick on the outside.
I have to give a shout out to Wes W, whose smoker was a good part of the inspiration for this build. Prior to this, I knew nothing about masonry - give me some plywood and 2x4s, and I'm set...but this was a different animal altogether. At any rate, this is what I did to change my smoking life.
I knew I needed a decent base for this, so I planned to pour a concrete pad 46"x42". I wanted the pad to be just barely bigger than the smoker, to reduce the footprint in my suburban yard. With my father-in-law's guidance, we dug a hole and began prepping the rebar that would add strength to the concrete.
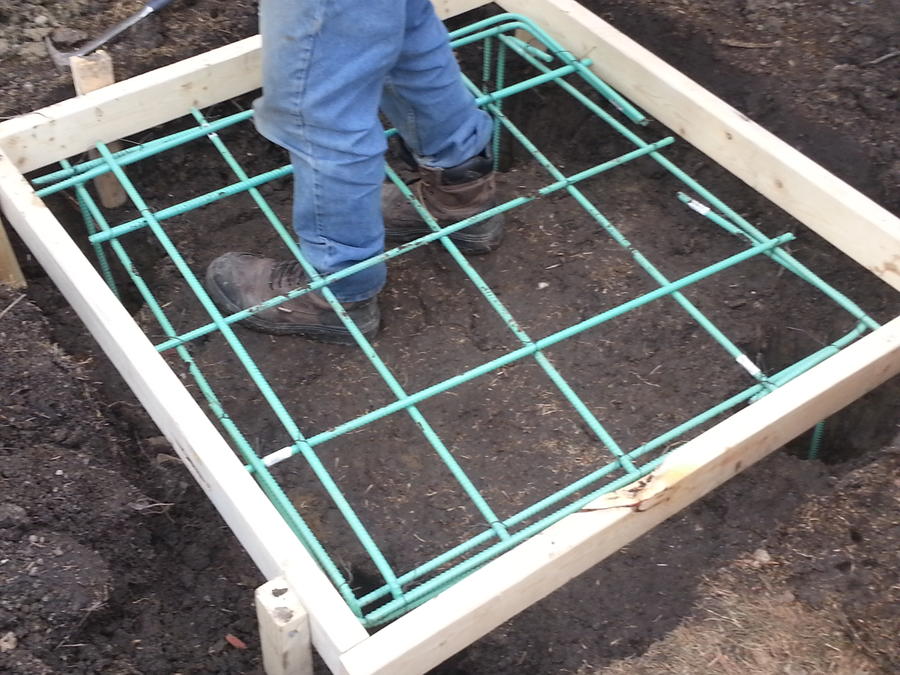
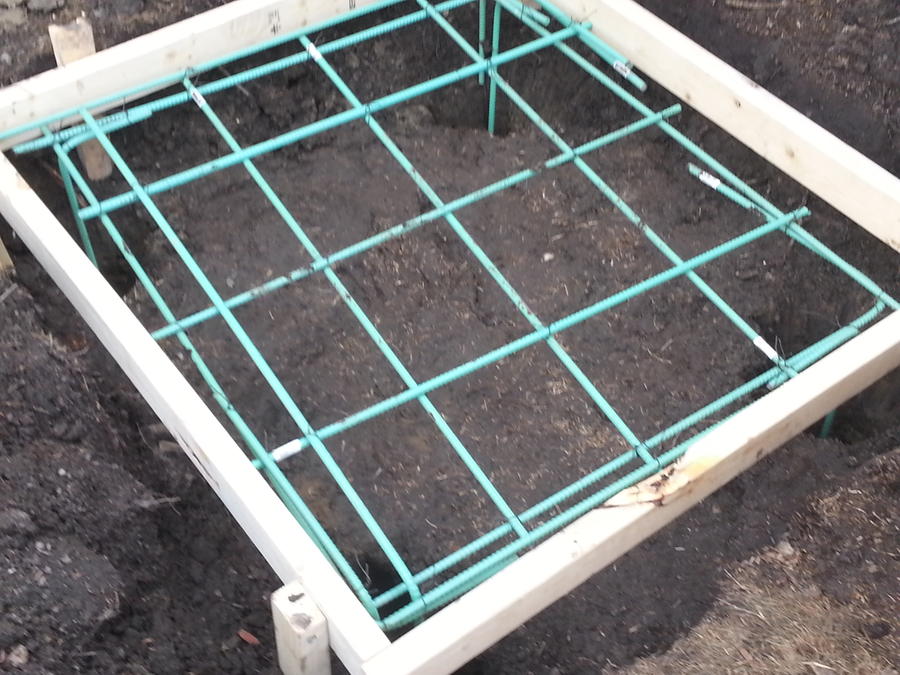
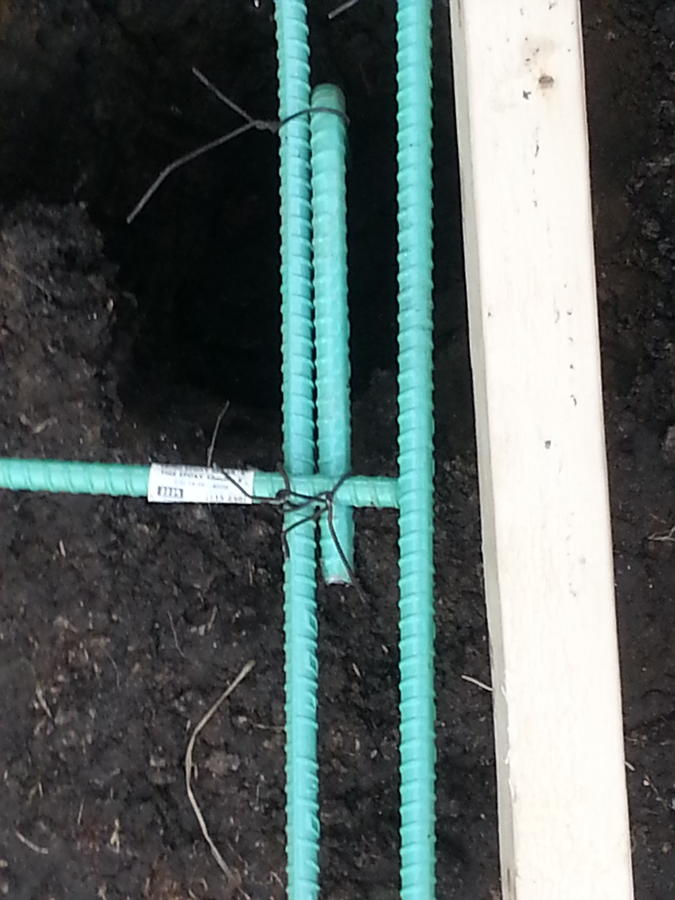
At each of the four corners, we dug support holes three feet deep, where we would create concrete pillars reinforced with rebar sticking down. My father-in-law was a one-man concrete business for decades, so I trusted him to know what to do as far as building a base that would hold the weight and last with our type of soil and climate.
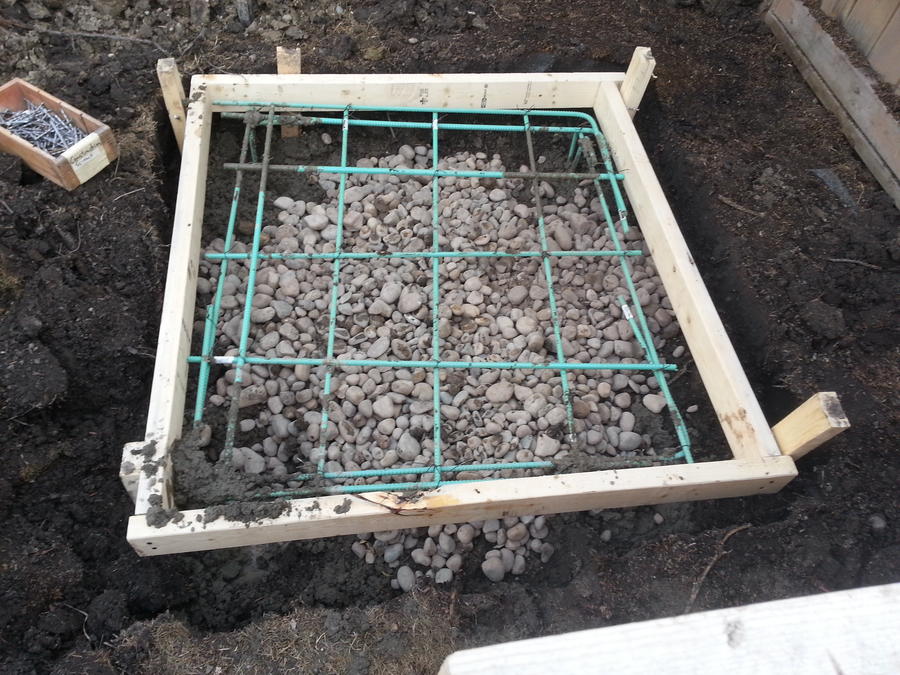
We poured in a bunch of gravel before adding concrete.
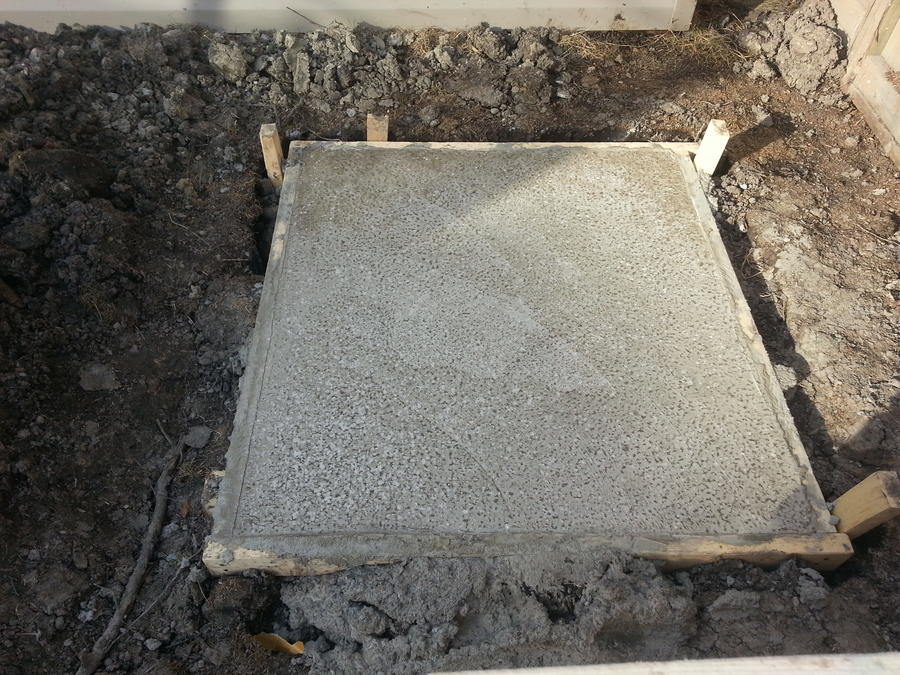
I created a disaster of the back part of my yard. Needless to say, my wife was nervous. However, the pad was poured, and I just had to wait a month for proper curing before I would be comfortable cranking through the rest of it!
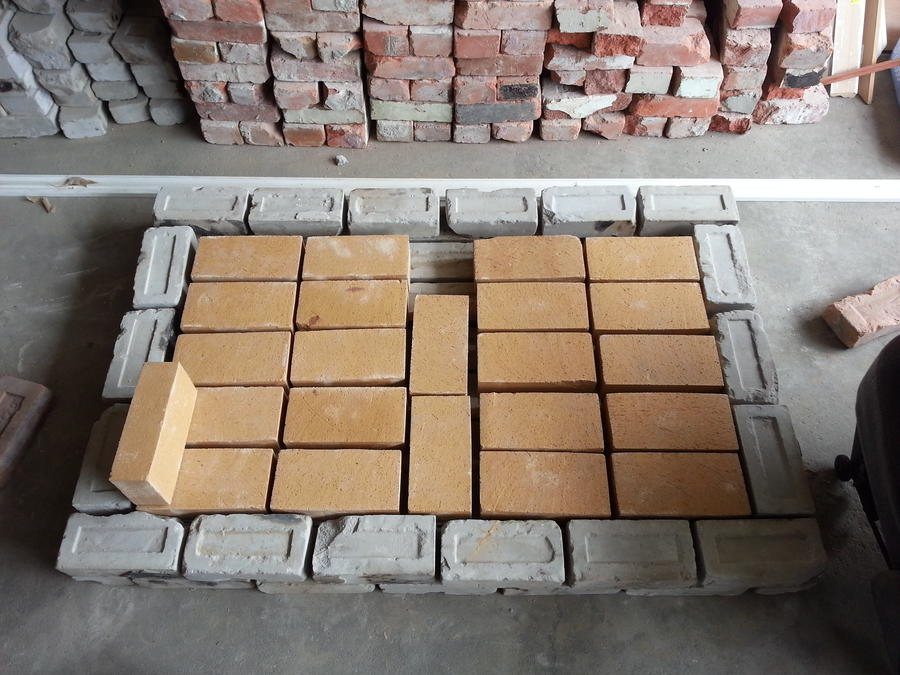
In the meantime, I scoured local online classified sites, tracking down all the free brick I could. I had well over 500 brick for the outside perimeter, but had to buy the fire brick new. I set up a trial layout in my garage, trying to figure out the exact spacing. (Ha!)
After amassing a ton of used brick, I decided that it looked like crap. Balls. I managed to get rid of it using the same site where I acquired it. Then, I was off to the place where I got the fire brick. I found some brick on clearance that would be perfect for the job!
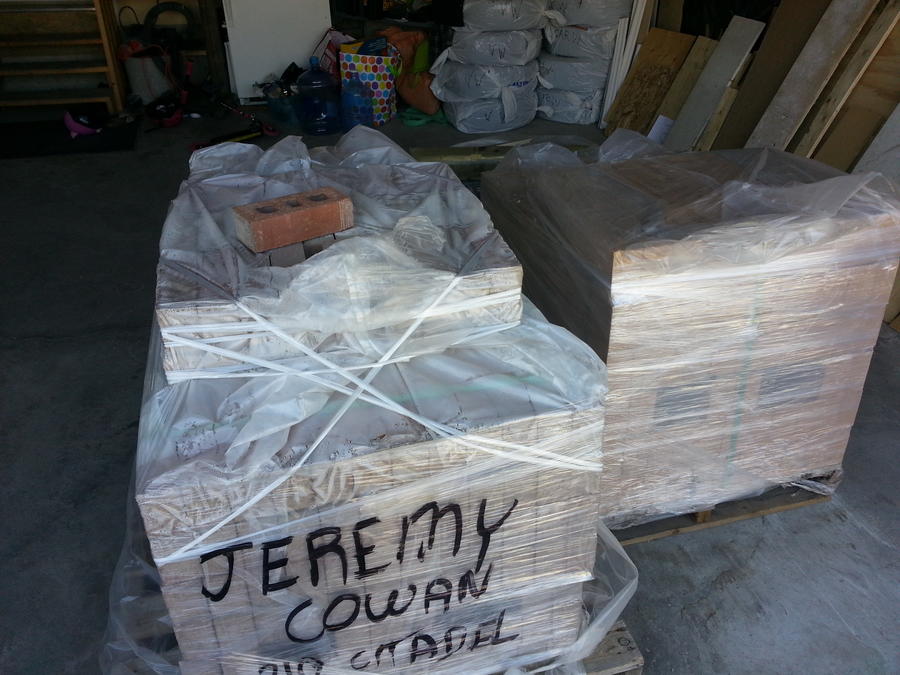
Sadly, these three pallets of brick and mortar sat in my garage for a few months, until I had the time to proceed with the project. So much for my full summer of smoking sweet meat!
The build was next...