johnnyb54
Meat Mopper
- Mar 16, 2015
- 260
- 89
First and foremost I need to give a big shout out to TallBM and Dr. K for their posts regarding wiring a Auber controller to the Masterbuilt smoker.
Since I got my 40" 2nd gen Masterbuilt I have always been disappointed with the +-20 deg.temp swings that I always got when smoking sausage at low temps. Setting the Masterbuilt for 120 resulted in a temp swing of 105-135 but more importantly when finishing my sausage at 170 my temp swings would be 155-190. This swing resulted in some fat melting and extended cook time when trying to get my sausage to a finished temp of 155. Having read TallBM's adventures of rewireing his Masterbuilt with a Auber PID I decided to take to plunge.
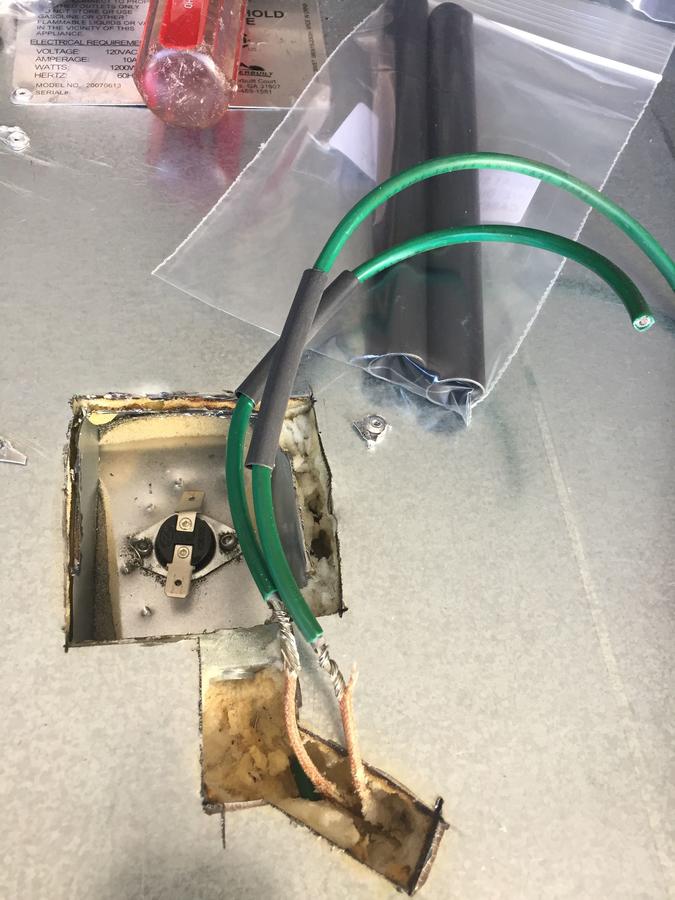
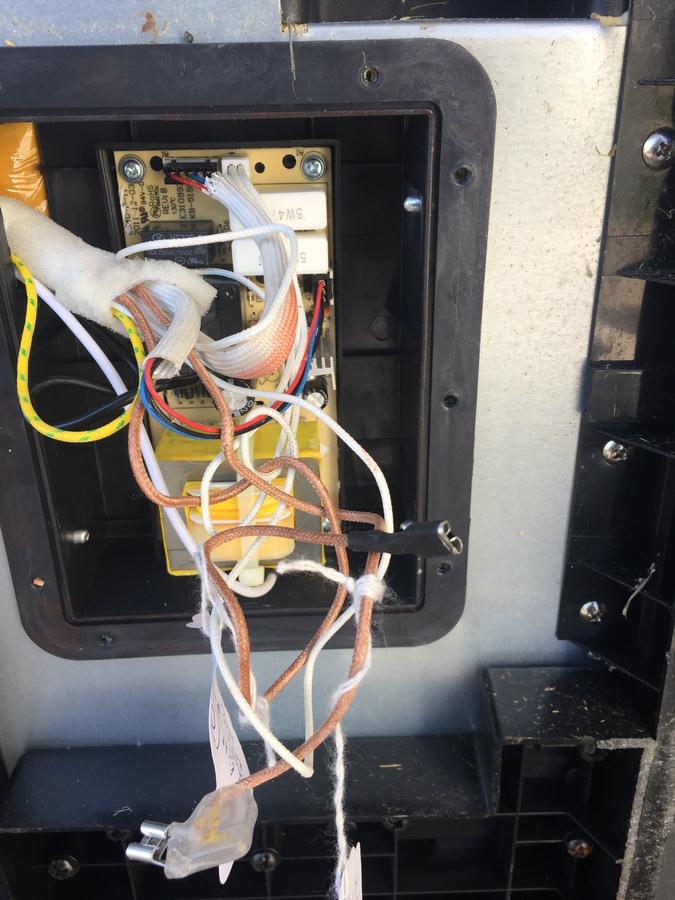
I purchased the Auber dual probe 1800W model WSD-1501GPH. Did I need a dual probe model probably not but I since this was going to be a one time purchase I didn't want buyers remorse later. I also changed the temp cutoff switch and bought the same one that TallBM used (Goodman Janitrol Furnace 350 Rollout Limit Switch B13701-54 B1370154). My 1st problem was the temp cutoff switch had no access from the rear panel. I did some measuring and used a dremel to make my own access panel. Once I made the opening I saw that the wires were frayed. Whoever wired my unit originally when they pulled the wires through the opening damaged the insulation. So I needed made a larger cut so I could follow the wires back to where there was no damage to the insulation and make the repairs.
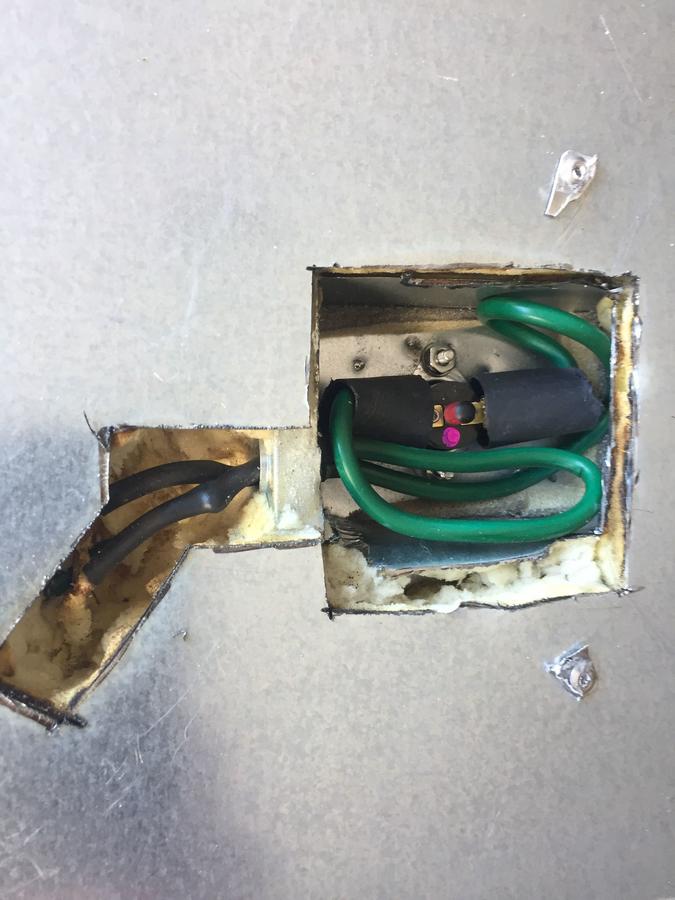
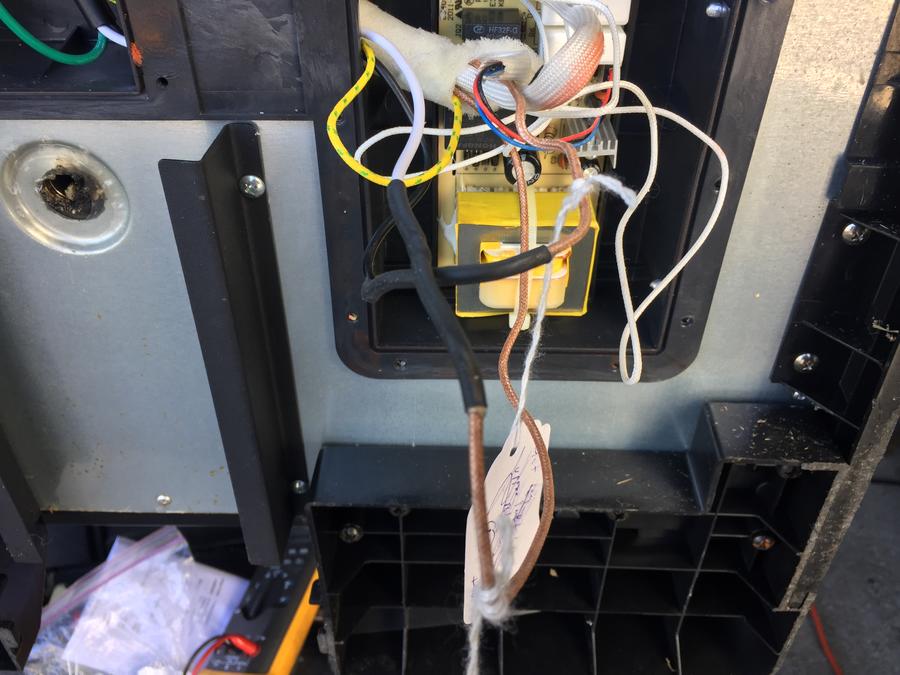
The damaged wires were replaced with the new wires soldered to the old and covered with shrink tubing.
Before terminating the wires I ohmed out the wires so I would know which wire was the hot leg and which wire went to the heater element. I used high temp connectors to terminate the wires to the cutoff switch along with heat shrink tubing over the connectors.
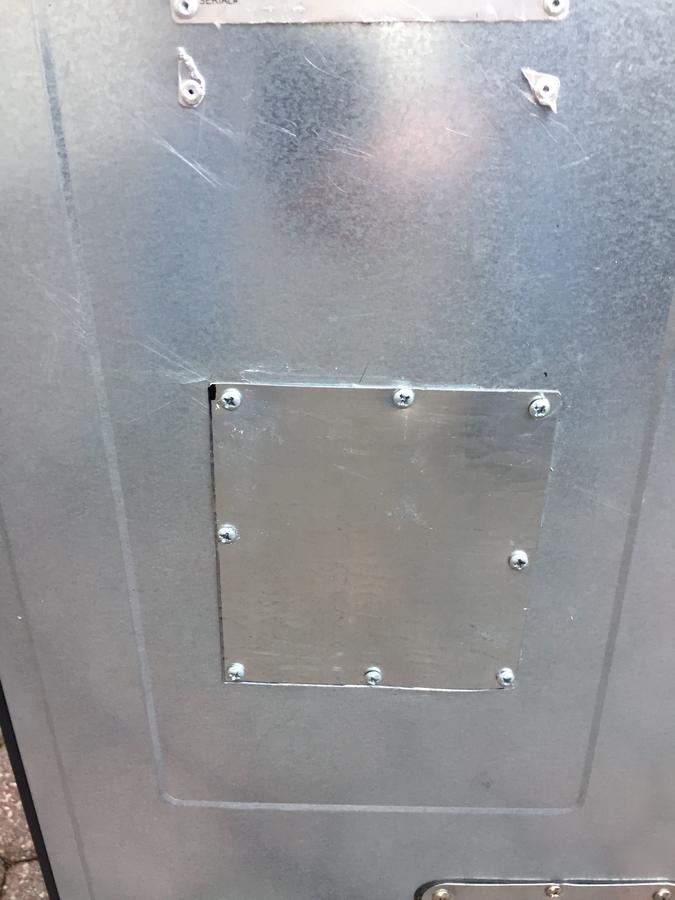
Once all the repairs were made I siliconed a plate over the opening.
As I was looking for a clean looking installation I decided to use the Masterbuilt existing power cord. With the bottom panels opened I followed and ohmed all the wires marking the wires in the process.
With all the wired identified and tagged I cutout all the existing Masterbuilt controls.
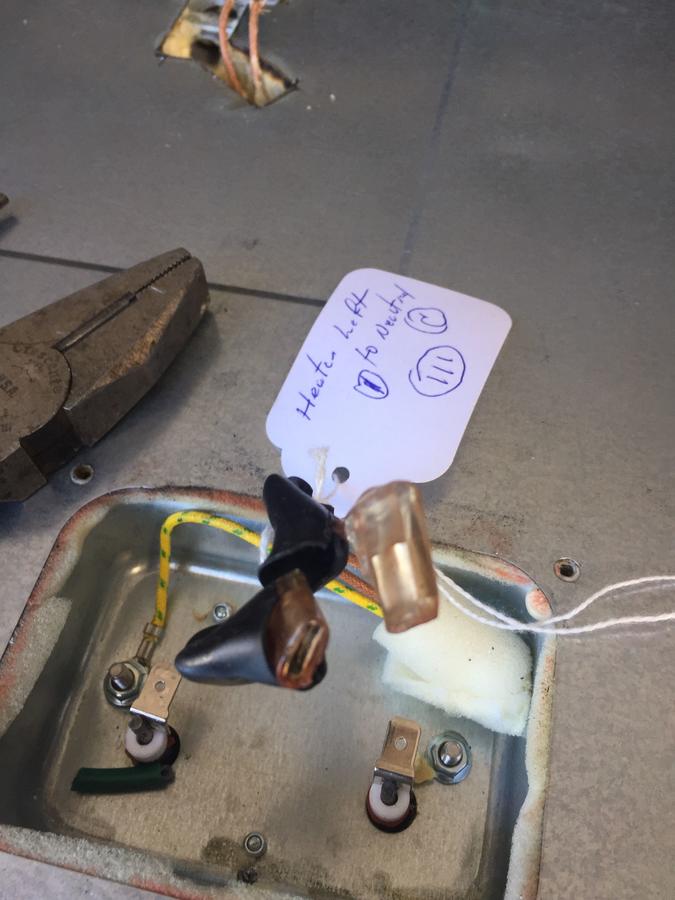
The hot leg to the cutoff switch switch and the neutral to the heater element are now connected directly to the power cord. The wires were soldered and covered with heat shrink tubing.
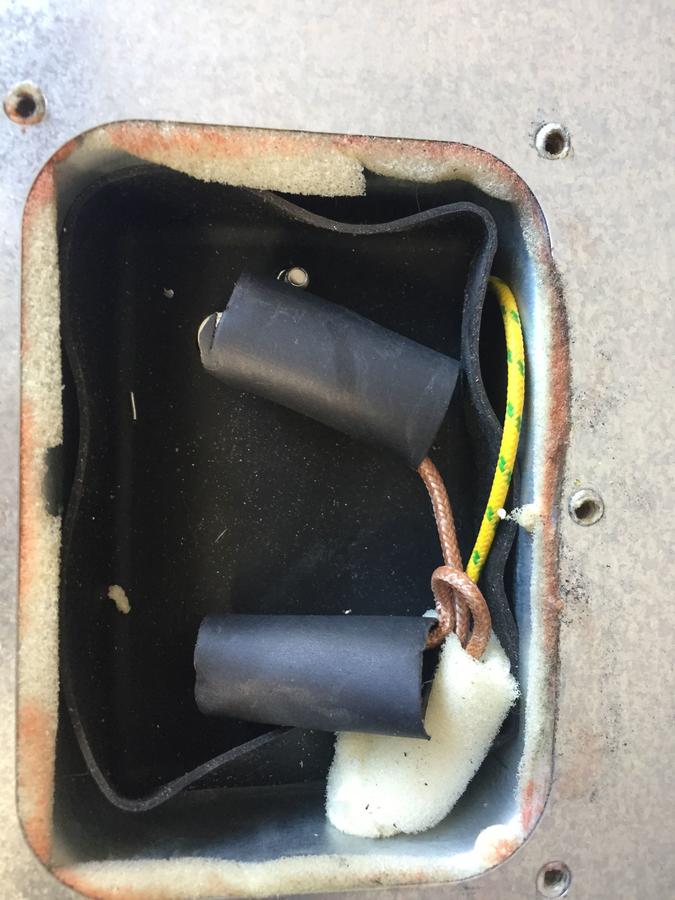
The connections at the heater element and the cutoff switch as everyone knows are notorious for failure. So in addition to changing the cutoff switch connectors the heater element connections were also changed to high temp connectors.
After the connectors were changed heat shrink tubing was installed over them.
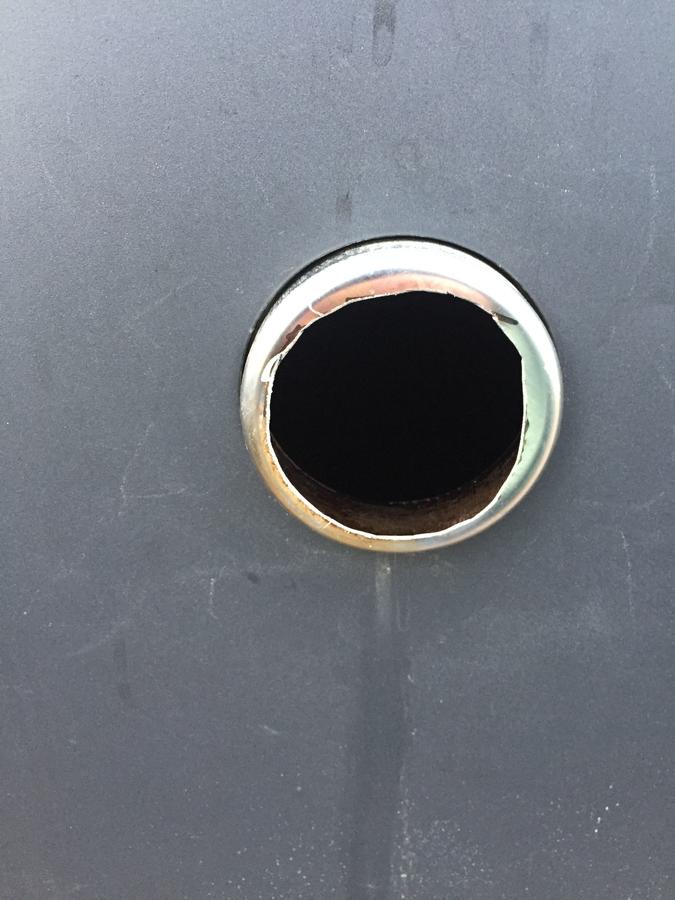
With the wiring completed I also wanted to mod the side vent for better draft and control. I cutout the plate that held the small slider vent control.
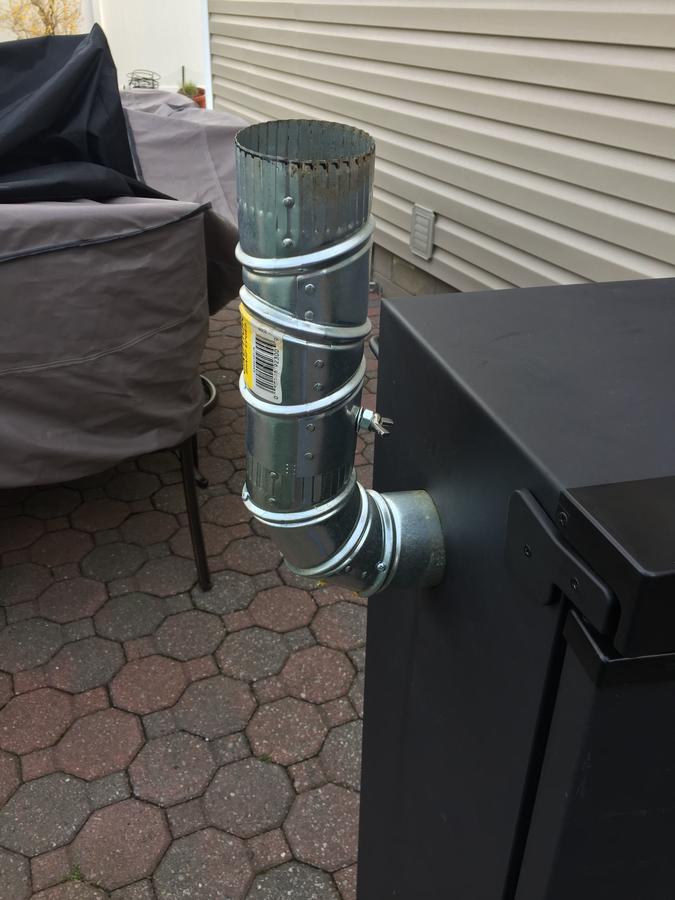
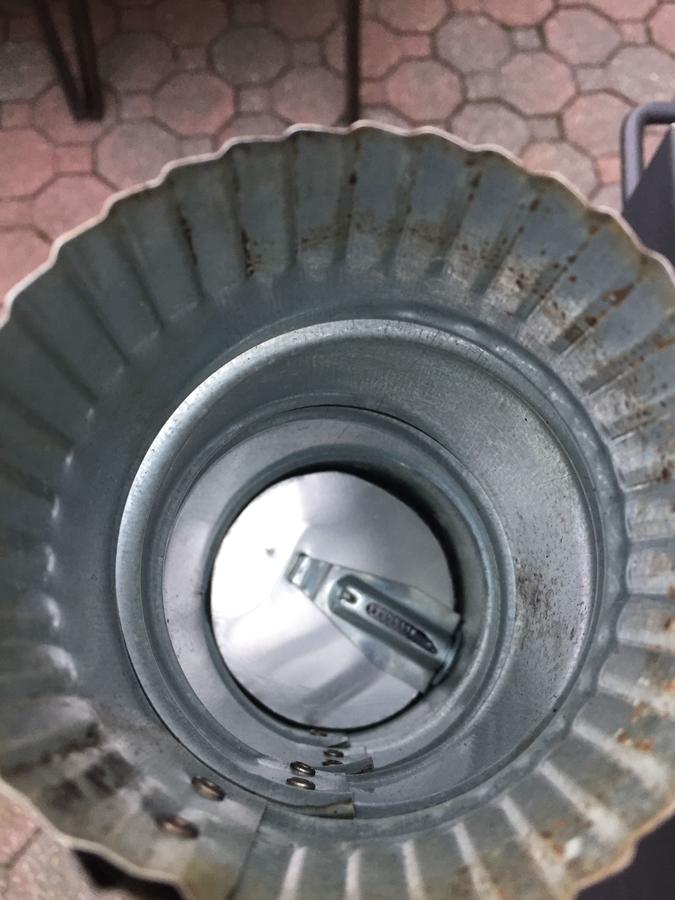
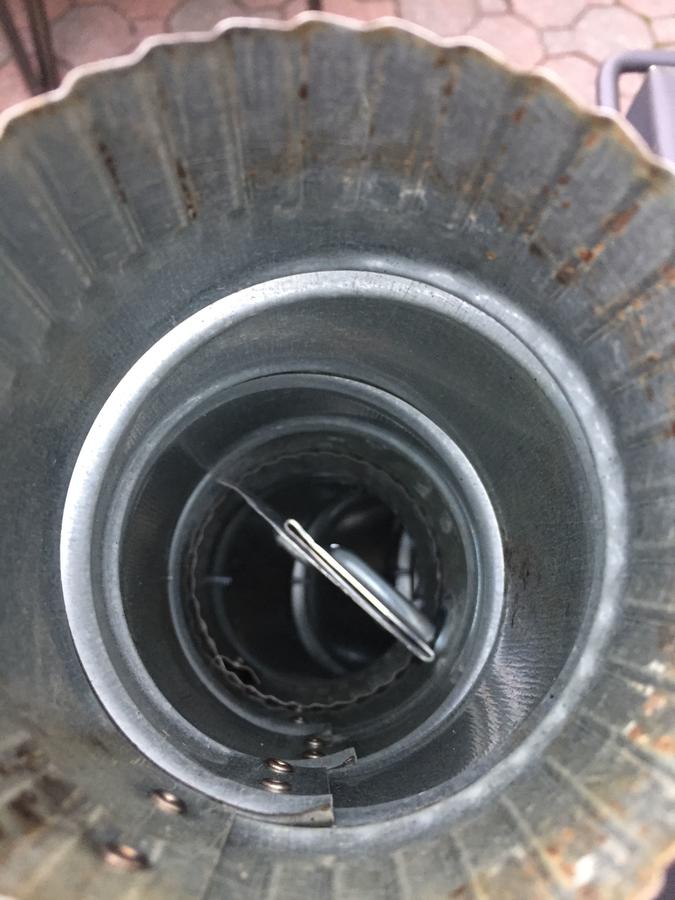
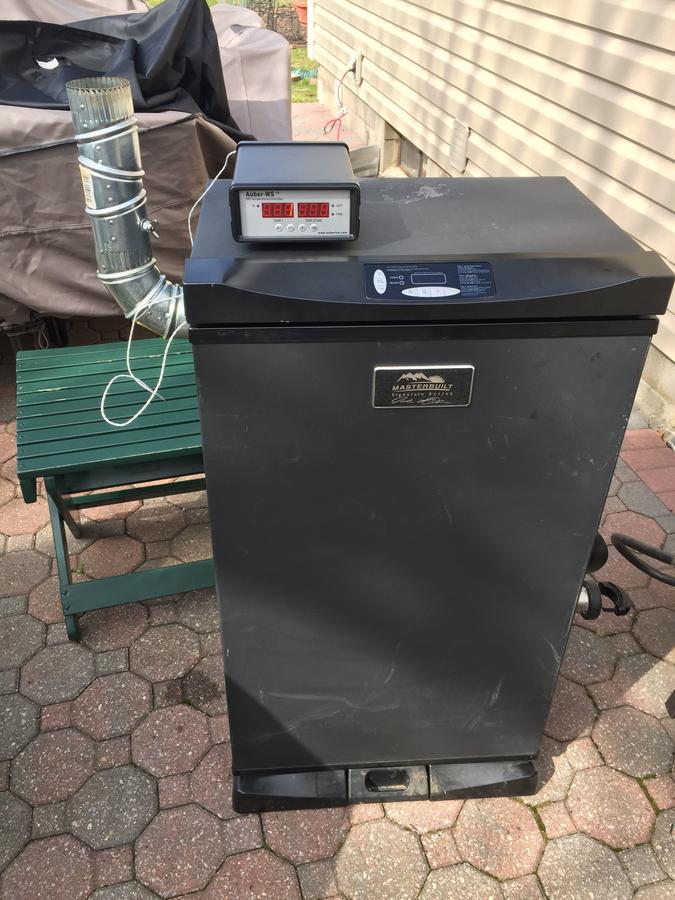
I picked up a couple of 3" adjustable vents and installed a manual draft door. Now all that was left was to plugin the Masterbuilt into the Auber controller and see how she works.
The Auber controlled the heat perfectly. Once the temperature was stabilized the Auber maintained temp. within +/- 1 deg. I tested the unit for temperature stability using a Thermoworks smoke with 2 pit probes, 2 Maverick units and a Thermoworks ChefAlarm with a pit probe. The probes were placed at various positions and levels in the smoker. The difference in temperature between all the probes did not exceed 4 degrees. Naturally the hotter spot was right above the heater element.
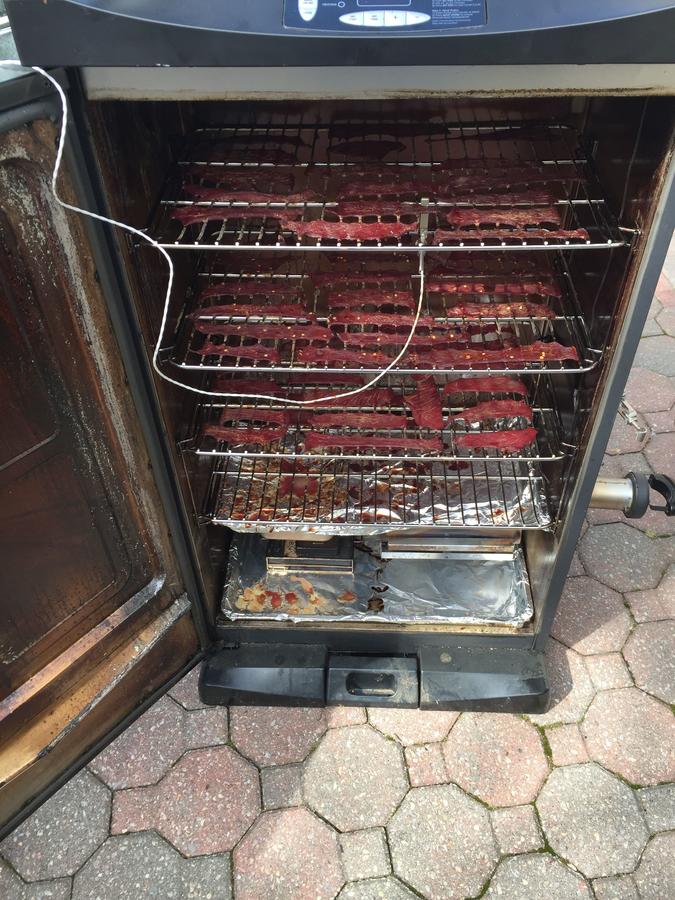
My 1st cook with the new Frankenbuilt smoker was jerky.
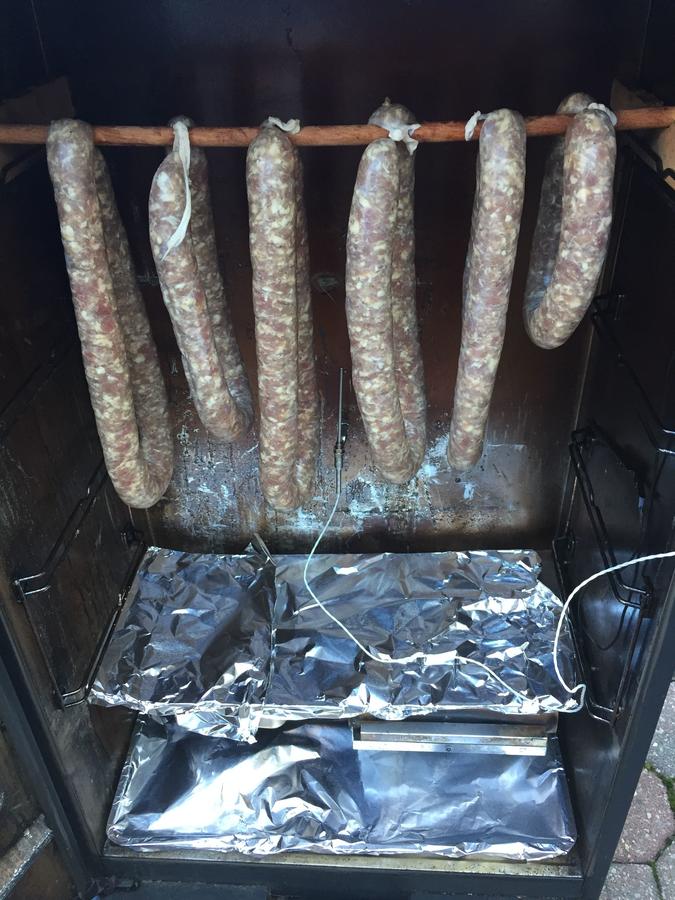
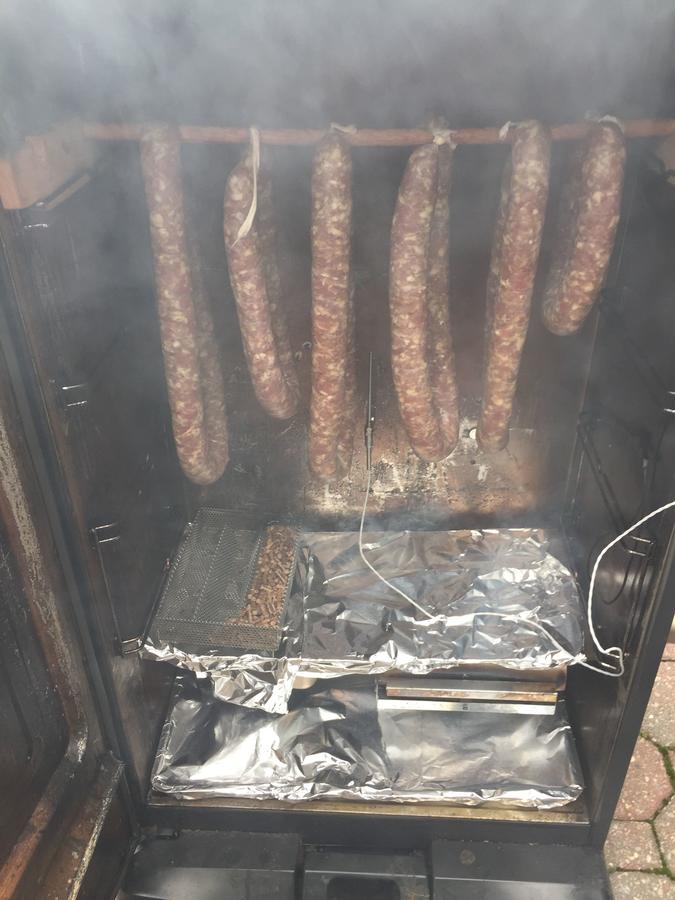
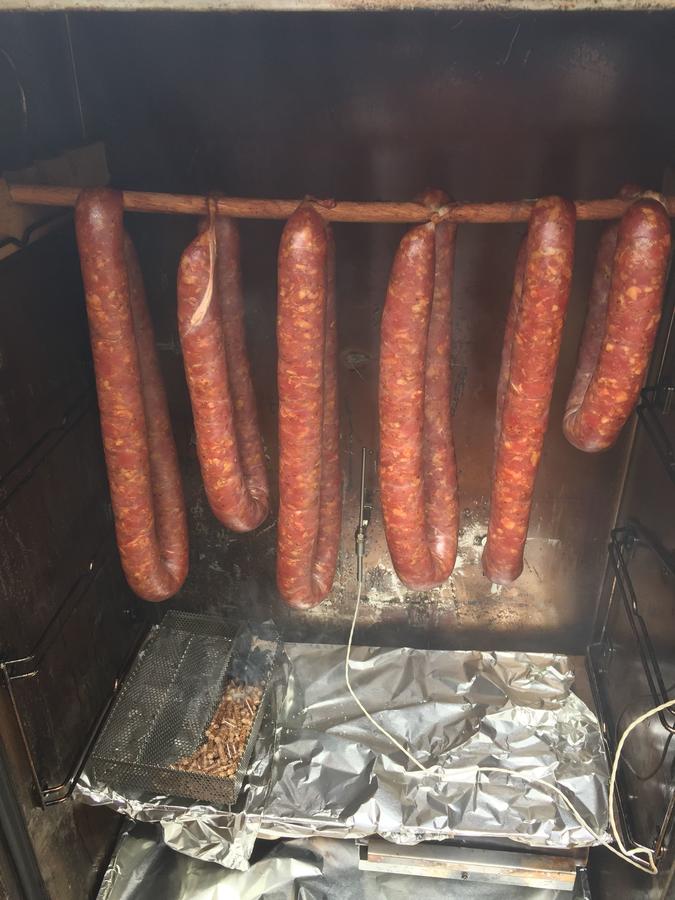
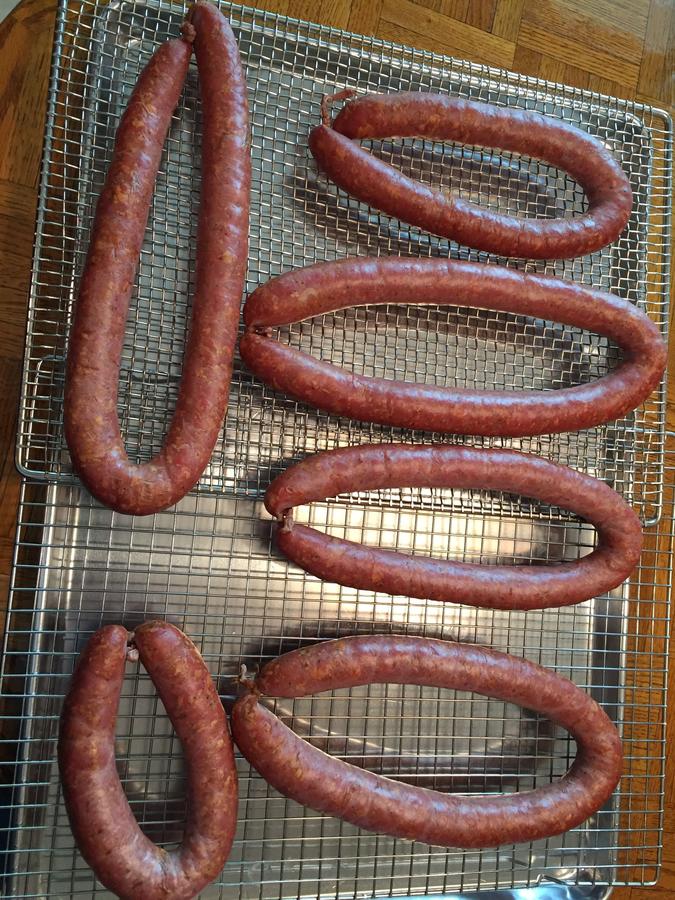
The jerky came out perfect so now onto bigger and better things. When I ordered the parts for the mod I also ordered a AMPS so I decided to make Kielbasa.
The Kielbasa was spot on. Needless to say I am more then happy with the result is this project.
Thanks for looking
Since I got my 40" 2nd gen Masterbuilt I have always been disappointed with the +-20 deg.temp swings that I always got when smoking sausage at low temps. Setting the Masterbuilt for 120 resulted in a temp swing of 105-135 but more importantly when finishing my sausage at 170 my temp swings would be 155-190. This swing resulted in some fat melting and extended cook time when trying to get my sausage to a finished temp of 155. Having read TallBM's adventures of rewireing his Masterbuilt with a Auber PID I decided to take to plunge.
I purchased the Auber dual probe 1800W model WSD-1501GPH. Did I need a dual probe model probably not but I since this was going to be a one time purchase I didn't want buyers remorse later. I also changed the temp cutoff switch and bought the same one that TallBM used (Goodman Janitrol Furnace 350 Rollout Limit Switch B13701-54 B1370154). My 1st problem was the temp cutoff switch had no access from the rear panel. I did some measuring and used a dremel to make my own access panel. Once I made the opening I saw that the wires were frayed. Whoever wired my unit originally when they pulled the wires through the opening damaged the insulation. So I needed made a larger cut so I could follow the wires back to where there was no damage to the insulation and make the repairs.
The damaged wires were replaced with the new wires soldered to the old and covered with shrink tubing.
Before terminating the wires I ohmed out the wires so I would know which wire was the hot leg and which wire went to the heater element. I used high temp connectors to terminate the wires to the cutoff switch along with heat shrink tubing over the connectors.
Once all the repairs were made I siliconed a plate over the opening.
As I was looking for a clean looking installation I decided to use the Masterbuilt existing power cord. With the bottom panels opened I followed and ohmed all the wires marking the wires in the process.
With all the wired identified and tagged I cutout all the existing Masterbuilt controls.
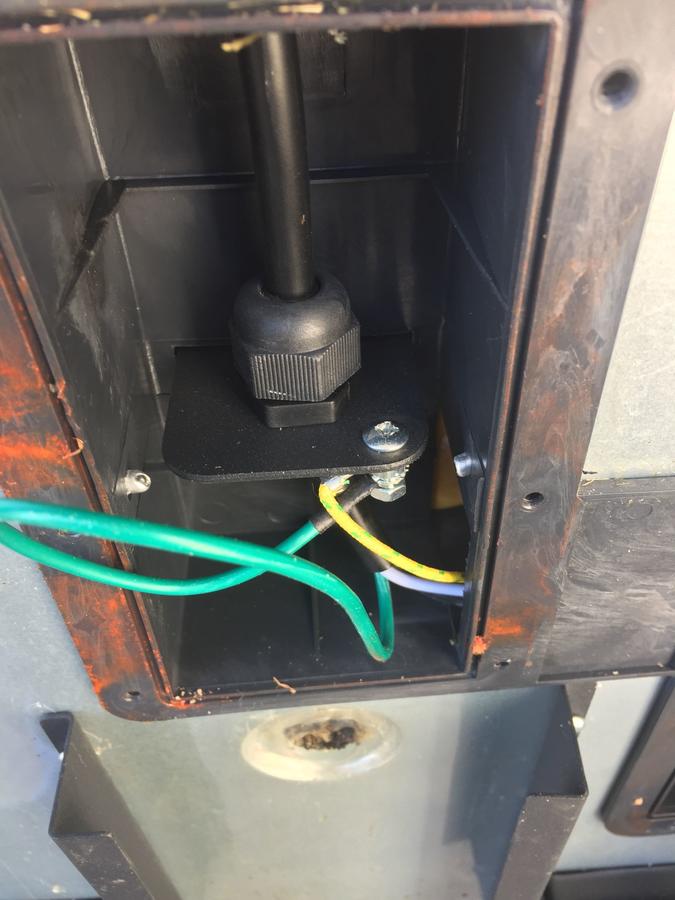
The hot leg to the cutoff switch switch and the neutral to the heater element are now connected directly to the power cord. The wires were soldered and covered with heat shrink tubing.
The connections at the heater element and the cutoff switch as everyone knows are notorious for failure. So in addition to changing the cutoff switch connectors the heater element connections were also changed to high temp connectors.
After the connectors were changed heat shrink tubing was installed over them.
With the wiring completed I also wanted to mod the side vent for better draft and control. I cutout the plate that held the small slider vent control.
I picked up a couple of 3" adjustable vents and installed a manual draft door. Now all that was left was to plugin the Masterbuilt into the Auber controller and see how she works.
The Auber controlled the heat perfectly. Once the temperature was stabilized the Auber maintained temp. within +/- 1 deg. I tested the unit for temperature stability using a Thermoworks smoke with 2 pit probes, 2 Maverick units and a Thermoworks ChefAlarm with a pit probe. The probes were placed at various positions and levels in the smoker. The difference in temperature between all the probes did not exceed 4 degrees. Naturally the hotter spot was right above the heater element.
My 1st cook with the new Frankenbuilt smoker was jerky.
The jerky came out perfect so now onto bigger and better things. When I ordered the parts for the mod I also ordered a AMPS so I decided to make Kielbasa.
The Kielbasa was spot on. Needless to say I am more then happy with the result is this project.
Thanks for looking


