For years and years I fumbled and tinkered with trying to get a reliable cold smoker that wouldn't "snuff out", but also wouldn't catch fire and give off huge plumes of thick smoke. Well, finally I nailed down a perfect ever-reliable design. I get an empty soup/baked beans/food can. This size that I use seems to be ideal:
I eat the contents, wash the can, then "pre-burn" it over a gas burner to remove any coating that is likely to give off toxic fumes if exposed to heat. Then I punch JUST A FEW thin nail holes around the circumference, about 2cm (just less than an inch) above the base. The reason not to punch the holes right at the base of the can is because the holes can get clogged up with dust/debris, and block air flow.
The can is then filled with wood chips or pellets, then put a couple glowing hot heat beads (coal briquettes) on top, and away you go. You get a nice, slow, consistent, steady stream of smoke - not way too much at once. They key to it is having a top-down burn, not from the bottom up. Lump charcoal might work, but it may not be hot enough and long lasting enough; that's why I use heat beads. e.g.:
https://heatbeads.com.au/product/heat-beads-bbq-briquettes/
With one type of wood chips I use for smoking (Red Gum - similar to Hickory), I get them from a lumber/gravel/stone yard, where these chips are meant to be clean. But regardless, just before I use them, I boil them in a saucepan on the stove, then strain and repeat with fresh boiled water. This does two things -
Firstly, it washes out any possible oil/impurities.
Secondly, boiling wood chips ensures that water penetrates right through them (immersing wood in cold water doesn't do this - it only makes the outside wet). You need to boil the chips until they sink to the bottom of the saucepan - then you know they're done.
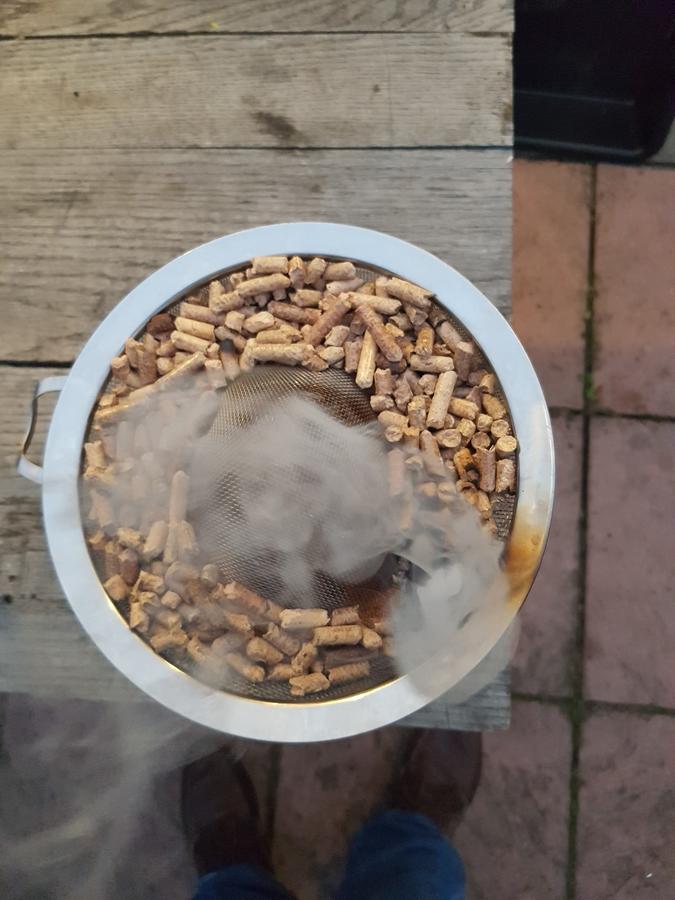
The main thing to keep in mind with this design is "less is best", when it comes to the number of holes punched in the can. If you use boiled wood chips, then many, many more holes are required, but for dry wood chips or pellets - only a few holes are required. If too many holes are punched (when using dry chips/pellets), or the holes are too big, the chips get too much air and smoulder/smoke too quickly and produce way too much smoke - this was the major problem I had with previous tests. It's best to start off with no more than 2-3 holes, then see how that goes. If the wood chips snuff out - that's good; you can always punch more holes in the tin (once the tin cools down - don't ask), but you can't take the holes away if there are too many. Easy as snapping a beer. Easy peasy. If you want to make one for sawdust, I think you'll need to punch a lot more holes I reckon. Or you could try using one of these cutlery strainers? -
Now let me be clear - this DIY cold smoker is no guarantee that you will get great smoked meat every time, as you need to prep the meat well, as required, but this smoker design produces the most controlled, consistent smoke I've yet seen. The other beauty of this idea is you don't need to use an electrical source to make it work. This design truly produces the most controlled, consistent smoke. The heat beads (coal briquettes) provide an incredibly intense heat source, from the top down, and the limited number of holes prevent the chips/pellets from burning to quickly. I suggest people to test this as a "dry run" (no meat/food), just to see if they get a better burn/smoke than they're currently getting.