timneo
Newbie
- Jan 24, 2017
- 12
- 10
Thought I'd separate the original discussion with the UDS build pictures. Gary and I completed most of this build from about 10:30am to 5pm in the afternoon. Paint still drying, it's a bit cold (7'c) and it's got a bit dark over here in the UK.
I couldn't find a lot of common fittings you'd use in the US so I went with what I could get from screwfix (basically a "trade" outlet over here) and the local DIY shop.
I bought a new steel drum from ebay with no lining. Seemed safer and allowed me to get lots more done on the Sunday I did this.
First up, pipe cutting for the handles
All cut to the right size so I don't stick my knuckles on a hot smoker if it needs picking up and moving.
Hand drills would have been nice but ended up using the BFD (SDS Drill) with the BFDB (30mm step drill)
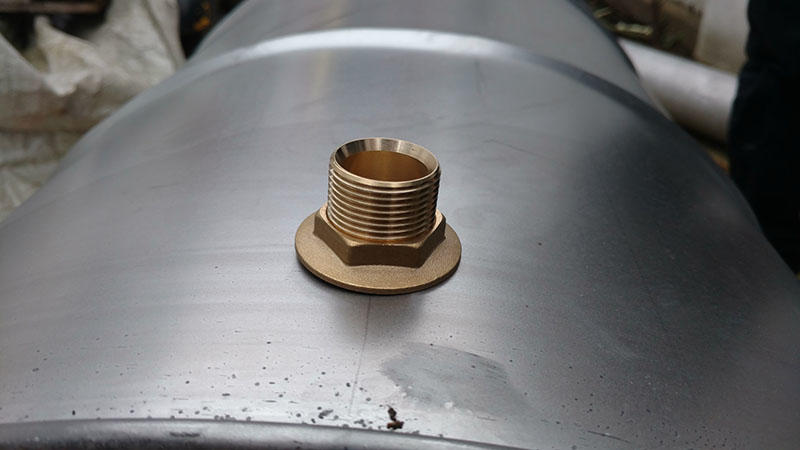
The tank flanges fit so tightly that we could screw them in. This is a test fit. Everything is removed prior to spraying.
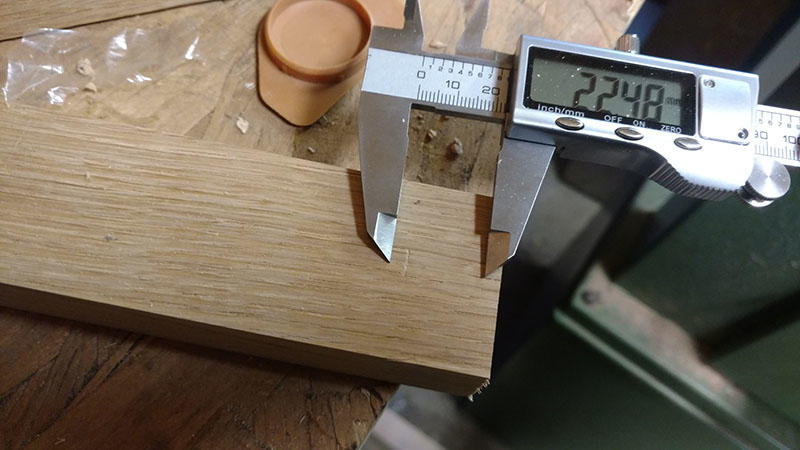
This seemed to be about the right size to go into the flange connector and the 90' pipe bend. Both are compression fittings.
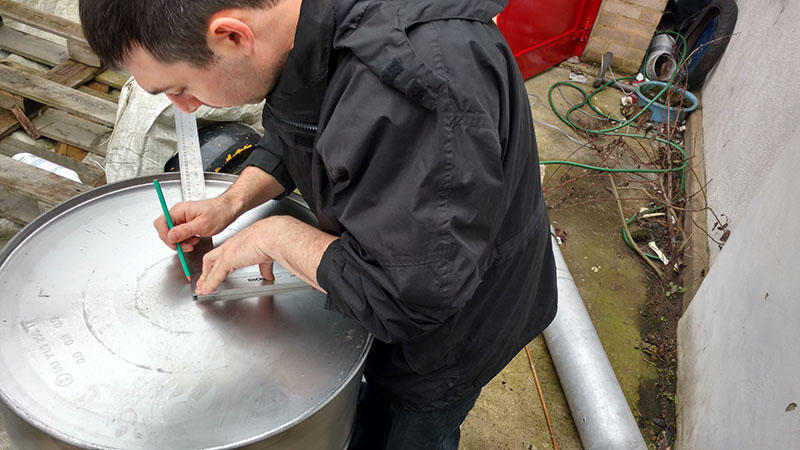
Marking out where all 4 breather holes will go.
Whilst I marked up a bit of white american oak scrap my neighbour brought home (he's a wood merchant)
Marking for drilling.
Originally countersunk for the washers, but ended up flipping it round and using it to countersink the pipes.
Think this looks good - Reason for this elaborate handle is that all the local handles I could find were basically rubbish and expensive. Ended up grinding the copper pipes a little so the angle matched the drum. Sorta.
Dry fit of ball valve inlet. Made it 50cm long (not inc 90' elbow joint or the ball valve.
Handles centred over the ball valve/air pipe.
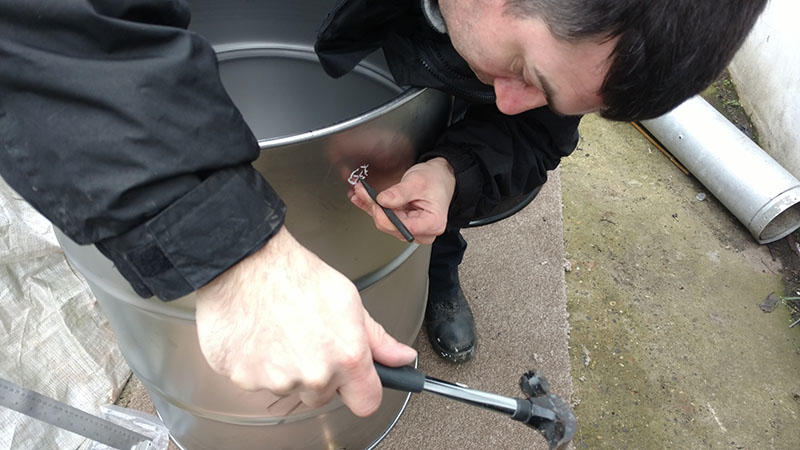
Always mark where you're drilling so nothing slips!
All fitted.
Now this was a jig for drilling a side hole in 15mm pipe.
Attempt one...
Ooops. Pipe shot forward propelled by drill bit. Make amply sure pipe is secure in jig. Glad I wasn't standing in front of it when it shot forward. You can see the skip marks on the pipe.
On this one you can see where I'm drilling. Added an end stop.
Cut to length (about 85mm)
Clamped round the pipe - I guess you can see what I'm sorta doing now. This is to give extra strength to the air inlets that run up the tank. I couldn't find a suitable stainless steel u-bolt.
I've never soldered a pipe in my life. I'm hoping it doesn't get so hot here that it melts the solder, but we'll see! Needs acid etching now apparently to clean it up.
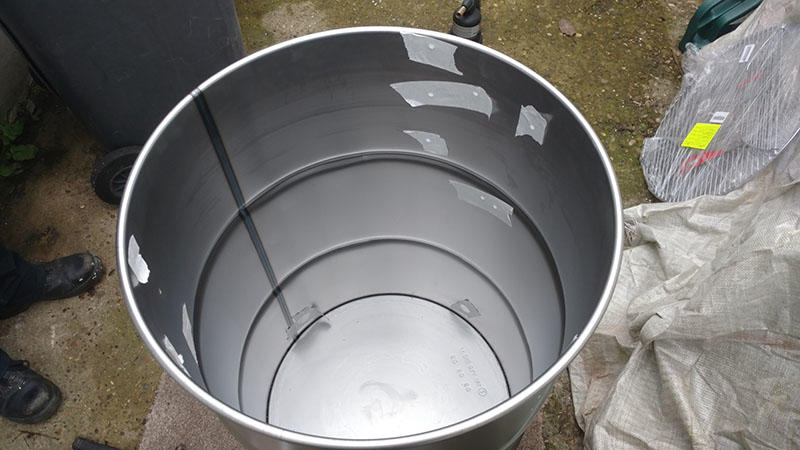
Puting the rest of the holes in for the three trays. One right at the lip, two below at 4.5" gaps.
Using the other step bit to deburr the steel.
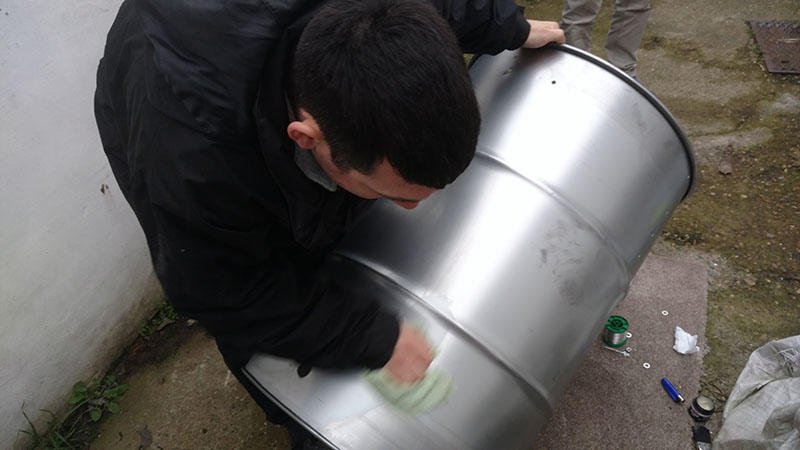
Giving it a good wipe with some handy petrol to clean any grease off the drum.
Masking up for painting.
Layer of red on the lid.
First coat. Did another, used a tin a layer, probably need 2 more I think Hoping it dries during the week.
That's all for now folks. Hope you enjoyed the start of my build! Not much more to do now, just another couple of coats, putting it together and some seasoning. Do also need to put a chimney hole in this lid.
Before some clever clogs says "Why put three trays in if you've got a flat lid" I've got a weber 57cm top that will just about sit on the rim with good luck and judgement. When I'm using the BBQ I can have two trays in the smoker and when I'm just using the smoker I can smoke more at a time!
I couldn't find a lot of common fittings you'd use in the US so I went with what I could get from screwfix (basically a "trade" outlet over here) and the local DIY shop.
I bought a new steel drum from ebay with no lining. Seemed safer and allowed me to get lots more done on the Sunday I did this.
First up, pipe cutting for the handles

All cut to the right size so I don't stick my knuckles on a hot smoker if it needs picking up and moving.

Hand drills would have been nice but ended up using the BFD (SDS Drill) with the BFDB (30mm step drill)

The tank flanges fit so tightly that we could screw them in. This is a test fit. Everything is removed prior to spraying.
This seemed to be about the right size to go into the flange connector and the 90' pipe bend. Both are compression fittings.

Marking out where all 4 breather holes will go.
Whilst I marked up a bit of white american oak scrap my neighbour brought home (he's a wood merchant)

Marking for drilling.


Originally countersunk for the washers, but ended up flipping it round and using it to countersink the pipes.

Think this looks good - Reason for this elaborate handle is that all the local handles I could find were basically rubbish and expensive. Ended up grinding the copper pipes a little so the angle matched the drum. Sorta.

Dry fit of ball valve inlet. Made it 50cm long (not inc 90' elbow joint or the ball valve.

Handles centred over the ball valve/air pipe.


Always mark where you're drilling so nothing slips!
All fitted.

Now this was a jig for drilling a side hole in 15mm pipe.

Attempt one...

Ooops. Pipe shot forward propelled by drill bit. Make amply sure pipe is secure in jig. Glad I wasn't standing in front of it when it shot forward. You can see the skip marks on the pipe.

On this one you can see where I'm drilling. Added an end stop.
Cut to length (about 85mm)
Clamped round the pipe - I guess you can see what I'm sorta doing now. This is to give extra strength to the air inlets that run up the tank. I couldn't find a suitable stainless steel u-bolt.


I've never soldered a pipe in my life. I'm hoping it doesn't get so hot here that it melts the solder, but we'll see! Needs acid etching now apparently to clean it up.

Puting the rest of the holes in for the three trays. One right at the lip, two below at 4.5" gaps.

Using the other step bit to deburr the steel.
Giving it a good wipe with some handy petrol to clean any grease off the drum.
Masking up for painting.
Layer of red on the lid.

First coat. Did another, used a tin a layer, probably need 2 more I think Hoping it dries during the week.
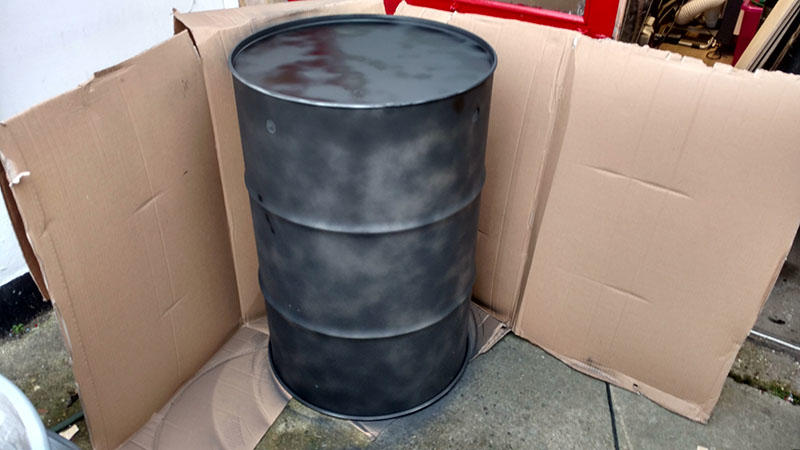
That's all for now folks. Hope you enjoyed the start of my build! Not much more to do now, just another couple of coats, putting it together and some seasoning. Do also need to put a chimney hole in this lid.
Before some clever clogs says "Why put three trays in if you've got a flat lid" I've got a weber 57cm top that will just about sit on the rim with good luck and judgement. When I'm using the BBQ I can have two trays in the smoker and when I'm just using the smoker I can smoke more at a time!


