Digital temp and propane conversion

  • Some of the links on this forum allow SMF, at no cost to you, to earn a small commission when you click through and make a purchase. Let me know if you have any questions about this.
SMF is reader-supported. When you buy through links on our site, we may earn an affiliate commission.
There is a pressure regulator on the bottle.


I thought about putting in an extra pressure valve after the controller to fine tune it.


I just have to find one that will fit, and I couldn't find one at the local hardware stores.


I dont think you need another pressure regulator. You might install a needle valve to regulate the gas flow because the way it is now you are running at full flow. I think you should be able to get a needle valve at lowes or menards or home depot.

Just thought you still have the original control vales for the smoker you could plumb it up using it instead of a needle valve because that is what it is a needle valve.
 
No worries. The controller came with a NG to LP conversion and I've already put it in. I just have to adjust the pilot when everything is going. 
 
I've got all the parts finally and started hooking it all up, but the PID has me flummoxed.

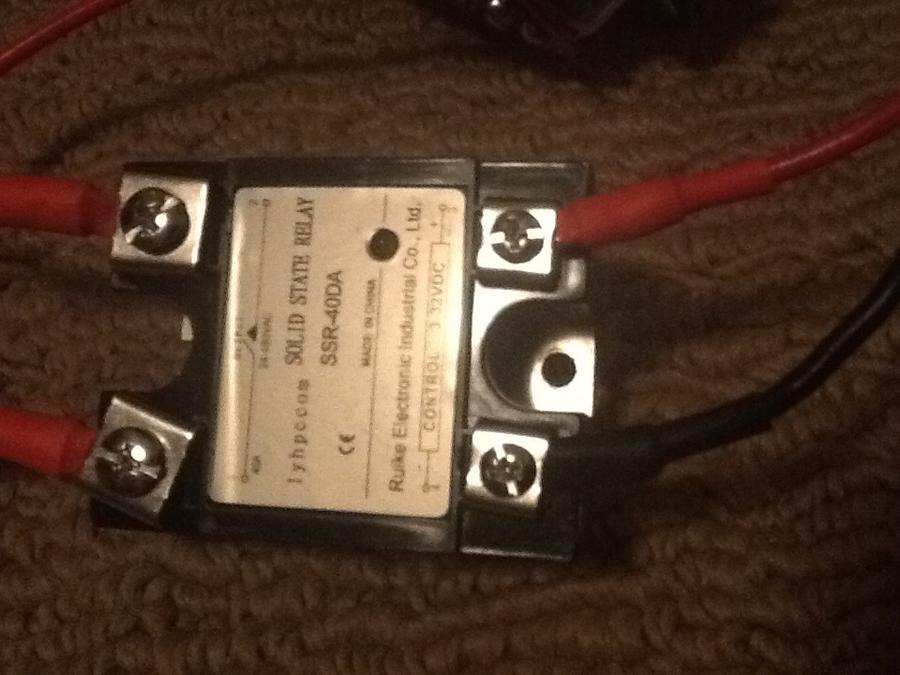
The SSR doesn't light up at all, but I can hear the click inside the PID when the "out" light turns on.

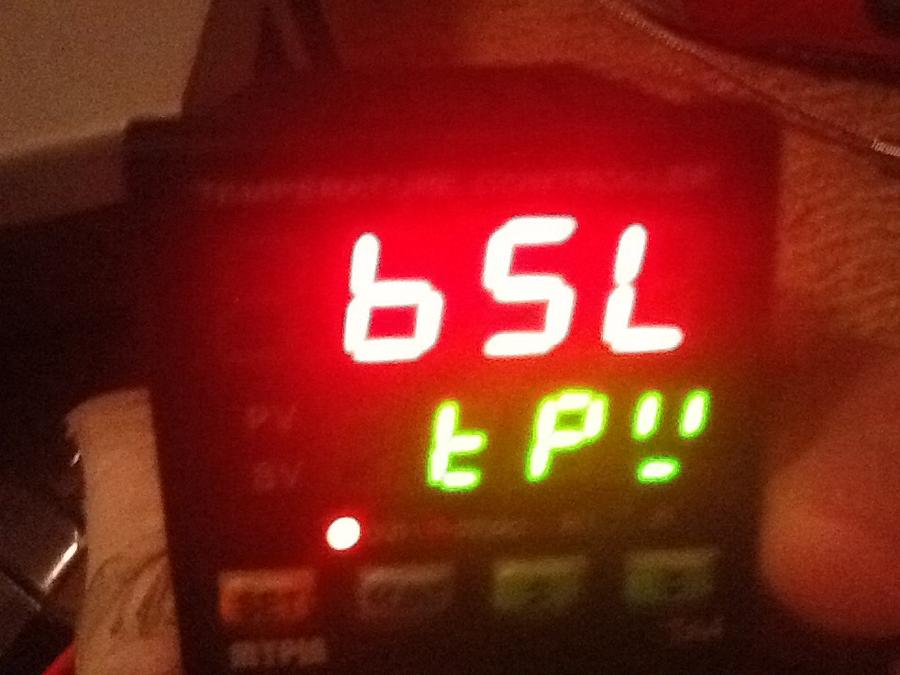
I'm going to throw up a bunch of pics so hopefully someone will spot something wrong:

The manual:

 
Last edited:
Morning mw-smoke, From what I can tell it seems that you have the PID set AL1 = 100deg. AL1 is the temp. that AL1 activates, given that AL1 relay is a normaly open contact that means that when it is in alarm it will close the switch between terminals 5&6.
The next setting An 1(cant make the symbol here) is set to 2. According to the instructions a set point of 2 (absolute value hi) in An1 means that AL1 will activate when the temp. goes above the absolute value that you enter in AL1. AL1 would close the relay terninals 5&6
The alarm function on this controller has nothing to do with the front panel setpoint.

It looks like all of the paramiters in the controller are set corectly if you have a type K thermocouple that is.
From the wireing schematic it apears that terminals 3&4 are the controller terminals and with the C t L paramiter in the controller set to 001 like you have it for SSR, it apears that the controller should power terminals 3&4 .
With the set point on the front of the controller set above the temp, of the probe use a multimeter to determin if terminals 3&4 have any voltage. Your SSR requires 3-32 DC volts to change states to suply your gas valve voltage. If there is voltage on 3&4 is it over 3 DC volts if so then check the terminals on the SSR if there is DC voltage on the SSR then check continuity on the gas valve terninals of the SSR. If you have DC voltage to the SSR and no continuity on the gas valve terninals then your SSR is bad.
 
Thanks a bunch wolf man. I really appreciate all you've done to help me.

I have a question: should I just hook the connections up to 5&6 and not worry about 3&4? If so, then I'm confused about what 3&4 are used for.

Thanks!
 
Got it! :sausage:

I was scratching my about the lack of voltage, so I was Googling all over and found a thread where someone says the TA4-RNR is hard wired as a relay and can't be turned off or on through the configuration menu.

So I take the SSR out of the loop, wire up the 24vAC to pin 3 on the PID, and wire pin 4 to the controller valve. Plug it in, the PID goes through the boot-up screens and then - CLUNK - the solenoid on the controller valve is tripped.

And man, that thing is loud.

There's also a buzzing sound from it, so I hope that's not a bad thing.

I put the PID into auto-tune and it starts working right away.

Now I gotta just tighten up everything, break it in, and start smoking! :grilling_smilie:
 
GREAT glad u got it!!! My only concern with running the way you have it is your Main out put relay is only rated for 3 amps. Look on the selonoid on your gas valve to see if it has an amp rating on it. Just dont want you to burn up your relay.
 
Thanks woodman, I'll look for it.

I tested it out with the LP hooked up and it's all working, but I couldn't figure out how to control the duration of the burn.

After auto tuning, when the temperature drops and the PID starts to turn on the gas, it switches on and off so fast that the flow of gas isn't long enough to catch light.

So I need to manually set the duration.
 
Last edited:
I know very little about PID control. You might try putting some kind of value in the D peramiter instead of off to see if that helps. If you deside to run this controller in ON/OFF mode then i can help you out.
 
In ON/OFF mode you would turn paramiter P to OFF. then the HYS paramiter controls the out put relay. A value of 1 in HYS means that the relay will close @ 1 deg. below set point and it will open @ 1 deg. above set point in other words, set point = 100 burner on @ 99 burner off @ 101 you would have a temp swing of about 3 deg. A value of 2 in HYS would give you a temp swing of about 5 deg.
 
You could then use a needle valve in your burnner gas suply to control how fast or slow that the smoker would gain temp. thus controlling how often the controller relay switches.
 
not 100% sure on your controller but the ones i have messed with you Go through the peramiters just like when you took all of the pictures, when you get to the P paramiter press either the up or down button till green displat says off then you would probably hit the set button 1 or 2 times to save the changes. You can also change the HYS setting the same way.
 
I turned off the P parameter and adjusted the HYS to 5. 

I tested without the LP hooked up and it seems to work just like I want. 

I can't wait to give this a go! 
 
SmokingMeatForums.com is reader supported and as an Amazon Associate, we may earn commissions from qualifying purchases.

Hot Threads

Clicky