I have a Masterbuilt MES 40 with the typical temperature control problems, MB21072719. I'd like to try repairing rather than buying a whole new smoker right now.
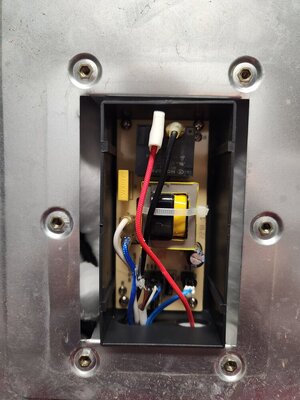
Planning on replacing the control panel, heating element and maybe circuit board if necessary, but what about the temperature sensor?
My problem is the smoker "thinks" it's up to temp so won't turn the element on at times, when it's really riding about 30-50 degrees lower as verified by my multi-probe thermometer.
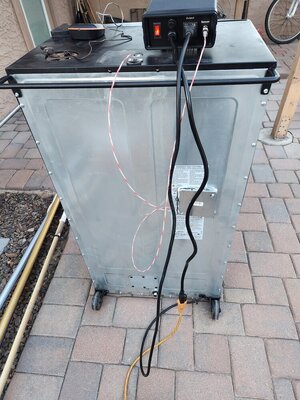
Does anyone have any advice on how to replace the temp sensor without pulling the back panel off? My control panel has the 4 wire + 2 wire for the included meat probe. I was thinking of abandoning the included meat probe as I use my own, and somehow using that wire to get a sensor connected to the new control panel since there's a gasketed access going right through the top of the cabinet under the controller.
I'm sure some of you guys here have done this, hopefully someone's got a tip for me. Thanks.
Planning on replacing the control panel, heating element and maybe circuit board if necessary, but what about the temperature sensor?
My problem is the smoker "thinks" it's up to temp so won't turn the element on at times, when it's really riding about 30-50 degrees lower as verified by my multi-probe thermometer.
Does anyone have any advice on how to replace the temp sensor without pulling the back panel off? My control panel has the 4 wire + 2 wire for the included meat probe. I was thinking of abandoning the included meat probe as I use my own, and somehow using that wire to get a sensor connected to the new control panel since there's a gasketed access going right through the top of the cabinet under the controller.
I'm sure some of you guys here have done this, hopefully someone's got a tip for me. Thanks.