The precursor to this thread is the one I posted a few days ago - "Party Cheese!"
http://www.smokingmeatforums.com/t/261483/party-cheese
The first step in my prep is to get the cheese mellowing. We purchased the cheese and turkeys the same day; Tuesday, April 18th. Wednesday the 19th I smoked the cheese while waiting for the turkeys to thaw in the fridge, and they were done by Saturday, the 22nd. We bought the turkeys at WinCo in Fort Worth. We'd had them before at our Christmas party and they were delicious!
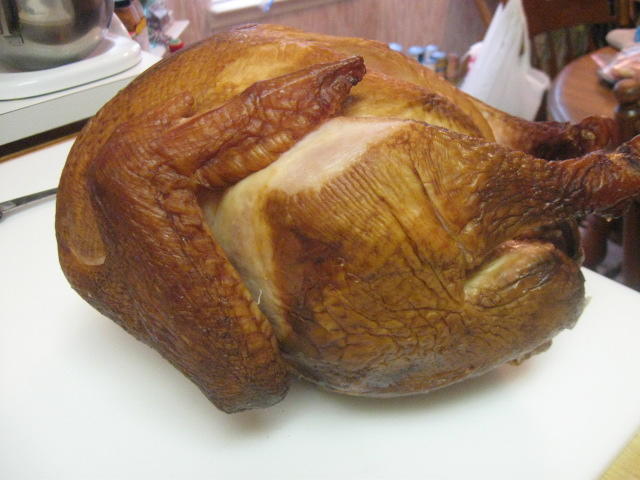
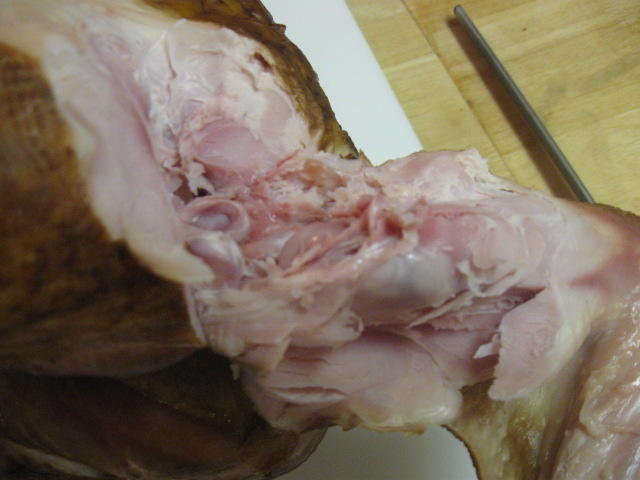
So today I brought them out from the fridge (rolled them out, actually), took them out of their nets and wrappers, removed the leg holders, cut off the tails, took out the necks from the inner cavities and removed the giblets from the neck are, trimming all fat and cutting off the neck skins. Put the parts'n'pieces in a big dutch oven and added water, simmering them on the stove.
Processed:
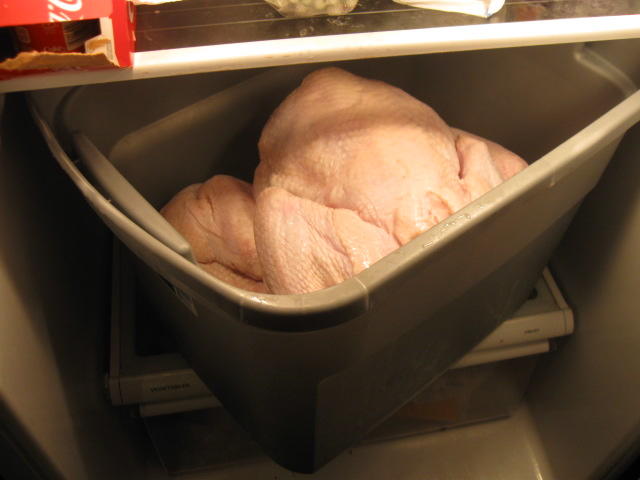
Sanitized my big bucket and put in the fridge:
Added the turkeys:
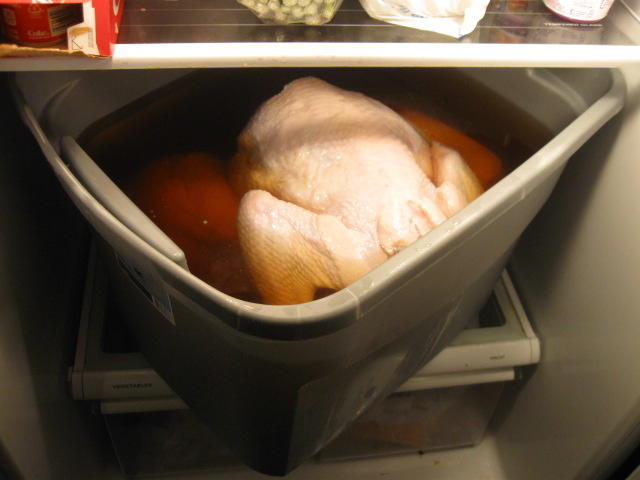
Started filling with Lo-Salt Curing Brine: (Notice the top turkey is breast side down to maximize the curing opportunity)
It took 8 gallons of brine to fill it, the top turkey floating and held down with a heavy plate:
Put to bed until Smoking Day, Saturday, May 13th (Sunday, May 14th is Mother's Day).
No need to do anything more than keep the fridge running; no stirring, no handling, no moving, just let the magic happen!
Of course I include my Pop's Curing Brine recipes:
http://www.smokingmeatforums.com/a/pops6927s-curing-brines-regular-and-lo-salt
[h1]Pops6927's Curing Brines - Regular and Lo-Salt[/h1]

By: Pops6927
Posted 10/27/14 • Last updated 10/27/14 • 2,383 views • 1 comment
These are my Curing brines for pork, beef (corned and dried), poultry, and so on.
Regular Curing Brine:
1 gallon of clean water
1 cup plain, regular non-iodized table salt
1 cup sugar or sucrolose
1 cup brown sugar or sucrolose equiv.
1 tablespoon of Cure#1
Lo-Salt Curing Brine:
1 gallon of clean water
½ cup plain, regular non-iodized rable salt
½ cup sugar or sucrolose
½ cup brown sugar or sucrolose equiv.
1 tablespoon of Cure #1
mix in food-safe container, stir until clear.
Add meat. Do not add different species of meats, but you can add pieces of the same species.
Refrigerate 1 to 21 days, depending on thickness of meat.
Up to 2 inches, 1-10 days.
2 - 4 inches, 5 - 15 days, may require injecting to cure from the inside-out as well as from the outside-in.
4 inches and larger. 15 - 21 days, requires injecting.
Injecting - use a Morton's injection 4 oz. manual injection pump with the Broadcast needle.
or equivalent.
Brine can become frothy (ropy). It has both salt and sugar in it. It also is inputting curing ingredients into the meat and oozing out blood and plasma. Just dump the brine and make up fresh and continue curing should that happen. Make sure you keep it at 38° - 40°.
Weigh down meat into curing brine with half-filled ziploc bags of water on top.
No further mixing or stirring required, let it cure until done. Meats will come out of the brine wish a distinct grayish look. This is normal.
Cure #1:
I use this as reference:
Computing equivalency, for 100 gallons of curing brine, you add 24 lbs. of curing salt to 100 gallons of water and mix.
That is .24 lbs, or 3.84 oz. of curing salt to 1 gallon of water maximum.
My recipe calls for 1 tablespoon of curing salt to 1 gallon of water. A level tablespoon is .88 of an ounce. Heaping is approx. 1 ounce. Either is fine. Neither comes close to the maximum amount allowed, but just enough to do the job. Curing at Maximum, plus with injection, requires 48 hours of cure time maximum. This process uses less than one third the curing salt and a longer curing time to tenderize and flavor the meat.
You must cover the product until it floats off the bottom of the container, then weight it down to stay submersed in the brine, leaving no area to be exposed to air. You must keep at 38° to 40° until curing time is over. Remove from brine, put or hang in smokehouse or smoker. I personally go from refrigeration to heat with no wait time myself. There is different thoughts, whether to allow a pellicle to form or not.
http://en.wikipedia.org/wiki/Pellicle_(cooking)
A pellicle is mainly, to my knowledge, allowed to form on fish prior to smoking. We were only 30 miles from Salmon River in Pulaski, NY, a very well known salmon run. We had many bring us their salmon to process and usually allowed a pellicle to form But, pork and beef are not tender like fish.
See you May 13th, Smoking Day!
http://www.smokingmeatforums.com/t/261483/party-cheese
The first step in my prep is to get the cheese mellowing. We purchased the cheese and turkeys the same day; Tuesday, April 18th. Wednesday the 19th I smoked the cheese while waiting for the turkeys to thaw in the fridge, and they were done by Saturday, the 22nd. We bought the turkeys at WinCo in Fort Worth. We'd had them before at our Christmas party and they were delicious!

So today I brought them out from the fridge (rolled them out, actually), took them out of their nets and wrappers, removed the leg holders, cut off the tails, took out the necks from the inner cavities and removed the giblets from the neck are, trimming all fat and cutting off the neck skins. Put the parts'n'pieces in a big dutch oven and added water, simmering them on the stove.
Processed:

Sanitized my big bucket and put in the fridge:

Added the turkeys:
Started filling with Lo-Salt Curing Brine: (Notice the top turkey is breast side down to maximize the curing opportunity)
It took 8 gallons of brine to fill it, the top turkey floating and held down with a heavy plate:

Put to bed until Smoking Day, Saturday, May 13th (Sunday, May 14th is Mother's Day).
No need to do anything more than keep the fridge running; no stirring, no handling, no moving, just let the magic happen!
Of course I include my Pop's Curing Brine recipes:
http://www.smokingmeatforums.com/a/pops6927s-curing-brines-regular-and-lo-salt
[h1]Pops6927's Curing Brines - Regular and Lo-Salt[/h1]
By: Pops6927
Posted 10/27/14 • Last updated 10/27/14 • 2,383 views • 1 comment
These are my Curing brines for pork, beef (corned and dried), poultry, and so on.
Regular Curing Brine:
1 gallon of clean water
1 cup plain, regular non-iodized table salt
1 cup sugar or sucrolose
1 cup brown sugar or sucrolose equiv.
1 tablespoon of Cure#1
Lo-Salt Curing Brine:
1 gallon of clean water
½ cup plain, regular non-iodized rable salt
½ cup sugar or sucrolose
½ cup brown sugar or sucrolose equiv.
1 tablespoon of Cure #1
mix in food-safe container, stir until clear.
Add meat. Do not add different species of meats, but you can add pieces of the same species.
Refrigerate 1 to 21 days, depending on thickness of meat.
Up to 2 inches, 1-10 days.
2 - 4 inches, 5 - 15 days, may require injecting to cure from the inside-out as well as from the outside-in.
4 inches and larger. 15 - 21 days, requires injecting.
Injecting - use a Morton's injection 4 oz. manual injection pump with the Broadcast needle.
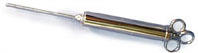

or equivalent.
Brine can become frothy (ropy). It has both salt and sugar in it. It also is inputting curing ingredients into the meat and oozing out blood and plasma. Just dump the brine and make up fresh and continue curing should that happen. Make sure you keep it at 38° - 40°.
Weigh down meat into curing brine with half-filled ziploc bags of water on top.
No further mixing or stirring required, let it cure until done. Meats will come out of the brine wish a distinct grayish look. This is normal.
Cure #1:
I use this as reference:
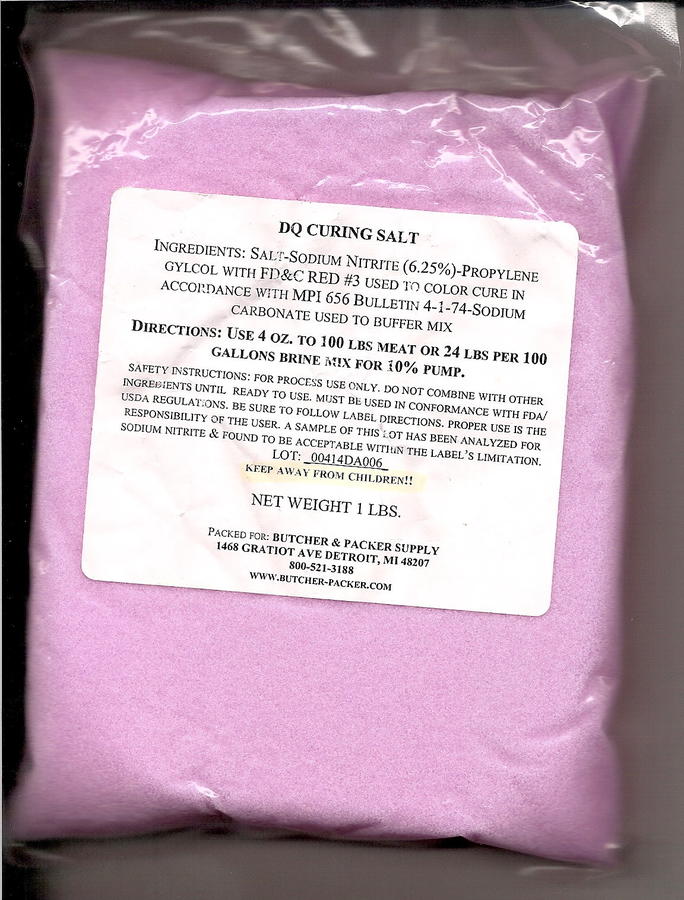
Computing equivalency, for 100 gallons of curing brine, you add 24 lbs. of curing salt to 100 gallons of water and mix.
That is .24 lbs, or 3.84 oz. of curing salt to 1 gallon of water maximum.
My recipe calls for 1 tablespoon of curing salt to 1 gallon of water. A level tablespoon is .88 of an ounce. Heaping is approx. 1 ounce. Either is fine. Neither comes close to the maximum amount allowed, but just enough to do the job. Curing at Maximum, plus with injection, requires 48 hours of cure time maximum. This process uses less than one third the curing salt and a longer curing time to tenderize and flavor the meat.
You must cover the product until it floats off the bottom of the container, then weight it down to stay submersed in the brine, leaving no area to be exposed to air. You must keep at 38° to 40° until curing time is over. Remove from brine, put or hang in smokehouse or smoker. I personally go from refrigeration to heat with no wait time myself. There is different thoughts, whether to allow a pellicle to form or not.
http://en.wikipedia.org/wiki/Pellicle_(cooking)
A pellicle is mainly, to my knowledge, allowed to form on fish prior to smoking. We were only 30 miles from Salmon River in Pulaski, NY, a very well known salmon run. We had many bring us their salmon to process and usually allowed a pellicle to form But, pork and beef are not tender like fish.
See you May 13th, Smoking Day!
Last edited: