- Apr 13, 2017
- 27
- 12
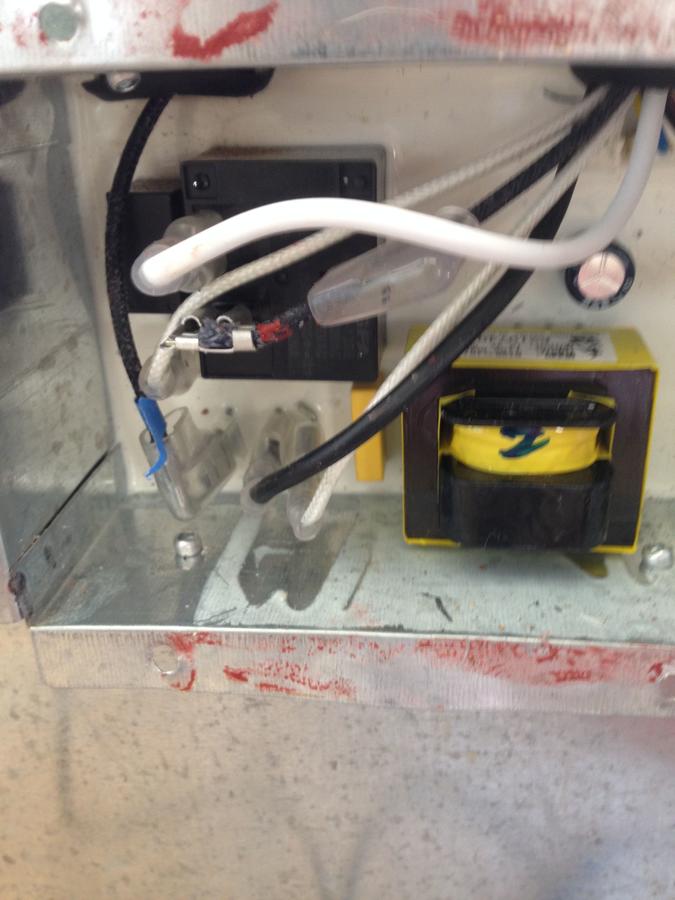
^^^^I put a small piece of blue tape on one of the black braided wires on the circuit board and the other black braided wire is not taped.
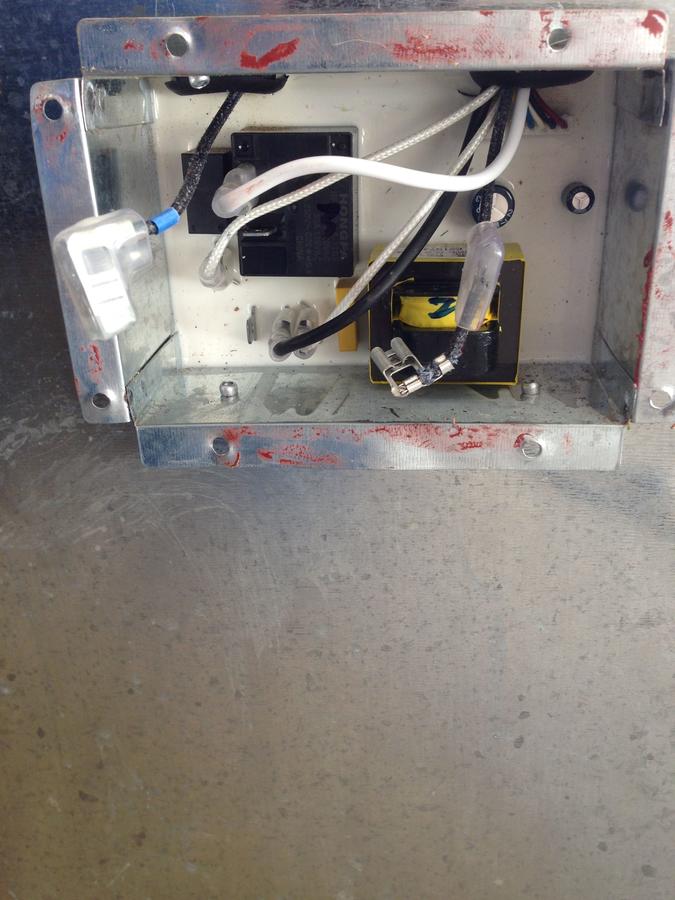
^^^^Unplugged both the wires on the circuit board

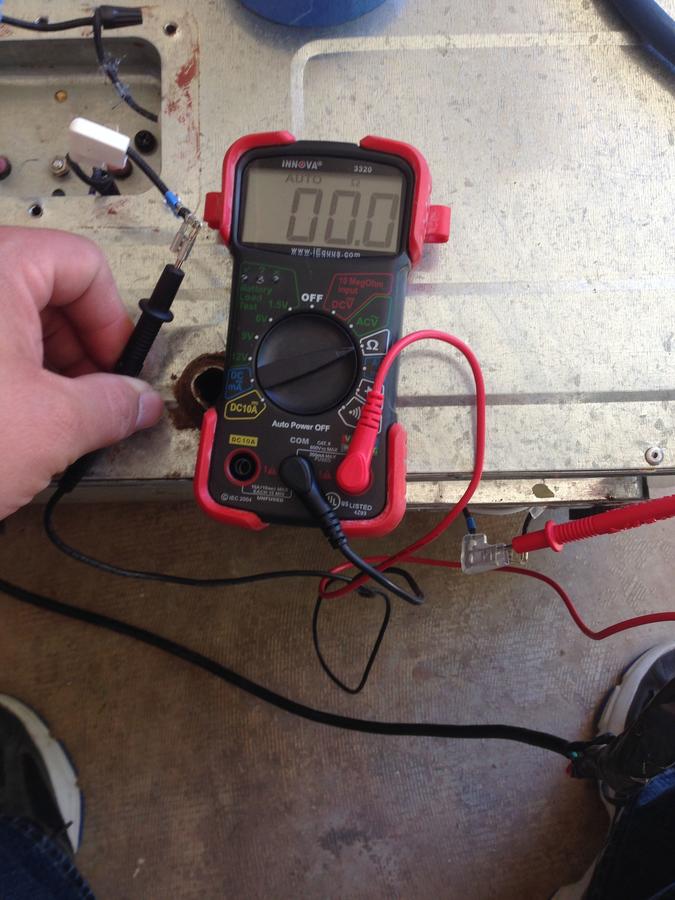
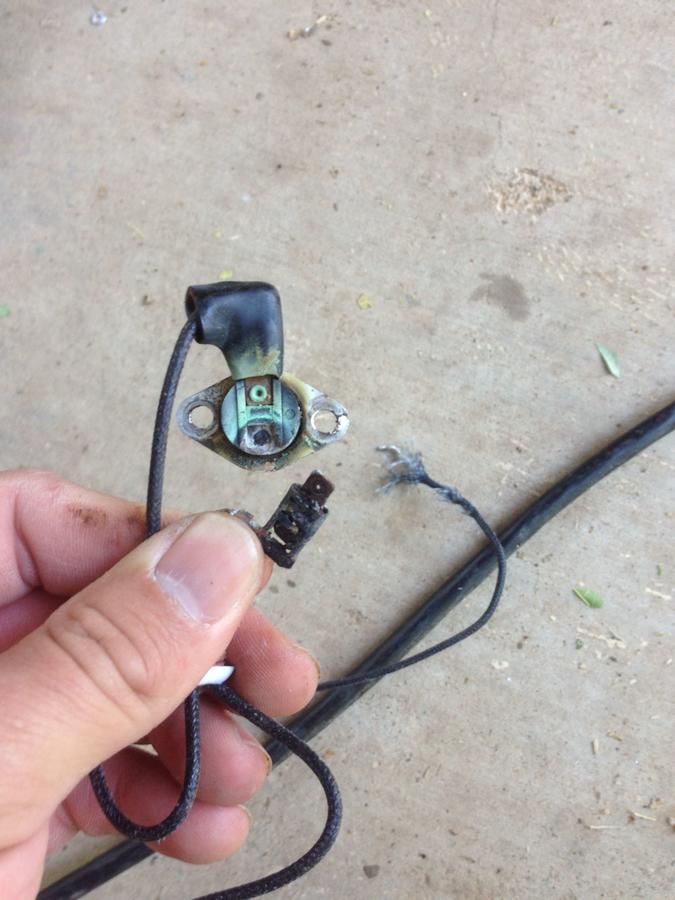
^^^^On the heating element end, I labeled one black braided line with a large piece of blue tape and the other with a small. ON both terminals of my heating element, it does have continuity and ohms measuring 12.3 just like my old heating element.
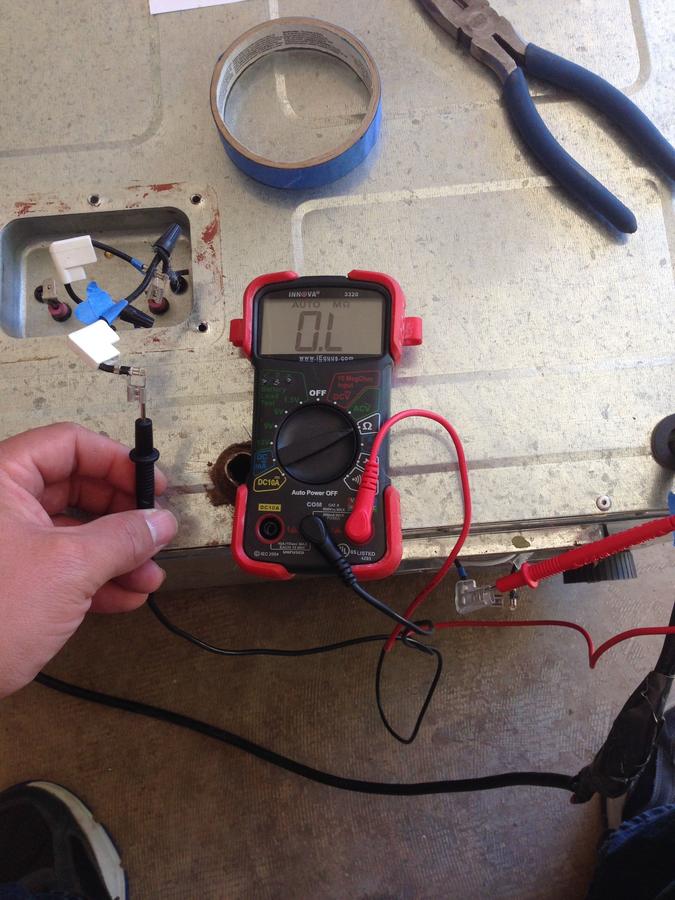
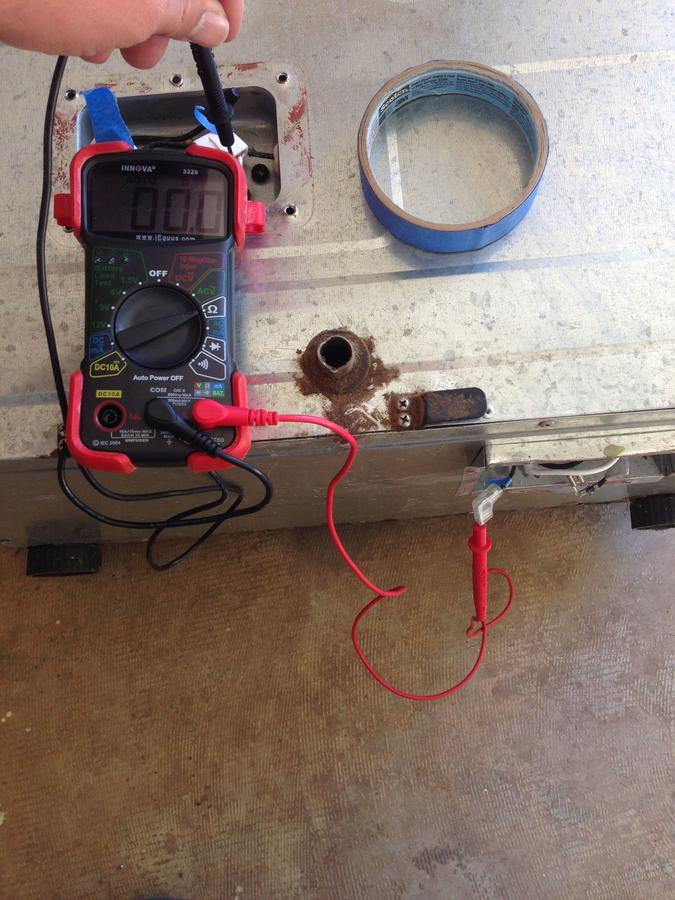
^^^^Here I tested the big tape braided line on the element side to the tape braided line on the circuit board side. No sound, no measurement.
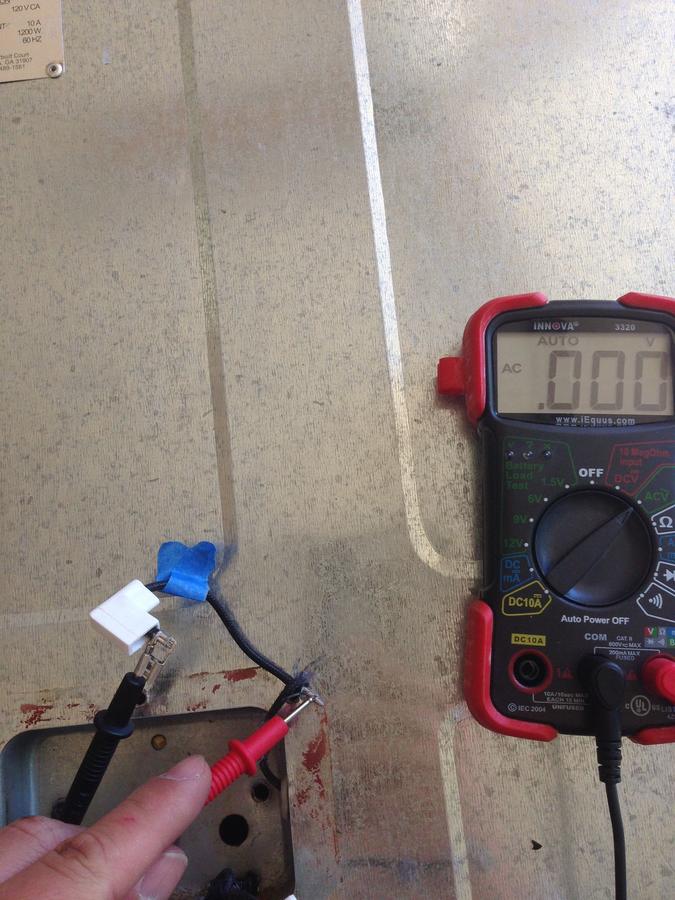
^^^^I tested the small blue tape braided line on the element side to the taped braided line on the circuit board side. I had continuity with the audible beep and measuring no resistance.
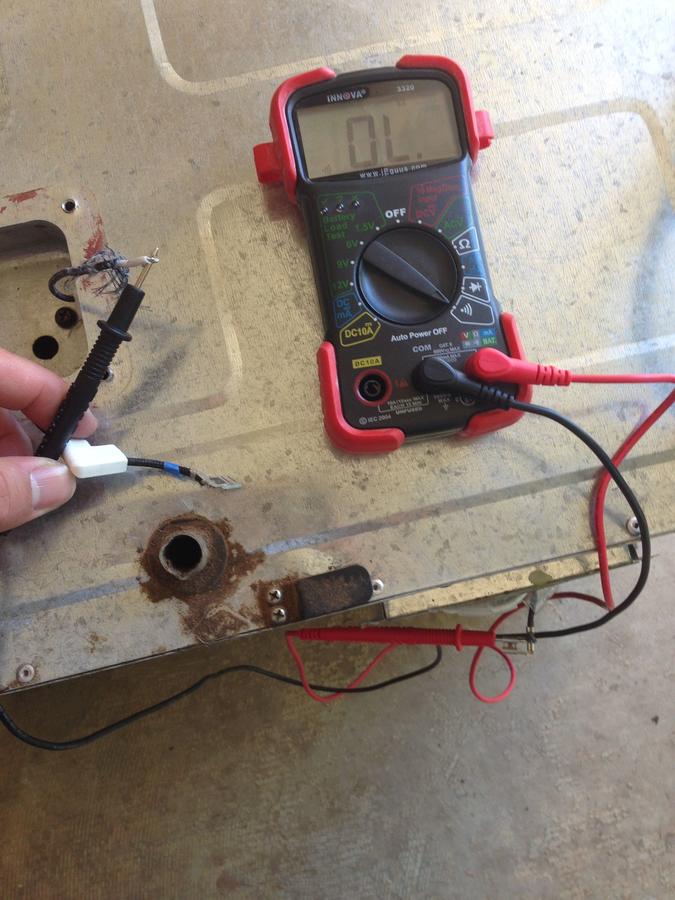
NOW, I did test both braided lines on element side to the non taped braided line on the circuit board side and there was no continuity at all.
TEST PICS BELOW are when I left both braided lines plugged into the heating element terminals. I did not get pics when I did the same thing to the NON taped braided line on the circuit board side because there was no continuity.

Last edited:
![DSC_0302[1].JPG](/media/dsc_0302-1-jpg.528632/full?d=1507244980)
![DSC_0303[1].JPG](/media/dsc_0303-1-jpg.528634/full?d=1507244980)


![DSC_0301[1].JPG](/media/dsc_0301-1-jpg.528512/full?d=1507244980)