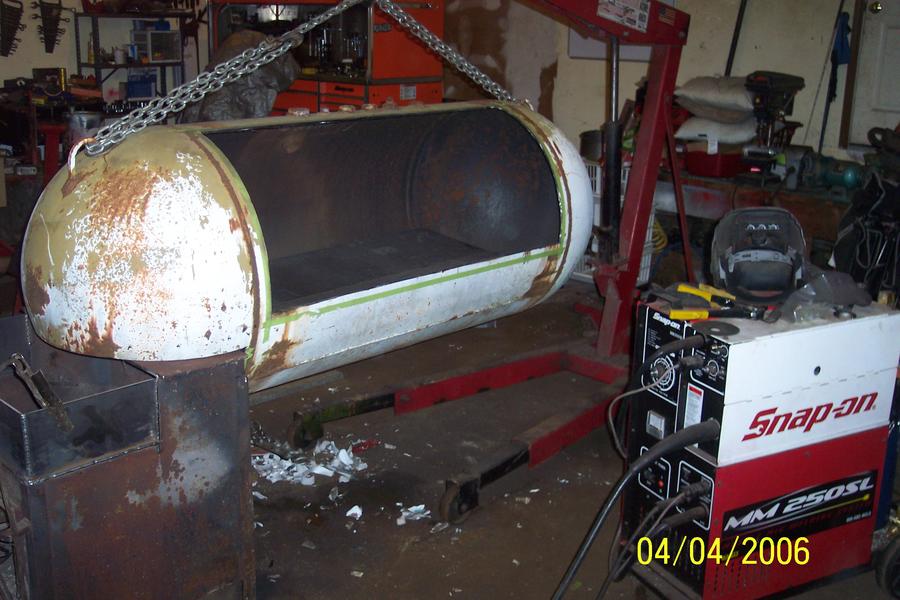
200 gal reverse flow build
- Thread starter symonds86
- Start date
-
Some of the links on this forum allow SMF, at no cost to you, to earn a small commission when you click through and make a purchase. Let me know if you have any questions about this.
You are using an out of date browser. It may not display this or other websites correctly.
You should upgrade or use an alternative browser.
You should upgrade or use an alternative browser.
SMF is reader-supported. When you buy through links on our site, we may earn an affiliate commission.
Nice start. Keep the pics coming. It's to hot for me to think about welding anything thats not broke.
Happy smoken.
David
Happy smoken.
David
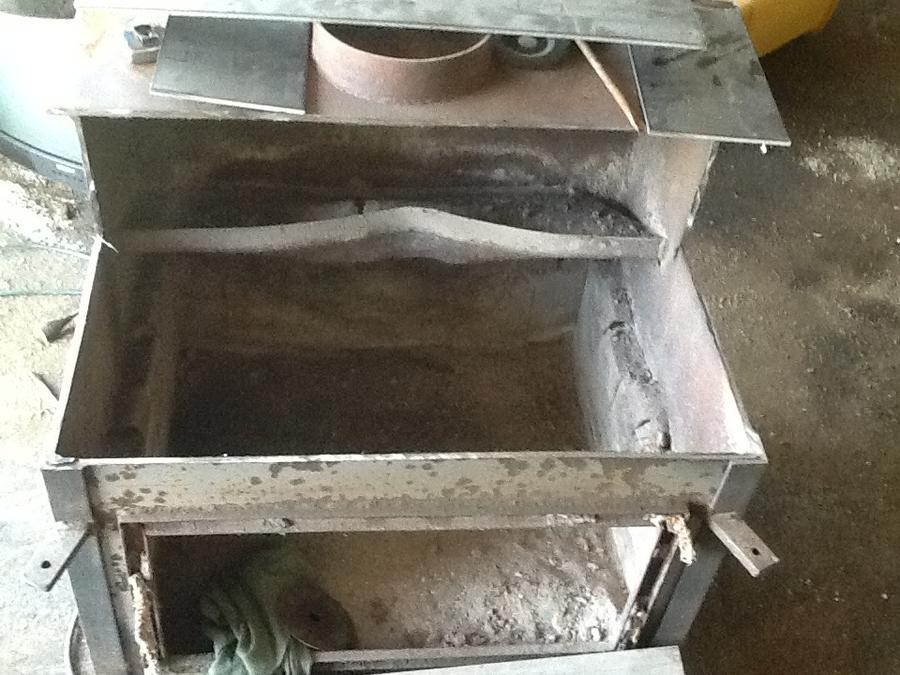
got some work done ton most the cutting is done. got my rf plate made at work on lunch did a 1 inch bow in the middle with a press brake. nothing welding yet but just set together to check fit.
Last edited:
symonds, evening..... Pics don't show up.... maybe cause you are new here and our computer "COP" has put your pics in limbo for awhile.... That helps stop spammers... Sorry....... I'm interested in seeing the RF plate.... should be aces....... Dave
Skip photo bucket and load the pics on your computer.... click on "insert images" icon and download directly from the puter.... works easy....
Dave
Dave
Hey, congrats....... Pics worked and all looks good..... Nice crease in the RF plate.... I like the looks of a creased RF plate.... seems professional.... now a tack weld or 6, after the drain and dam at the end of the Rf plate, and you are getting close... I think the stove is going to work just perfect.... looks really good.... big door for adding wood and cleaning ash... what else you need.... great top to warm the splits or set a warming box....
One thing I noticed, we are alot alike..... I can't figure how to change the date in my camera either...
 .... I ain't smart enough to work through all those steps.... or find them...
Dave
One thing I noticed, we are alot alike..... I can't figure how to change the date in my camera either...

Dave
thanks dave as for the camera date it has had me baffled since i got it i could prob read the instructions but you know how it goes
Got some more done this morning plates in and welded together stil have to get a stack and materials for a racks and put the drain in as we'll as the vents anyone have pictures of there racks I would like one one the bottom and a removable one above it but unsure how to do it and what heights they should be
Last edited:
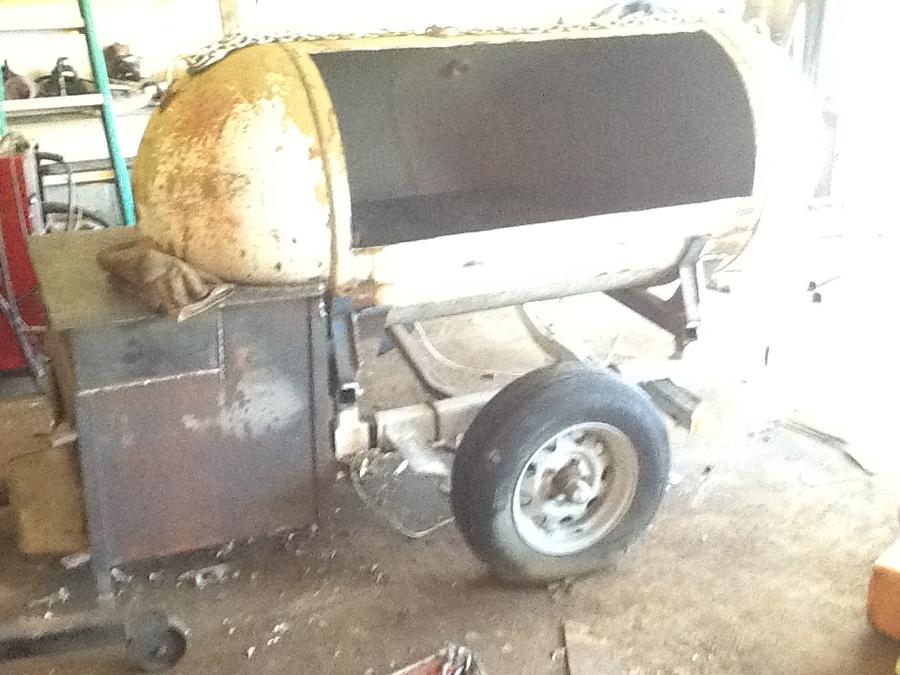
got a trailer on sunday and got it sitting on there tonight i will try to get some pics tom and explain the details
Its coming slow but sure i guess. I picked up a boat trailer for 100 bucks and cut about 3 feet off the back and figured out how to mount smoker. It's a little low but I plan to replace the 13 inch rims with15 inch and a larger true and that will get me a couple more inches. I also plan to mount a gas girl and a couple gas burners on the opposite side of the smoker and make the front for wood storage. I still need to figure out how to make a vent for the fire box and figure out if a 6 or 8 inch stack would be better
munxcub
Smoke Blower
Some more experienced folks will chime in no doubt, but you still need a decent length to create good draw, so whatever diameter and length gets you the desired volume. I think it's somewhere around 30-40" long or thereabouts, but someone please correct me.
Chimney Size
• A chimney that is too short may produce insufficient draft (drawing of air). A chimney that is too long may cause the air to cool before it exits, reducing effective draft and worse, dripping of exhaust materials onto food!
• Many horizontal smokers have an exhaust between 30-40 inches in length, but there is no hard and fast formula.
• If you are building a horizontal smoker with a vertical cooking cabinet, realize that the cabinet partly acts as an exhaust, thus you may greatly shorten the chimney.
Munxcub...... Well there you go.... You have been correct all along.... Don't you hate it when you think you "may" be incorrect but are really correct.... how can you defend yourself ?????
The above was taken from Feldon's Calculator......
Dave
SmokingMeatForums.com is reader supported and as an Amazon Associate, we may earn commissions from qualifying purchases.
Similar threads
- Replies
- 0
- Views
- 3K
- Replies
- 4
- Views
- 766
- Replies
- 49
- Views
- 5K
- Replies
- 14
- Views
- 1K
Hot Threads
-
PRO 100 SPARES
- Started by sawhorseray
- Replies: 29
- Pork
-
Featured Plate Ribs Tonight
- Started by schlotz
- Replies: 28
- Blowing Smoke Around the Smoker.
-
What do if yiy have too many peaches??? Make dessert of course!
- Started by 02ebz06
- Replies: 23
- General Discussion
-
Trying some new BBQ sauces with some heat (I hope)
- Started by sandyut
- Replies: 22
- Blowing Smoke Around the Smoker.
-
Pit Barrel ribs
- Started by Smokin Okie
- Replies: 18
- Pork


