rhnewfie
Fire Starter
Hi All,
I have had my CharBroil Offset 820 for about a week now just sitting in the box. Due to other commitments I have not been able to get it put together and it is my hope to get a start on it this weekend. I have picked up everything that I could get my hands on for the mods that I want to do as I put it together.
Here is what I have planned:
I will take pics as I go and post them up here. As always, I am open to suggestions!
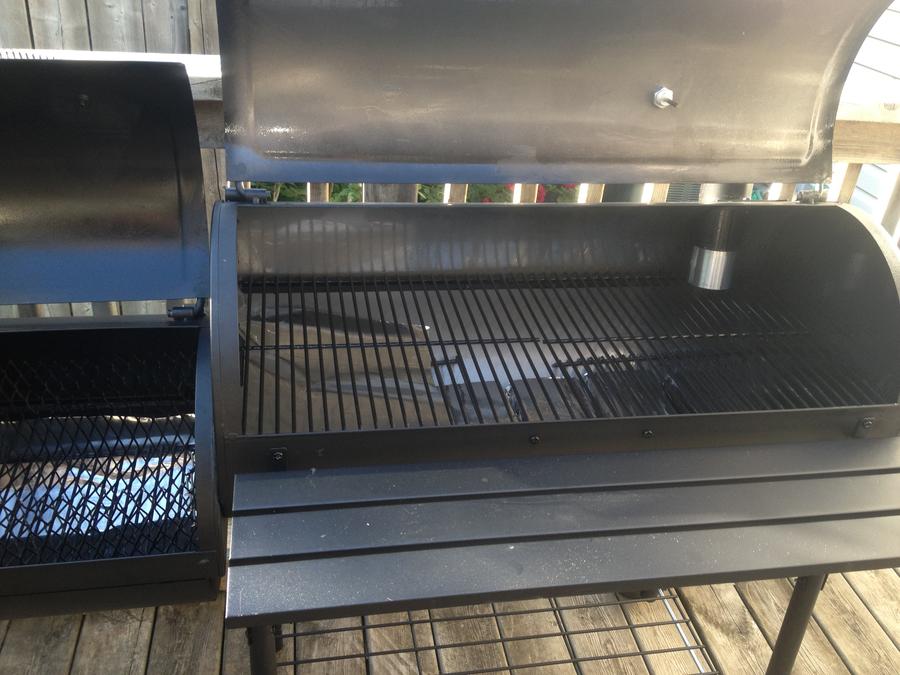
Here is what I am starting with.
I have had my CharBroil Offset 820 for about a week now just sitting in the box. Due to other commitments I have not been able to get it put together and it is my hope to get a start on it this weekend. I have picked up everything that I could get my hands on for the mods that I want to do as I put it together.
Here is what I have planned:
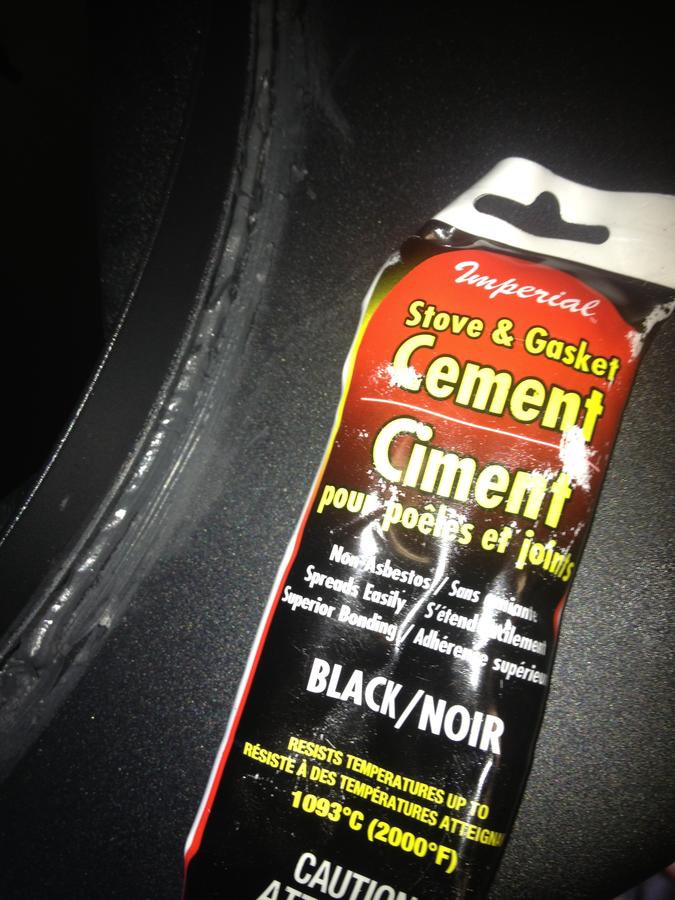
- High temp red silicone from 3M to seal all screws, the space between the firebox and the main chamber, around the stack, and anything else that needs it.
- Non-galvanized aluminum flashing to extend the stack to the grate held in via friction. I will also use a length of this to heighten the stack and improve the draw.
- I have some steel mesh to create a charcoal box, not sure if it is suitable or not as it has a black coating on it. (Chime in if you recognize this as being an issue!)
- 2 firebricks wrapped in heavy duty tinfoil to line the bottom of the main chamber.
- I am going to use the aluminum flashing or a cookie sheet to create a baffle and tuning plates as well. I searched high and low for the right steel for the job to no avail. If and when I do find it at least I will have templates created with the flashing! I read on another forum about someone that used flashing for the tuning plates as well and they indicated that it was helpful in evening out the temperatures.
- Re-curve the main chamber door as there appears to be some play at the lower edge of the door. I will try to bend it by putting a marker under the lid towards the top. Failing this I may try either fireplace barrier ribbon or the oil spray with the 3M silicone.
- Water or sand pan by the firebox opening.
- I may or may not cover the charcoal grate from the main chamber with aluminum foil.
I will take pics as I go and post them up here. As always, I am open to suggestions!
Here is what I am starting with.

Last edited: