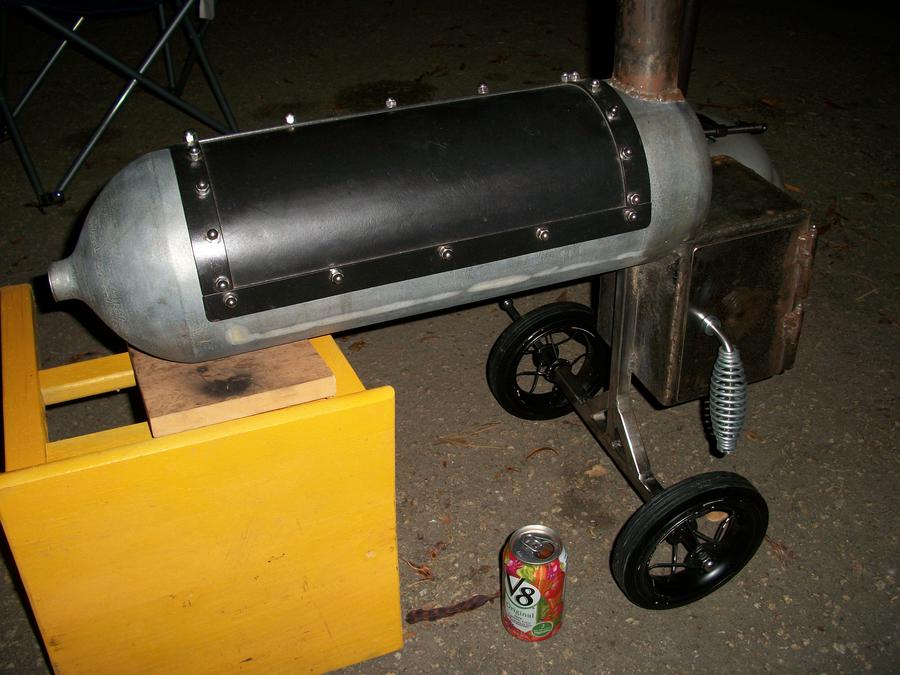
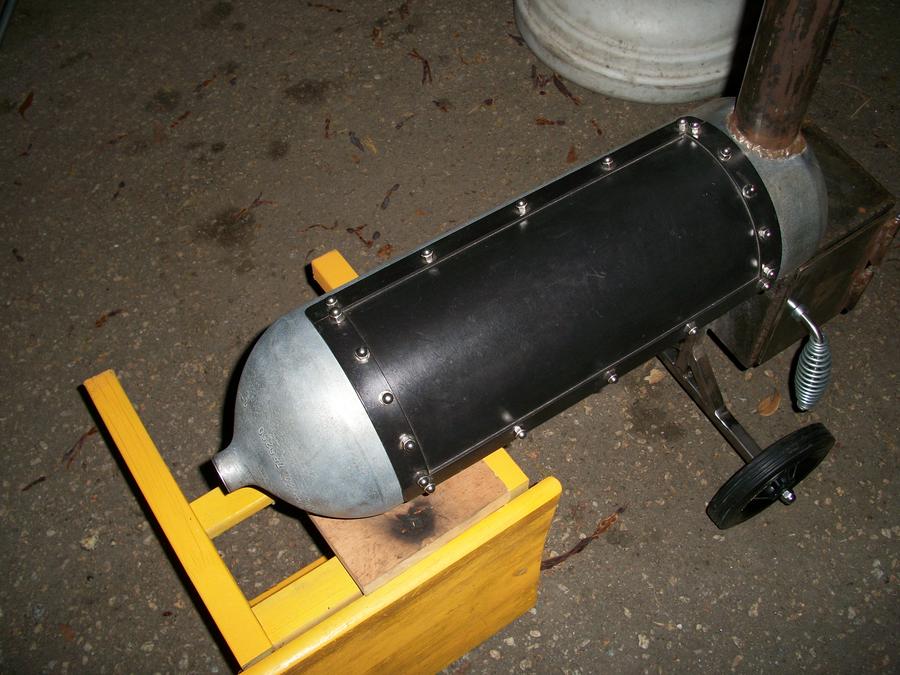
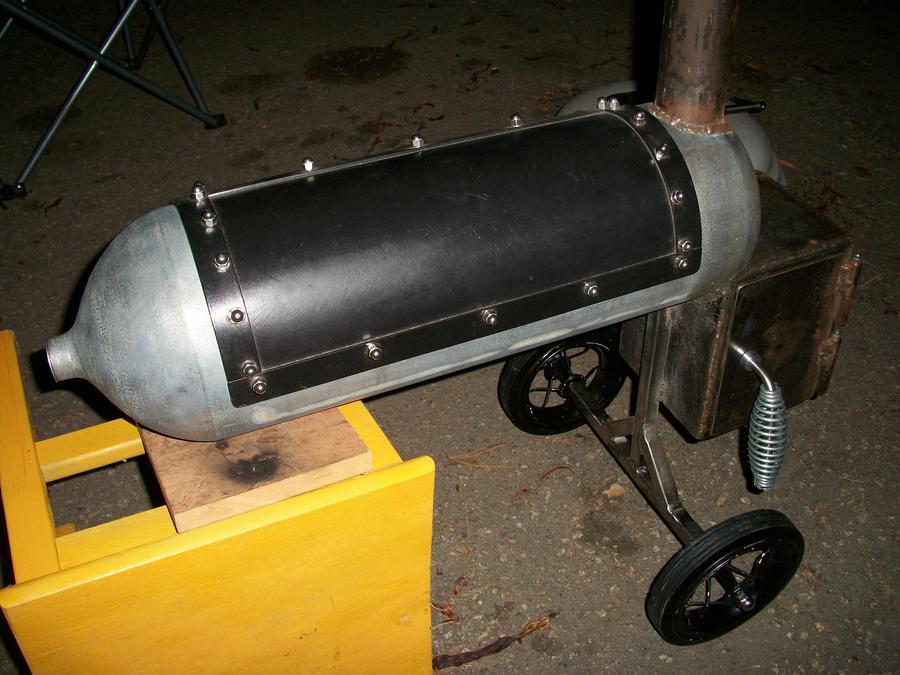
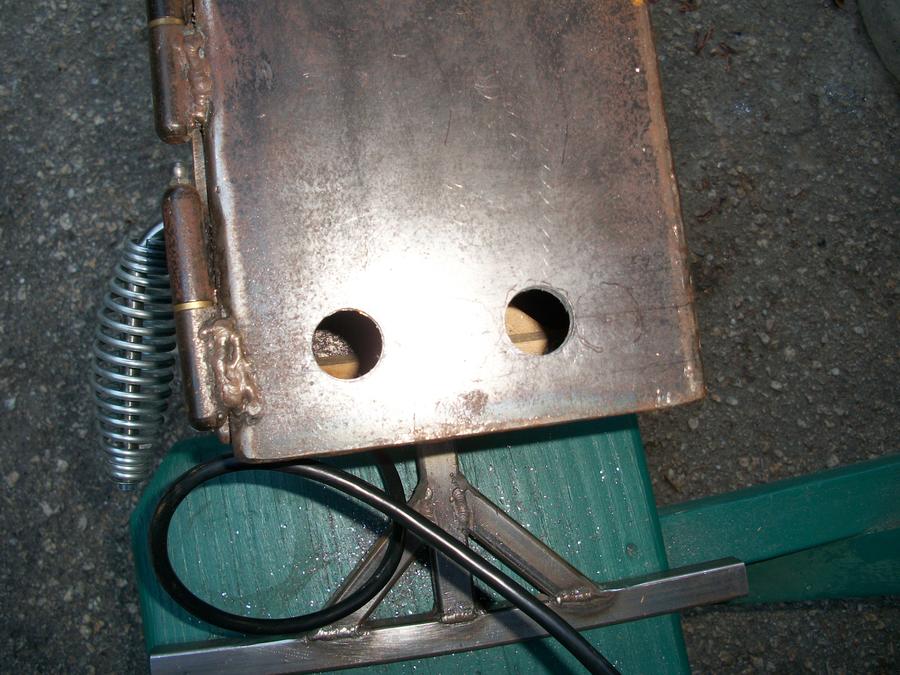
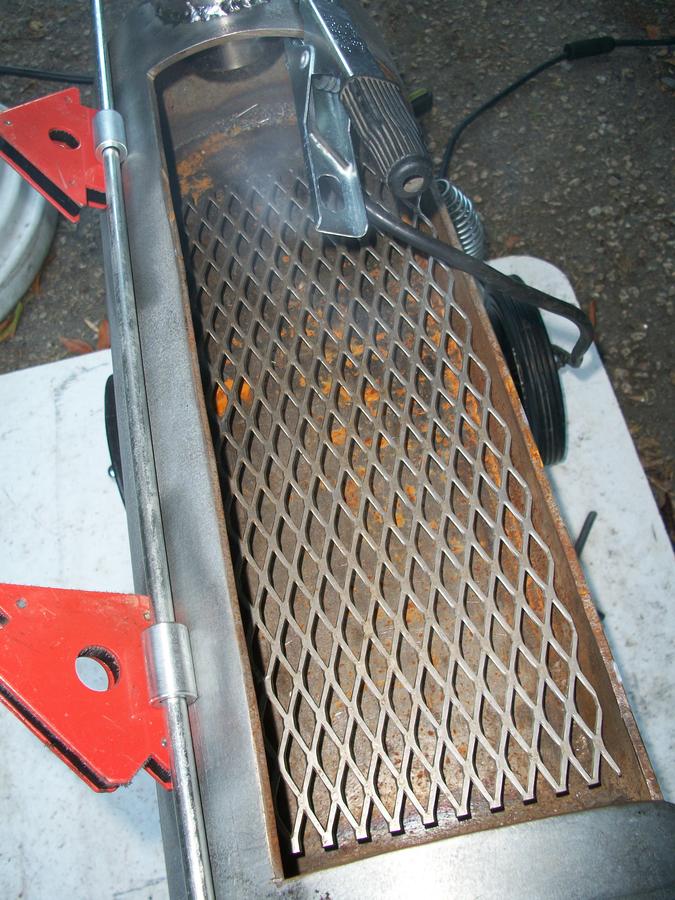
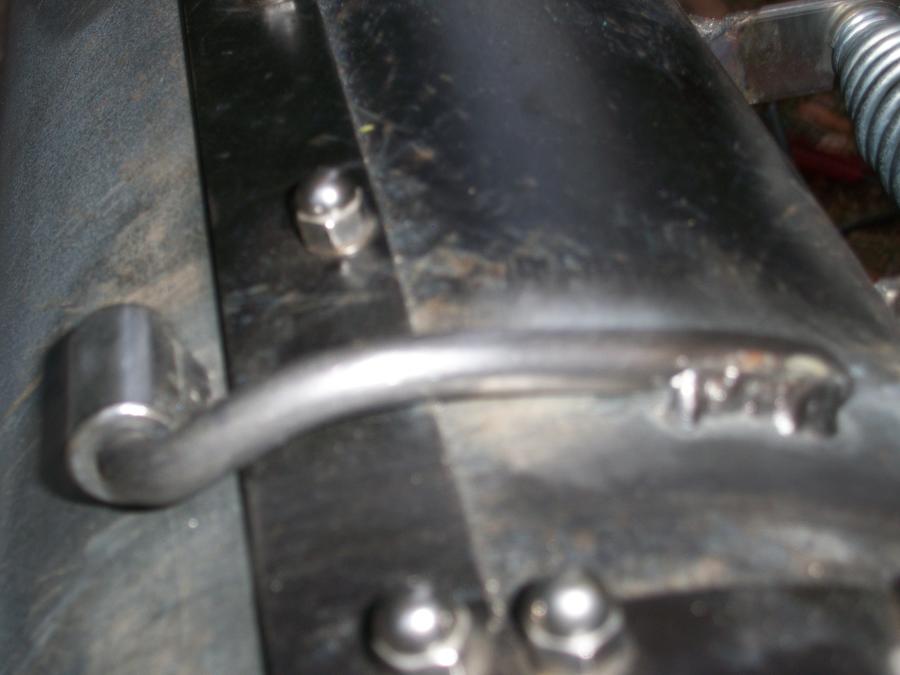
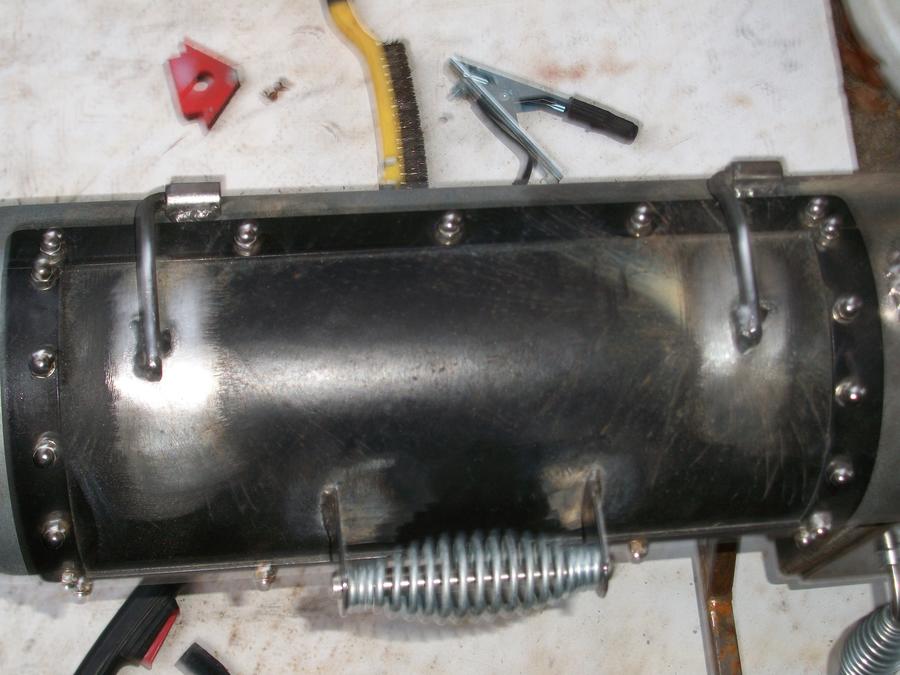
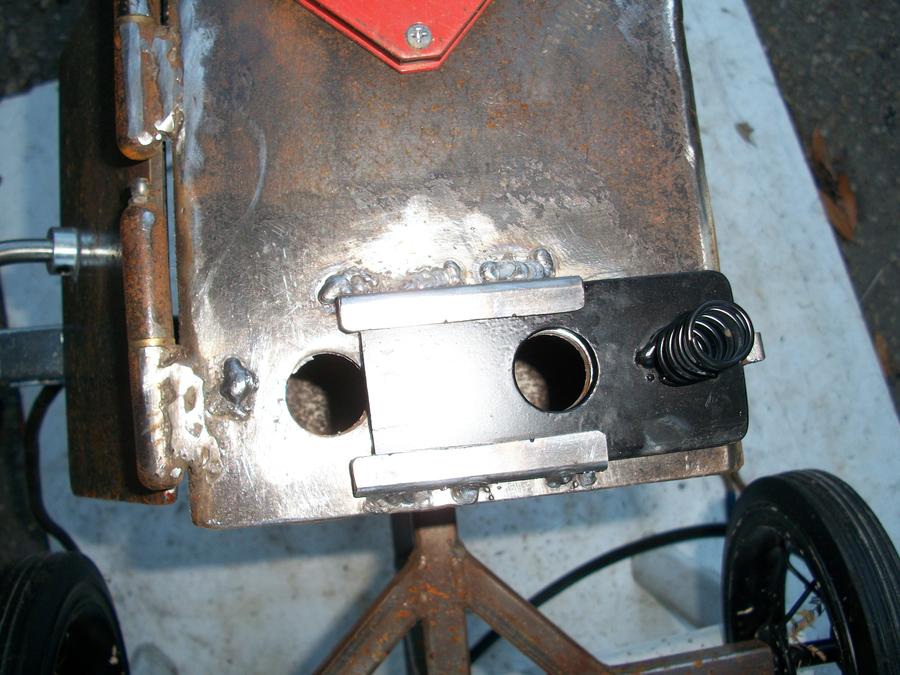
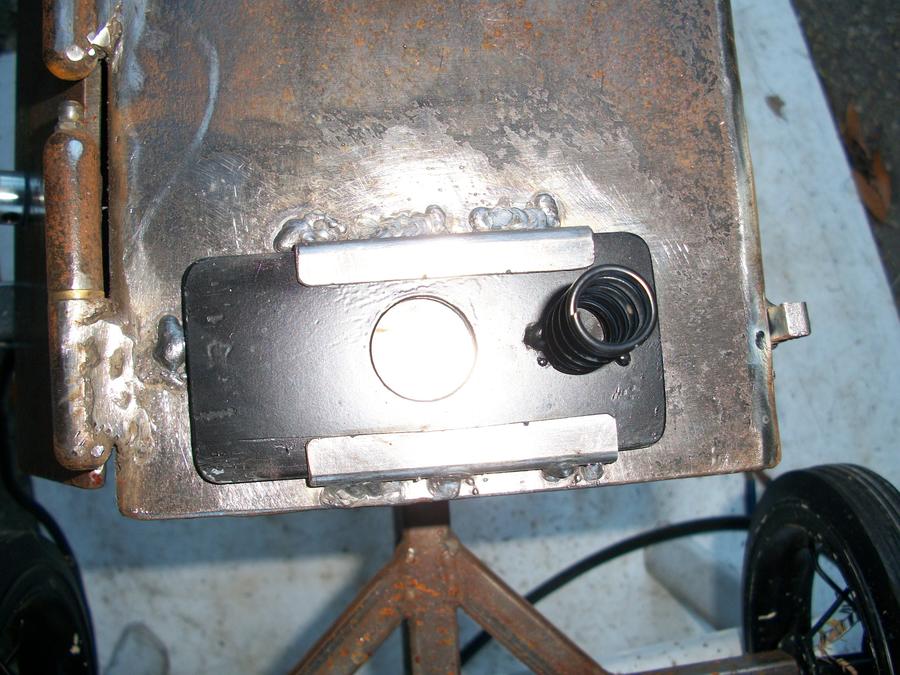
Scuba tank mini reverse flow - first build

  • Some of the links on this forum allow SMF, at no cost to you, to earn a small commission when you click through and make a purchase. Let me know if you have any questions about this.
SMF is reader-supported. When you buy through links on our site, we may earn an affiliate commission.
The bend in the tube  wont effect anything in this situation but I sure would not want to do that when it needed to be straight. I was in a hurry and see that I welded it totally out of sequence .   After measuring from every known point  and consulting with Lockheed and Martin I managed to get the rear base welded on


A little more progress yesterday, I went with a tripod base because it will be better on uneven ground. I sure could have used some of those fancy welding clamps to help line things up, made due with my optical calipers and tape measure.


My precision vent template

Working on a shelf cutting board design and a basket for underneath.


I'm on the fence on whether to put in a grease drain valve from the reverse flow plate.  I will only be able to fit a couple chicken quarters or a small rack of ribs and can probably just wipe it out with paper towels.
 
Welded my door handle on and came up with a cheap hinge design using a couple really large washers. Not sure if I like the hinges though,

Here's the handle. Stainless spring, brackets and rod.


I cut some 1 1/8" washers in half and then lined up the two halves to see where I would need to trim them down.


The washers were 98 cents each so I figured it was worth trying out. I know they will work just not sure I like how they look sticking up off the tank.
 
Well I did not end up using the washer hinge idea. I trimmed them down a little too much and it appeared the  back flange on the door was going to bind as it tried to swing open. I went to plan B which was originally plan A which was to use barrel type hinges. I found some bushings and 3/8"  "L" shaped concrete anchors that were already bent at a 90 degree angle and then bent them a little more to clear the door flange.

Here's the two different hinges. After looking at this pic I see the pivot point on the washer hinge needed to move towards the rear.


welding in the bushings,  copied the alignment technique from other members builds.


Was having way too much fun and accidentally bent up two left hinges  so for now the door is removable. I'll most likely spot weld a small washer on the end  of one hinge to keep the door in place.


700


Door still shut tight after I welded the hinges so I am a happy camper.
 
Last edited:
That's a neat little smoker, My next door neighbor has a scuba shop, teaches and does certifications I'll show him your pic.

Gary
 
Be sure and post some pictures when it's done, my neighbor will really get a kick out of them.

Gary
 
I sure will Gary! Heck If I ever get this build finished I'm going to send out a press release and have a party.   just noticed from my first post it has been six months since I started. Here are pics of yesterdays progress, finished the firebox vent.


Know what you mean. We started on a Vertical, insulated, Reverse Flow Last year in about March took till December to get it finished up. Son got real busy and was working a lot of weekends. Finally got it done, turned out nice.

Gary
 
  • Like
Reactions: tobycat
Gary that is one beautiful smoker!  I passed up a  large  fireproof three drawer filing cabinet awhile back, I was going to use the stainless refrigerator hinges and latches like you did.  What kind of jig setup did you use to weld up the wheels?
 
Made a plate for the chimney damper today in stainless, I used the threaded piece I cut off the concrete anchor from the door hinge for the swivel pin.


Just a couple things left to do. Make the basket/shelf for wood storage underneath and decide if  it will get a shelf/cutting board in front of the door.  Tomorrow it gets scrubbed out and burned.
 
Last edited:
Wheels are 12" pipe cut 2" wide, spokes are 5/8" round rod, 1" pipe in the middle.  Just used a cloth tape measure (wife's sewing box) to lay out where the spokes were to go. tacked it all in place, then welded it up.

Gary
 
  • Like
Reactions: tobycat
 Gary that just makes too much sense! I had always figured the wheel hoops were made on a roll bender which is one of the reasons I went with the tricycle wheels. Wouldn't mind building a set of steel wagon wheels though.  Gonna try em' with a piece of 6" pipe. 
 
Last edited:
Gary, on your vertical build how did you prep for paint ? did you sand off all the scale on the steel down to bare metal? and what did you use as a solvent to wipe it down before paint. Primer or no primer and which type/brand of paint?
 
Last edited:
SmokingMeatForums.com is reader supported and as an Amazon Associate, we may earn commissions from qualifying purchases.

Latest posts

Hot Threads

Clicky