I have finally refined my recipe and process with much help from many of the folks here including alblancher, Martin, Dave, Bearcarver etc. I have the texture, salt content, taste that I like and I am able to repeat it every time now.
I did 2 whole bellies this time around.
I'm sure there are typos and mistakes but I was getting cross eyed, I will proof read and correct any errors tomorrow.
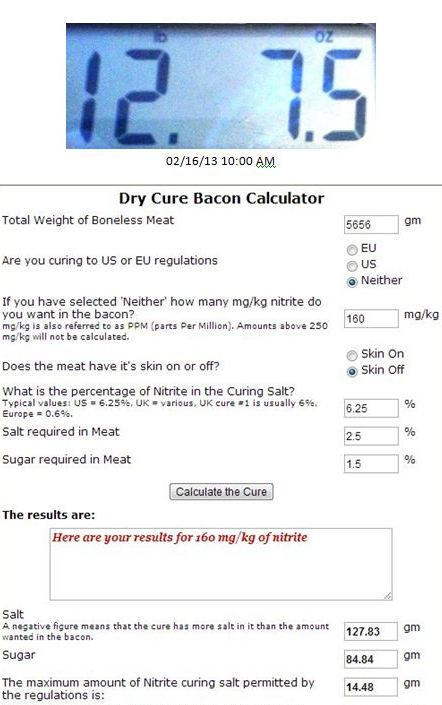
12 lb - 7.5 oz
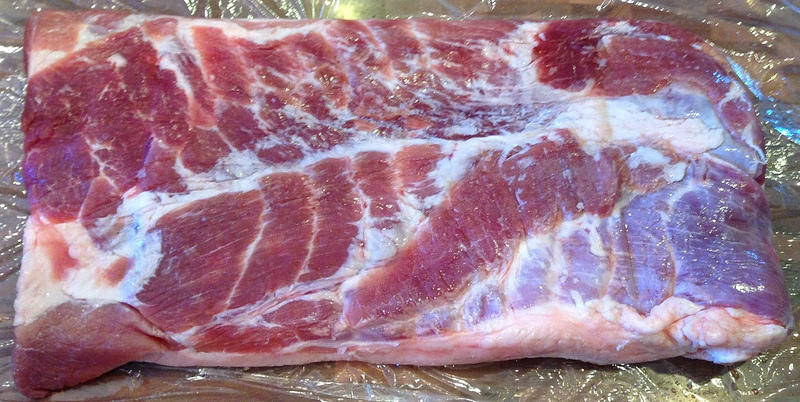
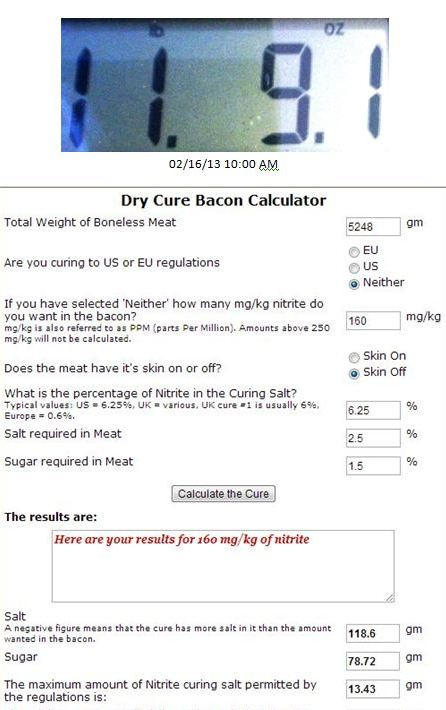
11 lb - 9.1 oz lb pork bellies. I buy them with the skin already removed:
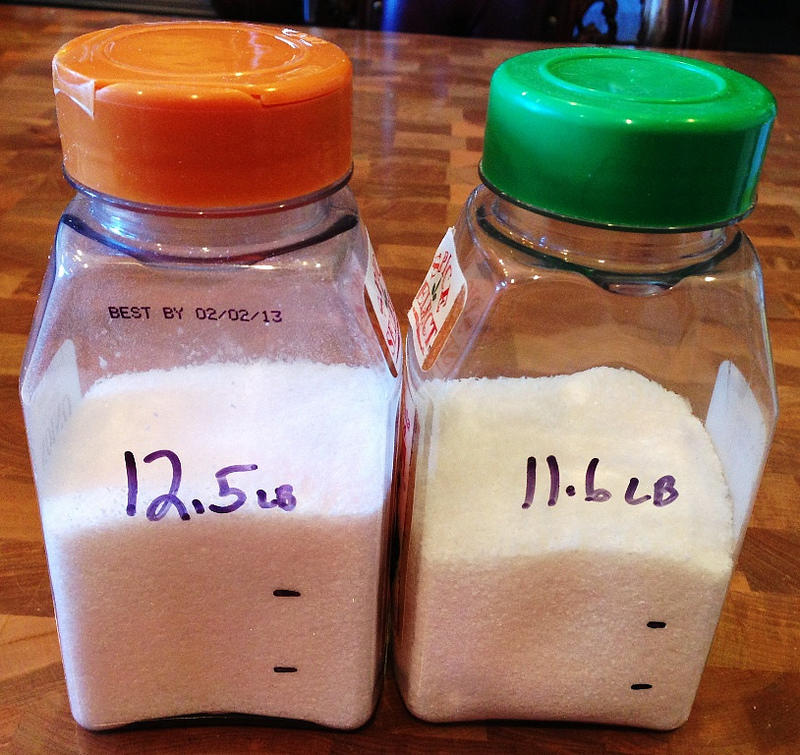
Ingredients, kosher salt, sugar and cure #1
I just found Martin's (2nd of the two calculators below) and its much simpler and cleaner than the first one plus it has a conversion calculator as well.
Dry Cure Bacon Calculator
Better Dry Cure Bacon Calculator
I have found that for me 2.5% salt and 1.5% sugar is about perfect.
I also stay in the 156-160 PPM Sodium Nitrite for dry cured skin off bacon.
==================================================
Combine the ingredients and mix well. A large canning jar with tight fitting lid works well. Shake the ingredients until the pink color of the Cure 1 is evenly distributed throughout the cure mix.
Measured and mixed cures, I marked it with a sharpie to divide the cure into thirds and marked the slab weight so I could keep them with the proper slabs:
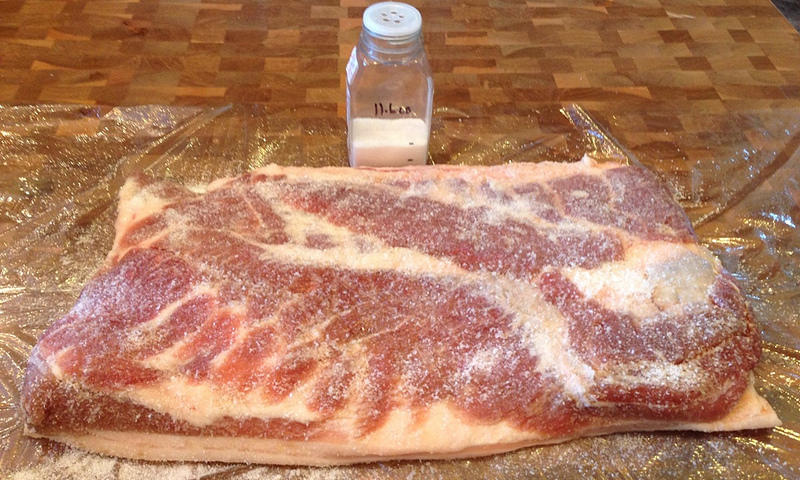
Rub about 1/3 of the mix evenly/predominantly on the meat side(s) of the bellies.
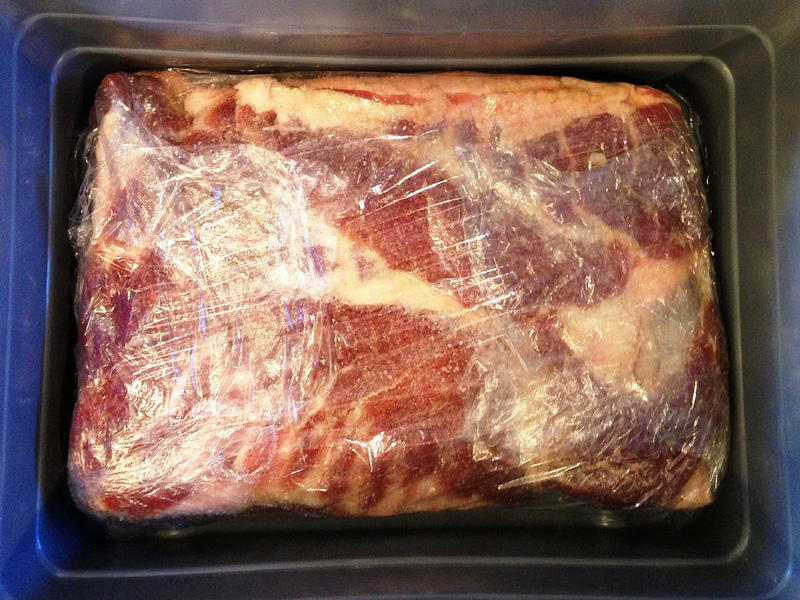
Loosely wrap in plastic wrap and lay flat in a carboy tray or other plastic tray with the meat side up and refrigerate at 38º to 40º:
Wait 3 - 4 days and repeat applying the 2nd 1/3 of the cure to the meat side only. Do not dry the bacon at this point just drain any liquid trapped in the plastic wrap and on the bottom of the lug.
Let the curing bacon sit another 3 - 4 more days and repeat adding the balance of the cure mix to the meat side. You may also add any extra salt, sugar or spices at this stage. 3-4 days later rinse the bacon with fresh water and pat dry with a clean towel.
At this point you may want to do a taste test for salt by frying a small piece. If too salty, soak in fresh water for an hour and repeat taste test. You can repeat the process until the salt in the bacon is where you want it but this recipe and procedure seldom produces bacon most would consider too salty. I don't bother to do the fry test anymore at these percentages.
Now you just need to determine when you have access and time to do your cold smoking. I have left the bacon in the refrigerator mellowing out for up to 3 additional days after rinsing, but the bacon is now fully cured and ready for the smoker.
Make sure the bacon is dry by hanging in front of a fan or in the smoker with a low heat but no smoke. There are Bacon Hangers commercially available or you can just put them on the racks but I find I get a more evenly smpked product and no marks by hanging the slabs.
You want to develop a pellicle that will hold the smoke on the bacon. The bacon should be dry but slightly tacky to the touch when properly dried.
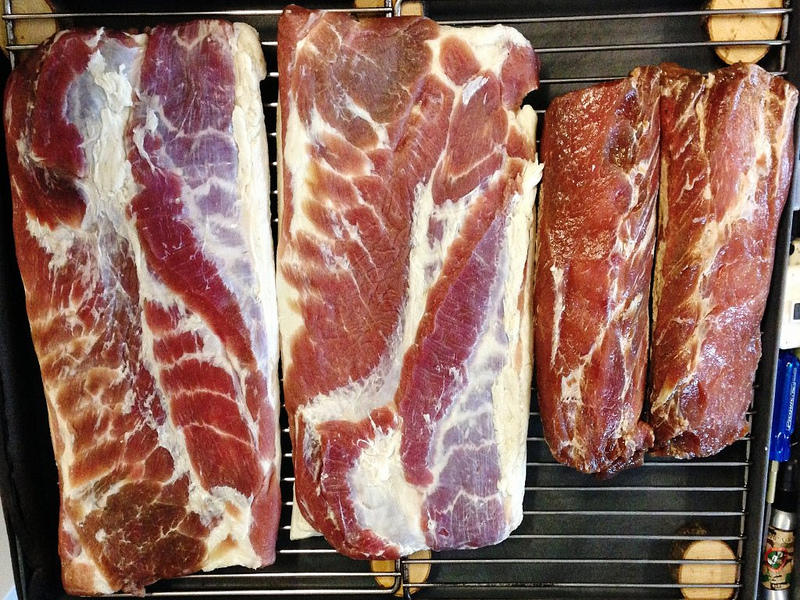
After pellicle was formed, I brushed one with maple syrup and the other was coated with dark muscovado sugar:
Ready for cold smoking: (2 pork loins for Canadian bacon on the right)
Cold Smoking: I have gone as little as 8 hours and as long as 36 hours with cold smoking. I usually burn 3 or 4 AMNPS full of pellets (I like a blend of Hickory & Apple).
I like to keep my chamber temperature between 35º and 80º
It was 0º the morning I put this these in the smoker, I lit two AMNPS just to keep my chamber temp above freezing.
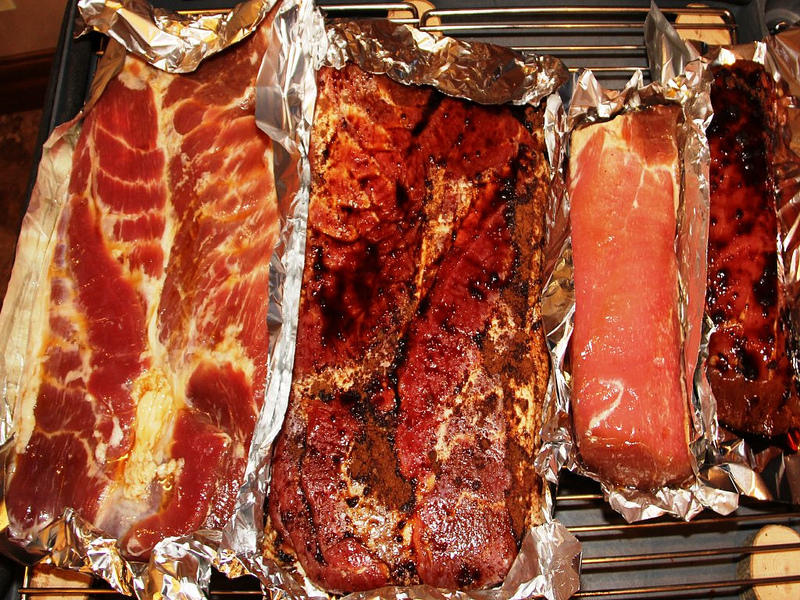
3 AMNPS and 20 hours later:
I let the newly smoked bacon rest in the fridge for several days to mellow out and let the smoke distribute itself evenly and the flavors develop.
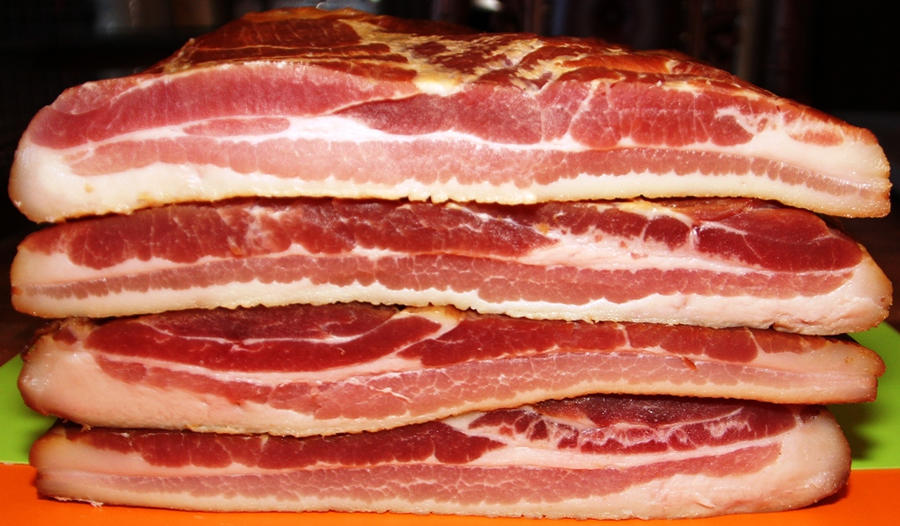
Slicing day:
A few slices didn't make the vacuum sealer :)
I did 2 whole bellies this time around.
I'm sure there are typos and mistakes but I was getting cross eyed, I will proof read and correct any errors tomorrow.
12 lb - 7.5 oz
11 lb - 9.1 oz lb pork bellies. I buy them with the skin already removed:

Ingredients, kosher salt, sugar and cure #1
I just found Martin's (2nd of the two calculators below) and its much simpler and cleaner than the first one plus it has a conversion calculator as well.
Dry Cure Bacon Calculator
Better Dry Cure Bacon Calculator
I have found that for me 2.5% salt and 1.5% sugar is about perfect.
I also stay in the 156-160 PPM Sodium Nitrite for dry cured skin off bacon.
==================================================
Combine the ingredients and mix well. A large canning jar with tight fitting lid works well. Shake the ingredients until the pink color of the Cure 1 is evenly distributed throughout the cure mix.
Measured and mixed cures, I marked it with a sharpie to divide the cure into thirds and marked the slab weight so I could keep them with the proper slabs:
Rub about 1/3 of the mix evenly/predominantly on the meat side(s) of the bellies.

Loosely wrap in plastic wrap and lay flat in a carboy tray or other plastic tray with the meat side up and refrigerate at 38º to 40º:
Wait 3 - 4 days and repeat applying the 2nd 1/3 of the cure to the meat side only. Do not dry the bacon at this point just drain any liquid trapped in the plastic wrap and on the bottom of the lug.
Let the curing bacon sit another 3 - 4 more days and repeat adding the balance of the cure mix to the meat side. You may also add any extra salt, sugar or spices at this stage. 3-4 days later rinse the bacon with fresh water and pat dry with a clean towel.
At this point you may want to do a taste test for salt by frying a small piece. If too salty, soak in fresh water for an hour and repeat taste test. You can repeat the process until the salt in the bacon is where you want it but this recipe and procedure seldom produces bacon most would consider too salty. I don't bother to do the fry test anymore at these percentages.
Now you just need to determine when you have access and time to do your cold smoking. I have left the bacon in the refrigerator mellowing out for up to 3 additional days after rinsing, but the bacon is now fully cured and ready for the smoker.
Make sure the bacon is dry by hanging in front of a fan or in the smoker with a low heat but no smoke. There are Bacon Hangers commercially available or you can just put them on the racks but I find I get a more evenly smpked product and no marks by hanging the slabs.
You want to develop a pellicle that will hold the smoke on the bacon. The bacon should be dry but slightly tacky to the touch when properly dried.
After pellicle was formed, I brushed one with maple syrup and the other was coated with dark muscovado sugar:

Ready for cold smoking: (2 pork loins for Canadian bacon on the right)
Cold Smoking: I have gone as little as 8 hours and as long as 36 hours with cold smoking. I usually burn 3 or 4 AMNPS full of pellets (I like a blend of Hickory & Apple).
I like to keep my chamber temperature between 35º and 80º
It was 0º the morning I put this these in the smoker, I lit two AMNPS just to keep my chamber temp above freezing.

3 AMNPS and 20 hours later:

I let the newly smoked bacon rest in the fridge for several days to mellow out and let the smoke distribute itself evenly and the flavors develop.
Slicing day:

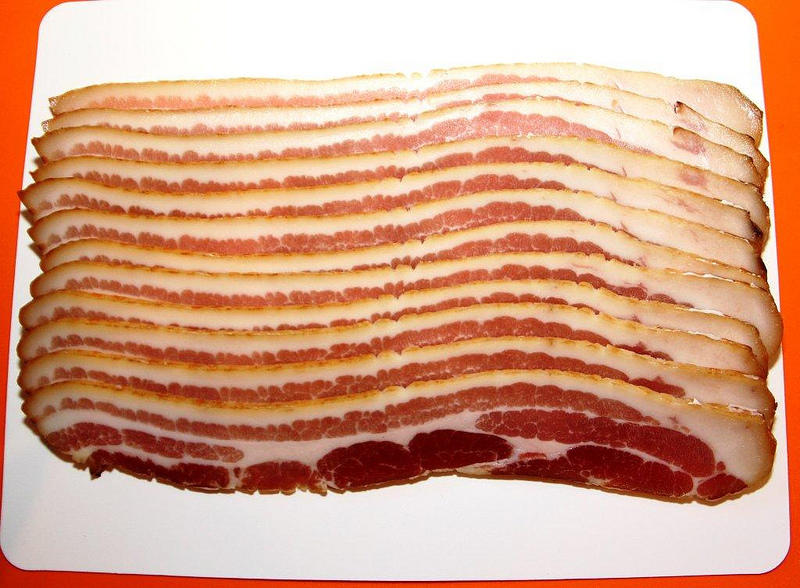
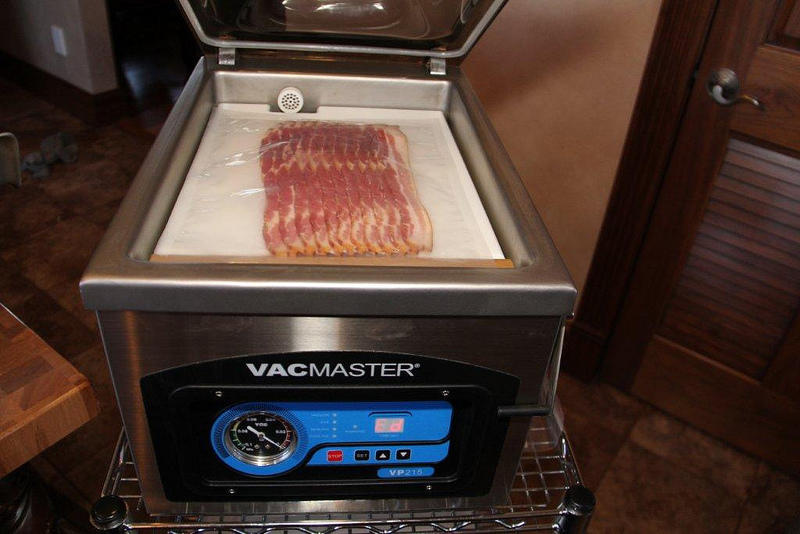

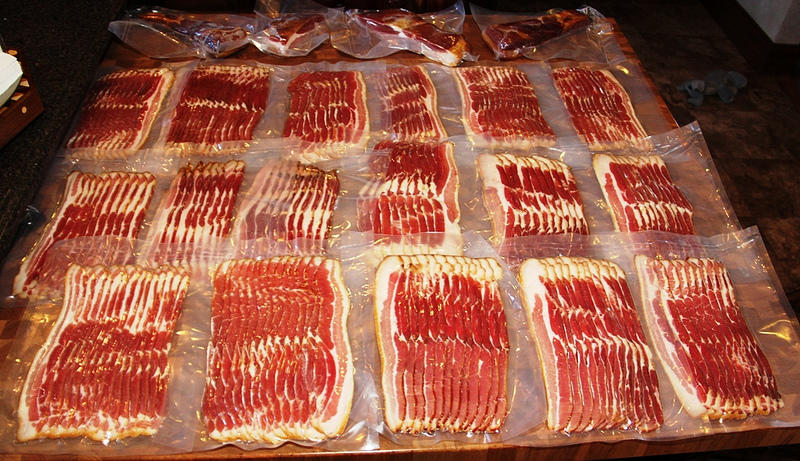
A few slices didn't make the vacuum sealer :)