chiefusn
Smoke Blower
Hello all. I have been researching UDS builds for about a 4 days now and have acquired a 30g and a 55g drum for two separate builds. The 30g is going to be my portable one as well as the one I use for smaller smokes and the 55g will stay in my backyard and be for larger smokes of course. So let me start by posting a couple of pics of the drums I got and we'll go from there. I want to do the thread this way and update it as I go so if I have questions I will ask and if anyone has suggestions, you can post them. These are my first builds so it is a learning experience for me. I am still rounding up materials so that might delay my progress. At the bottom of each post I will have a running cost total for other folks looking to do a UDS build. So here is what I got for drums:
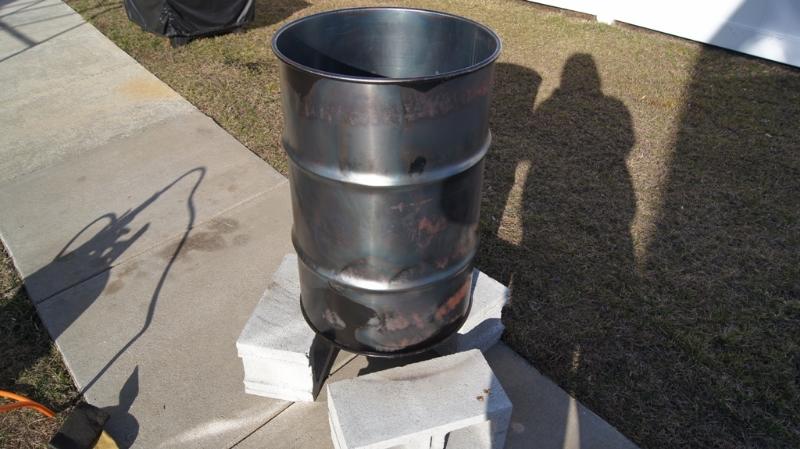
The 30 Gallon. The ID is 18 3/16" and OD is 19 3/16" at the opening with an Outside Height (OH) of 28 9/16 and inside (IH) is 27 11/16".
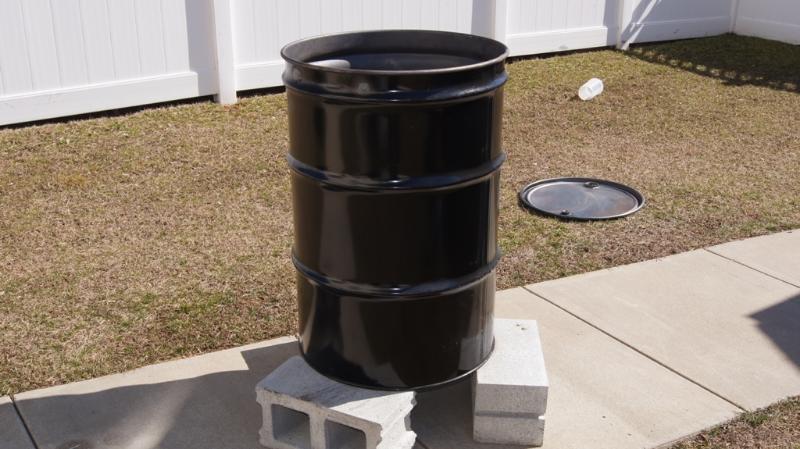
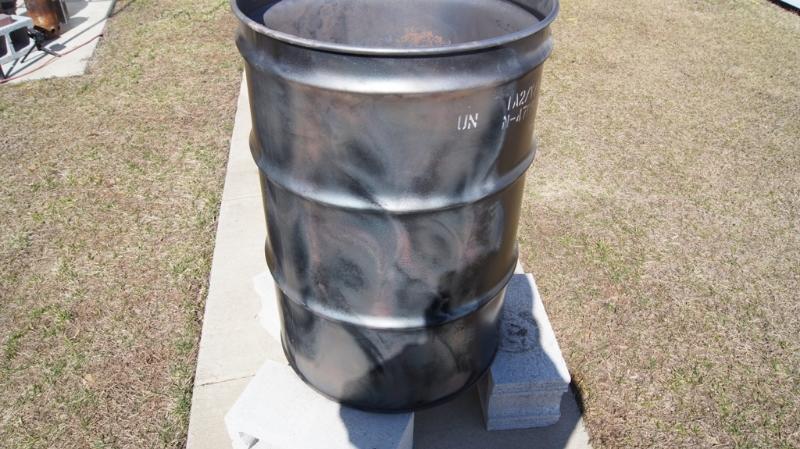
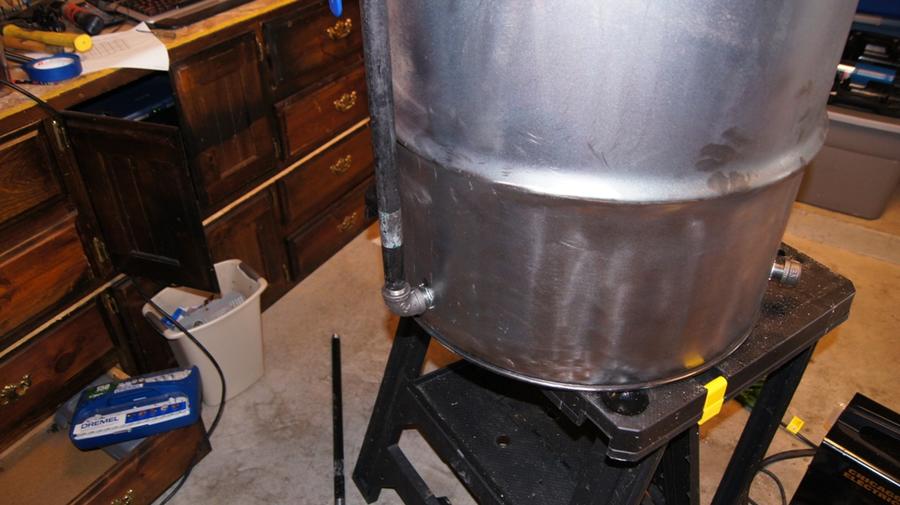
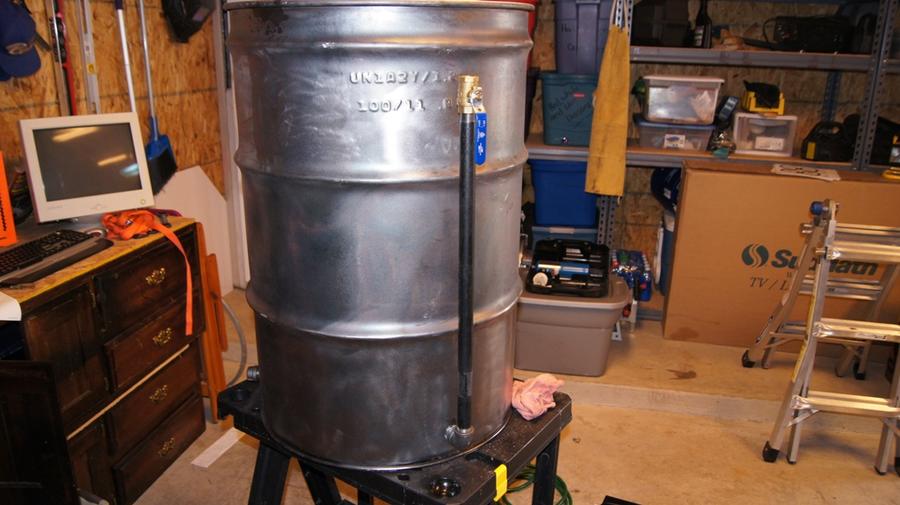
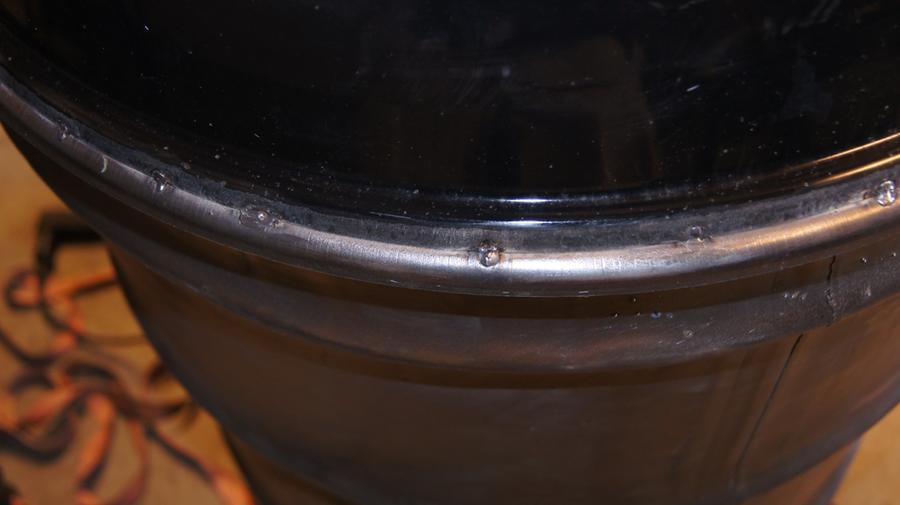
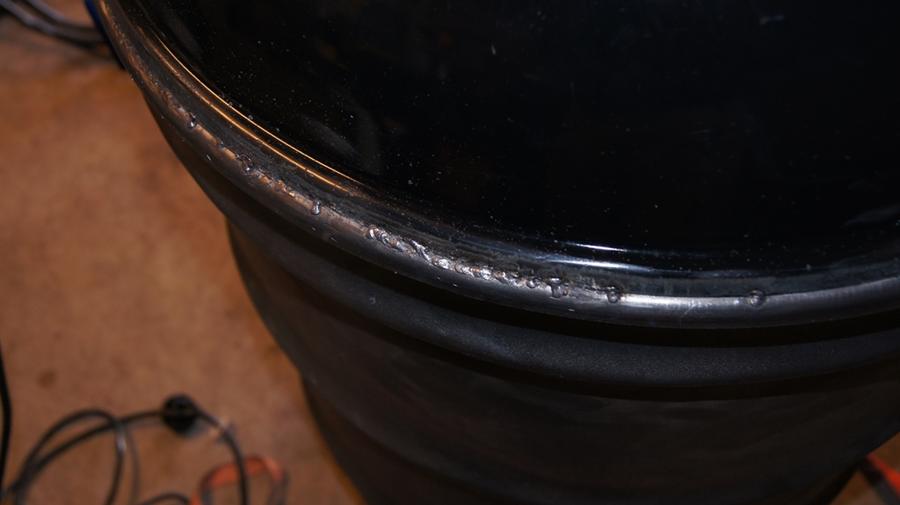
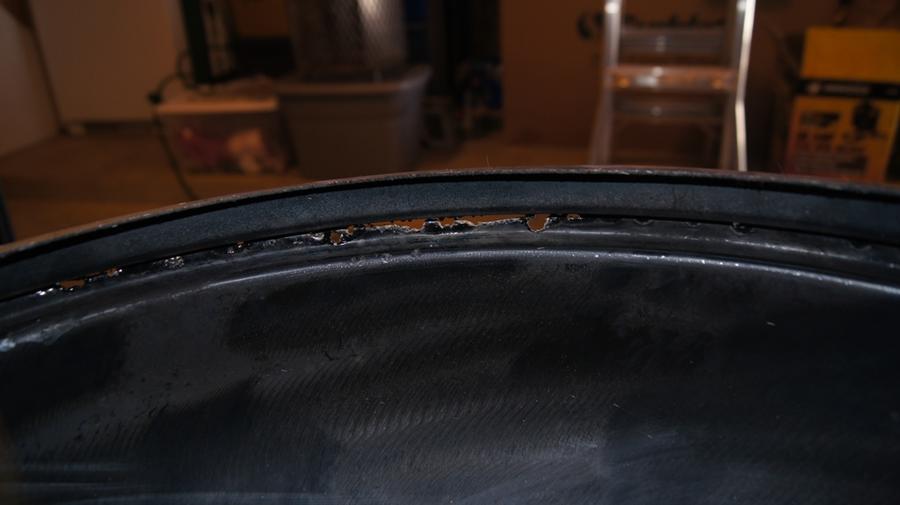
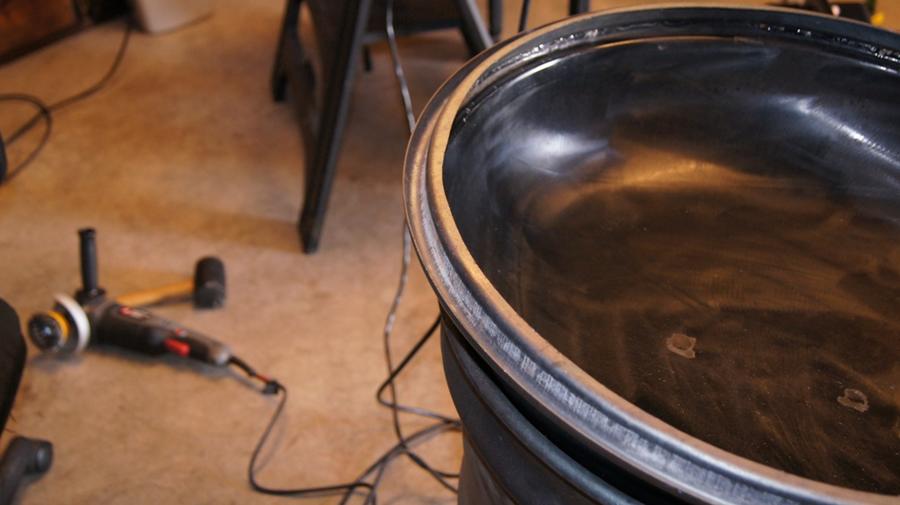
The 55 Gallon. ID just shy of 22 1/2" and OD just shy of 32 1/2". OH is 34 1/8" and IH is 33 5/16".
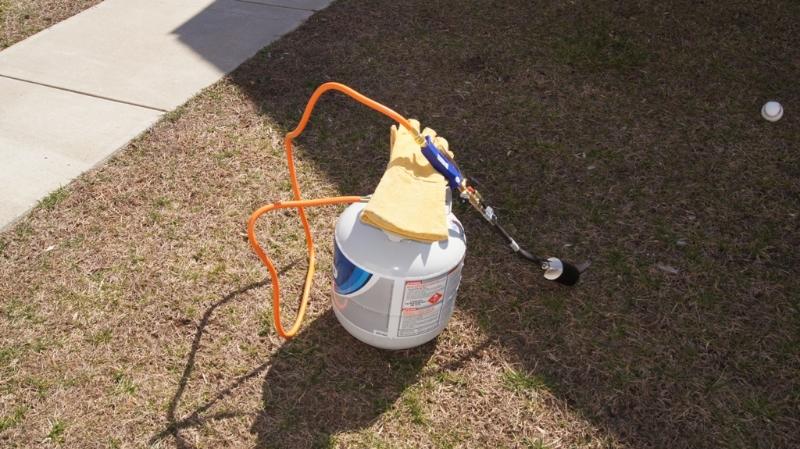
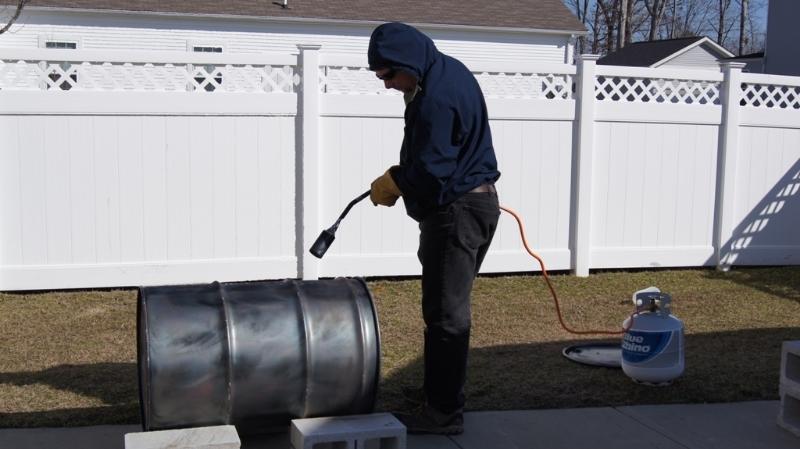
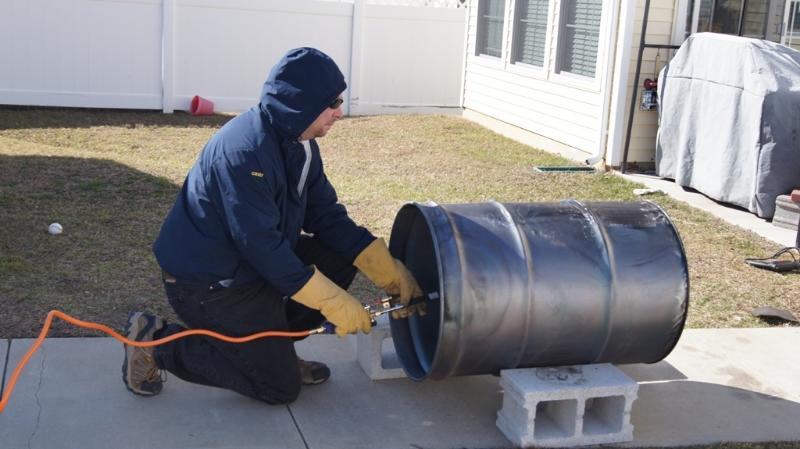
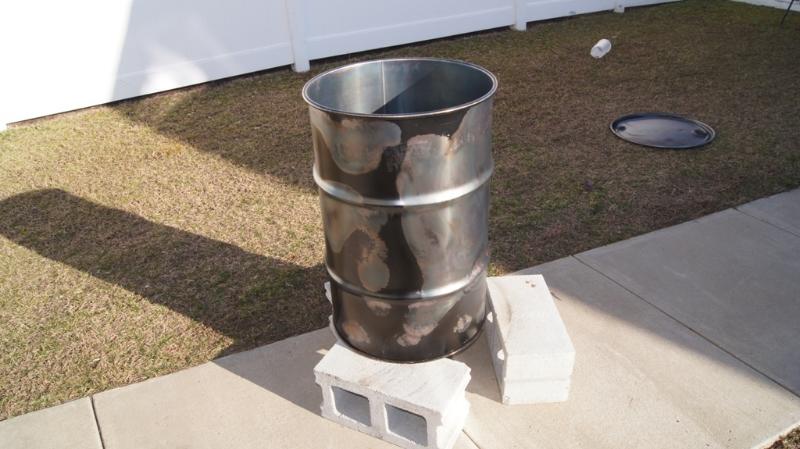
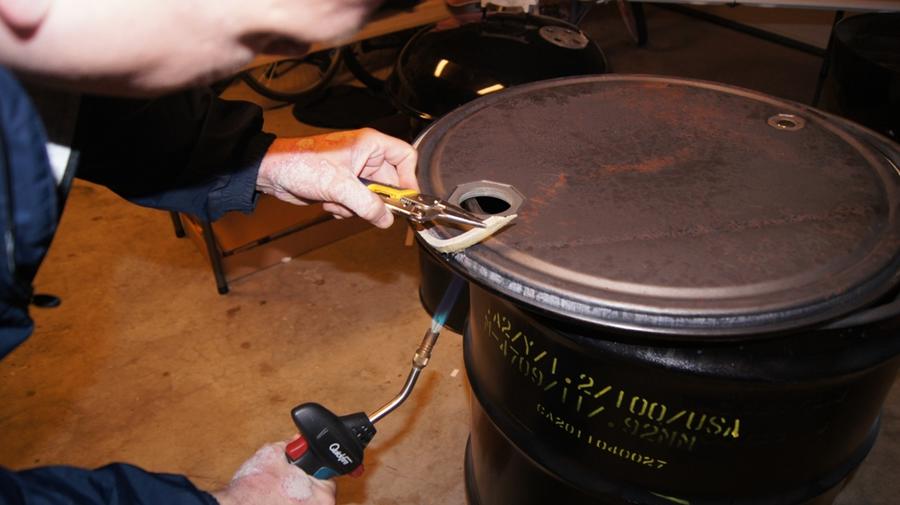
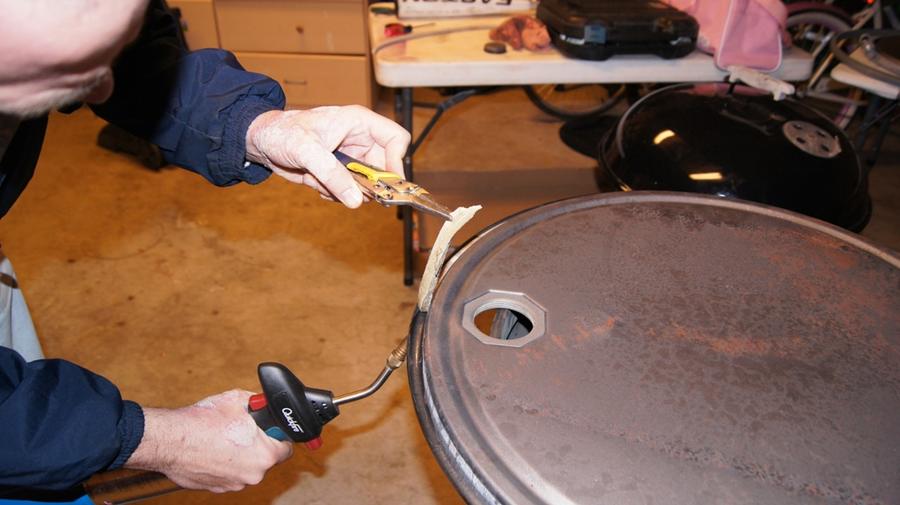
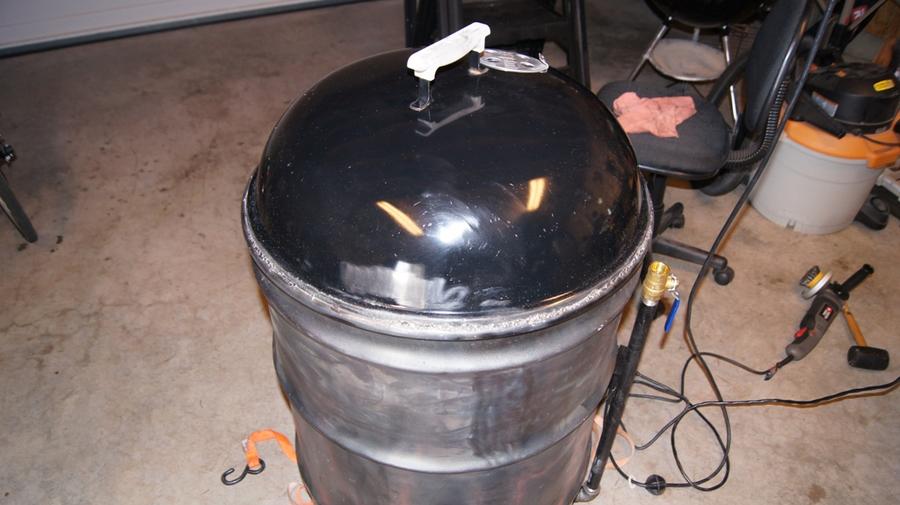
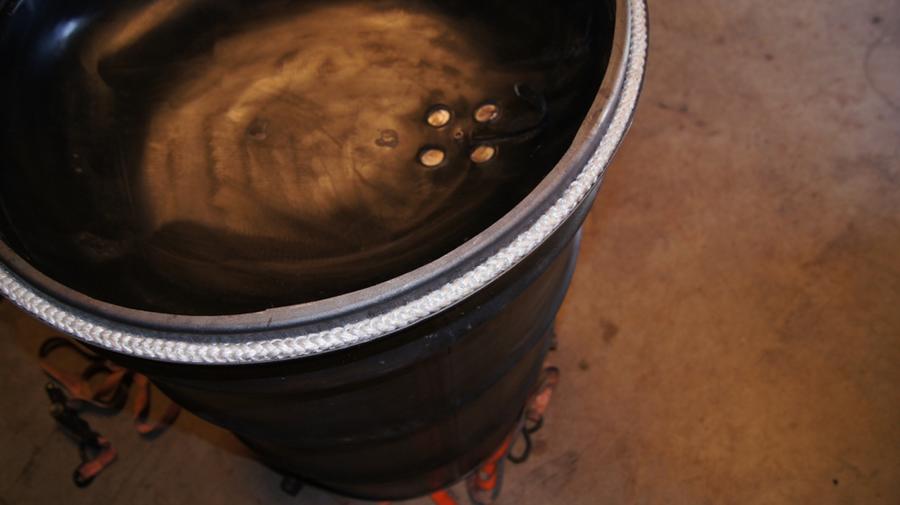
I don't have welding capabilities and I really don't want to outsource any of the work. So I'm going to try and do all the work myself with what tools I have. If I have to buy a tool, that's no big deal as long as they aren't an arm and a leg. I already know I need a step drill and a weed torch and I'm currently working on getting those. I have also been searching for Weber lids and currently have a lead out for a 22 1/2" Weber grill to part out. Just not sure if it will fit or what I will need to do to make it work. So any suggestions on that would be nice. I don't think that the drums have any type of liner in them but I'm going to hit them up with the torch to be safe. I can't fill them with wood and burn them due to neighborhood regulations. Eventually, I would like to get them stripped down and painted but that's later on after I get all the materials. I am currently on vacation for the next 30 days so this will be my main project to get done amongst the good ole honey do list and other household projects that I've been putting off.
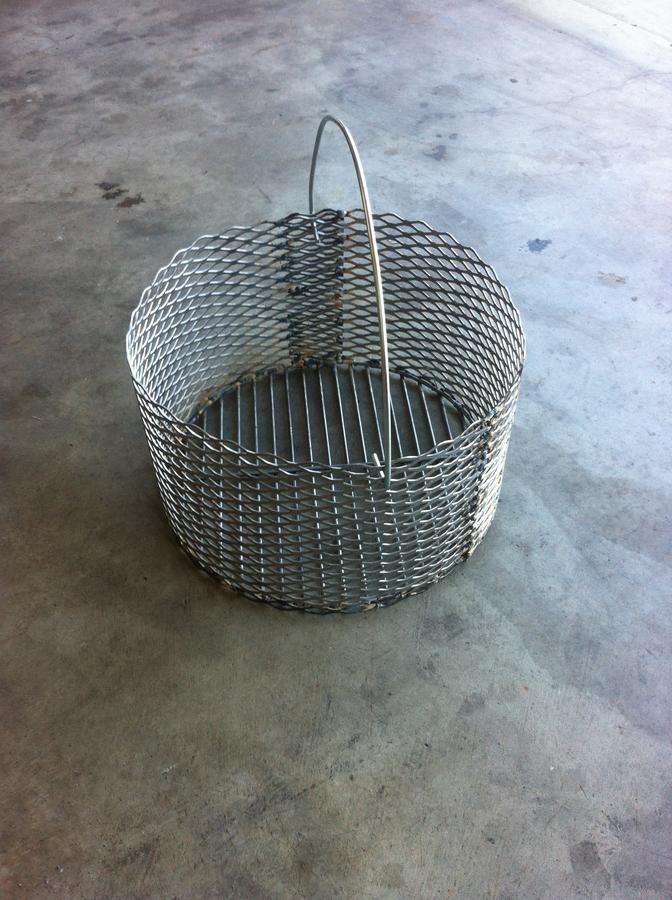
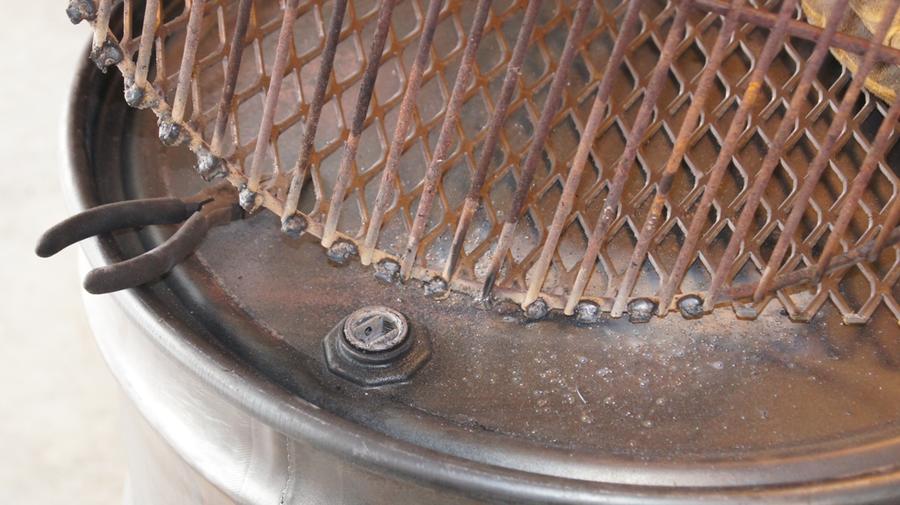
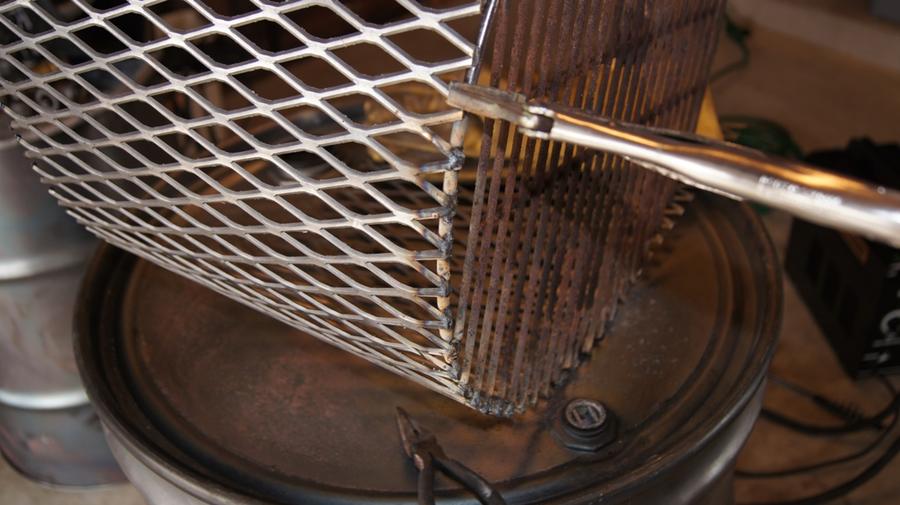
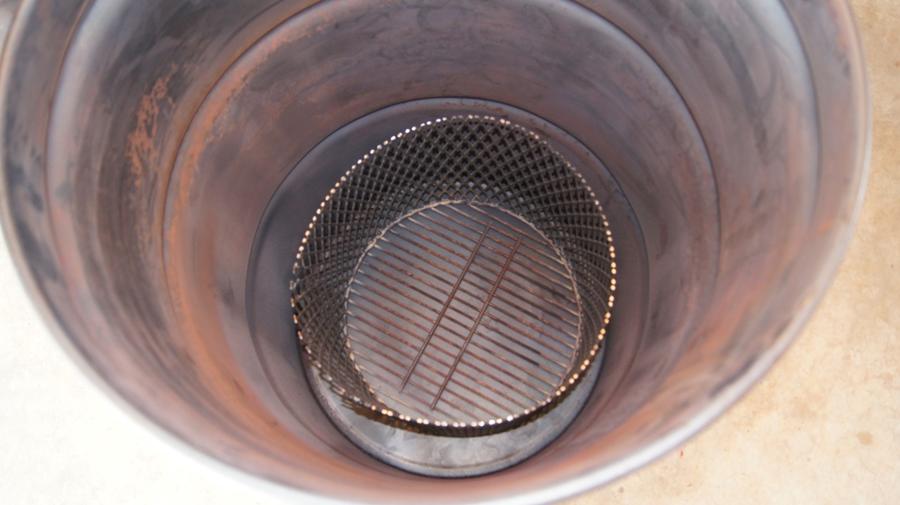
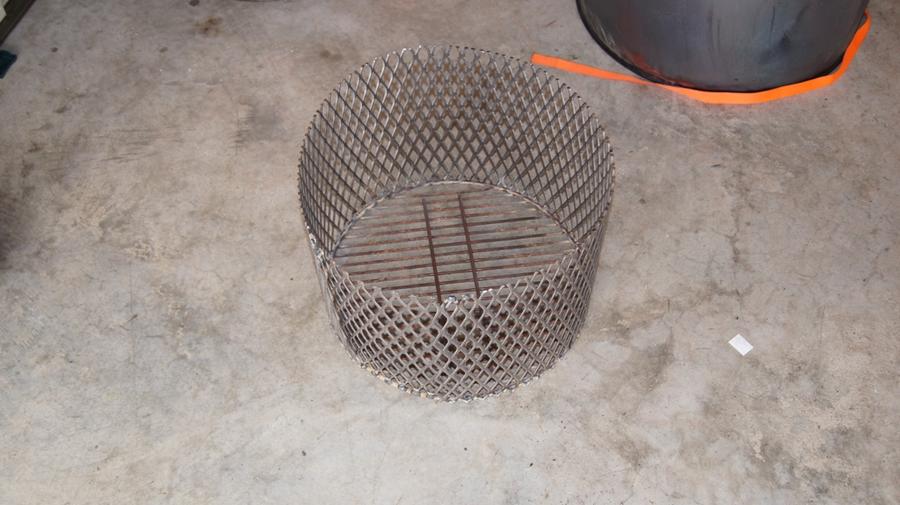
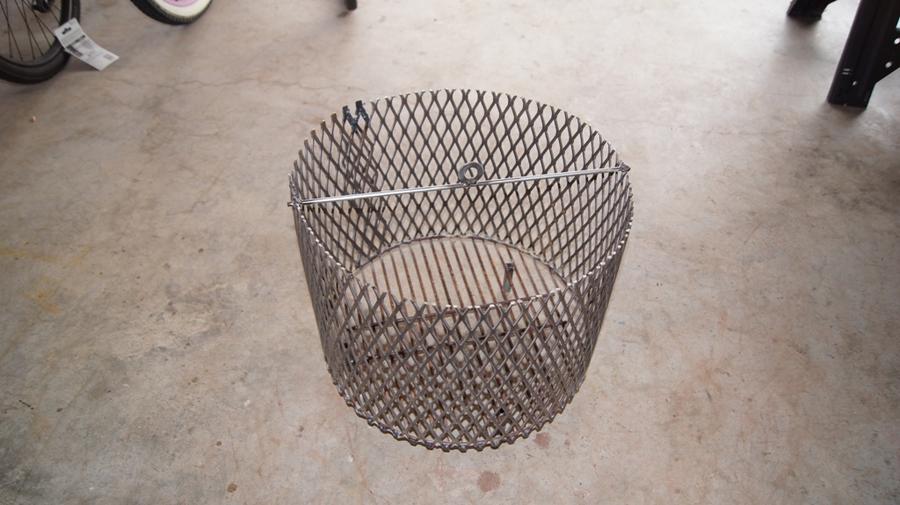
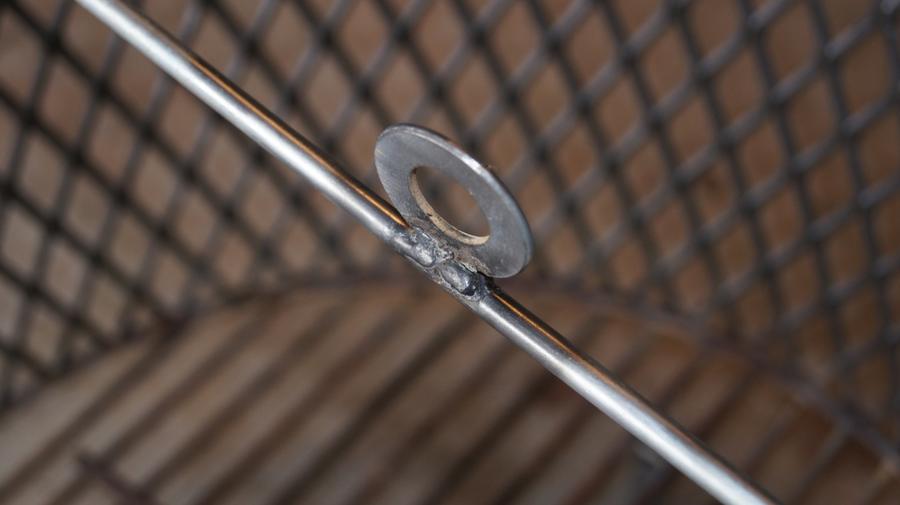
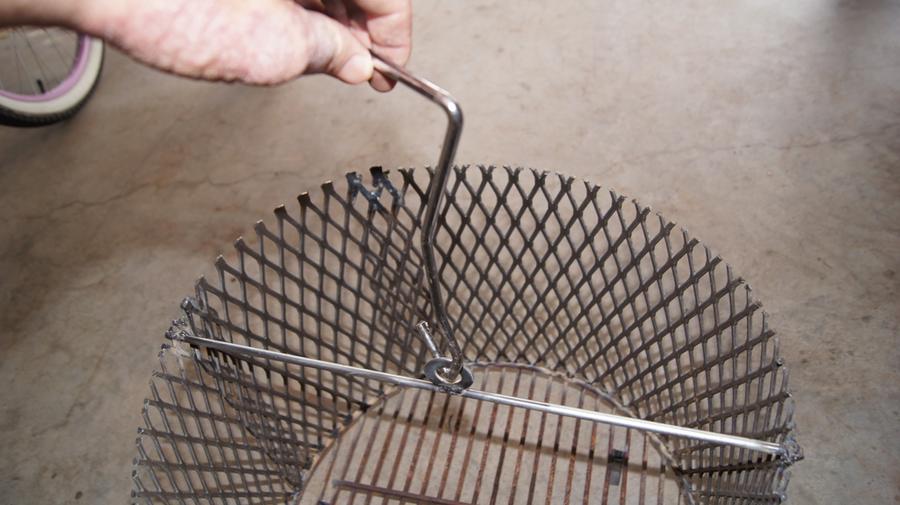
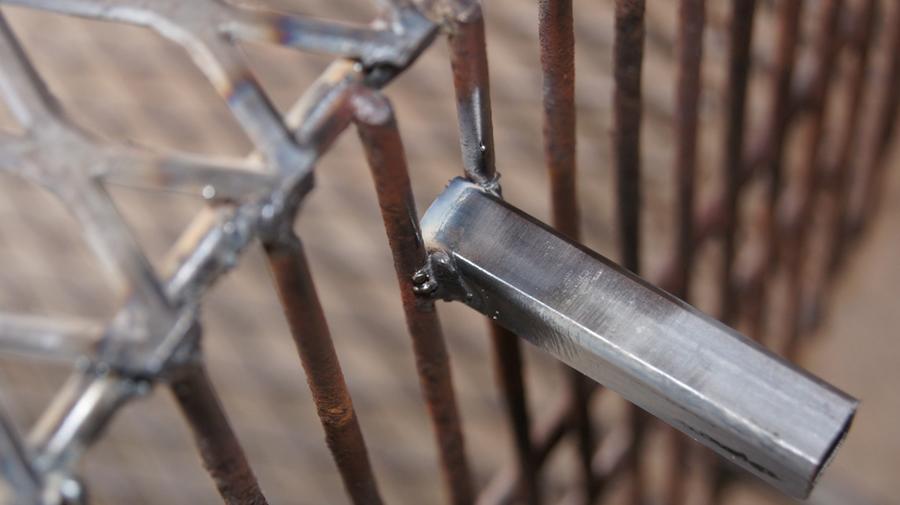
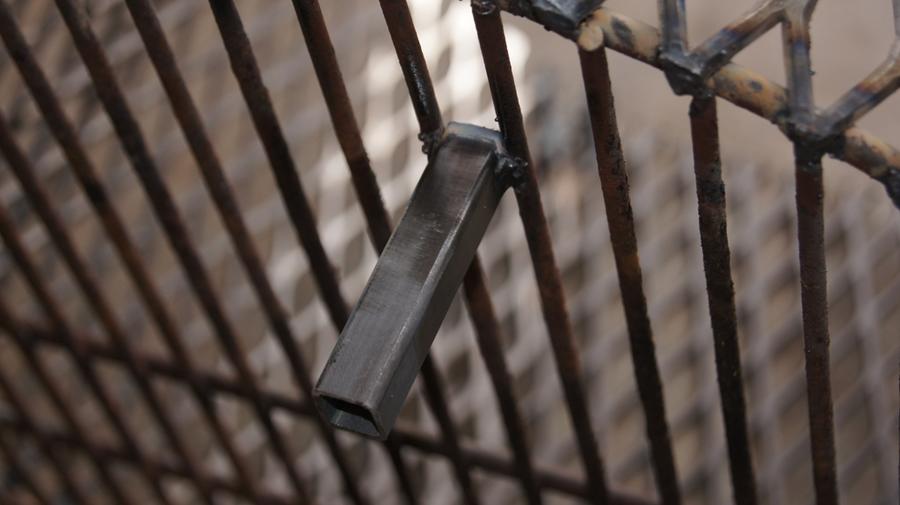
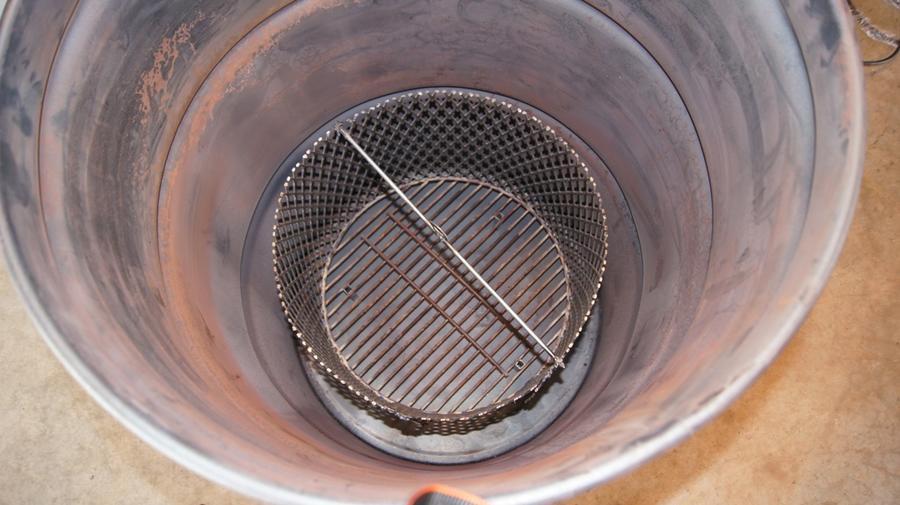
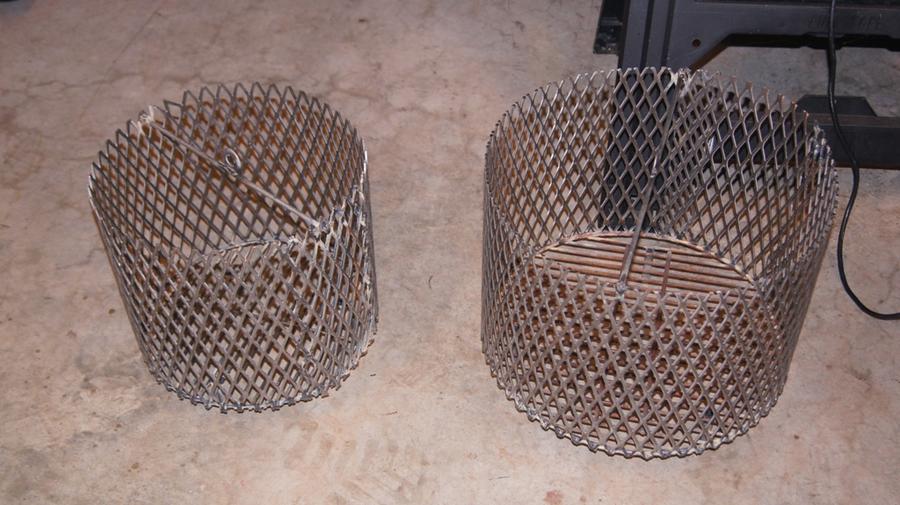
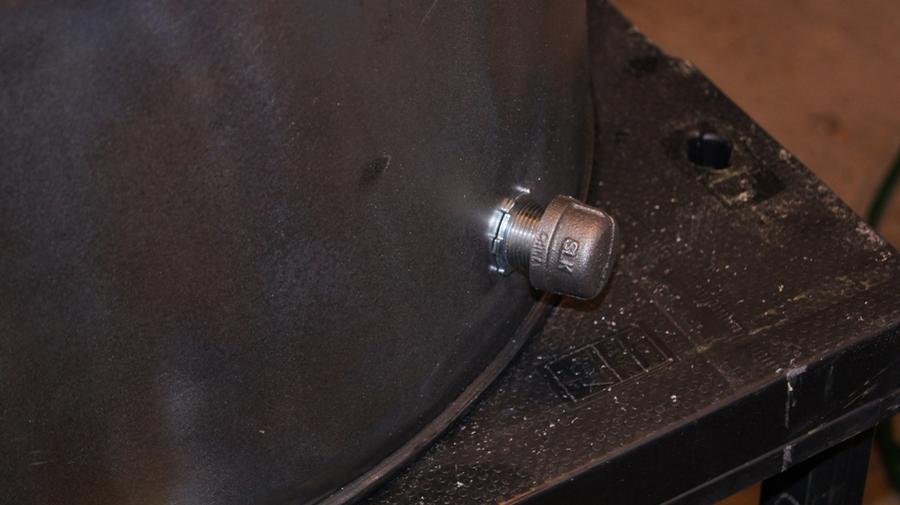
My plans are to have 3 intakes on each. I like the ball valve idea and will probably go that route. As far the charcoal baskets, is the expanded metal that Lowes carries good enough, or should I try and find something heavier? I'm afraid if I go heavier, I will need to outsource to get the baskets built. The stuff Lowes has seems like I will be able to bend it with some force and is safe for grill use according to the packaging it comes in. Cooking grates are going on the back burner until I'm sure what kind of grills I can acquire and take the grates out of those. Trying to keep this as cheap as possible.
Total cost so far: $0.00. Both drums were given to me.
Chad.
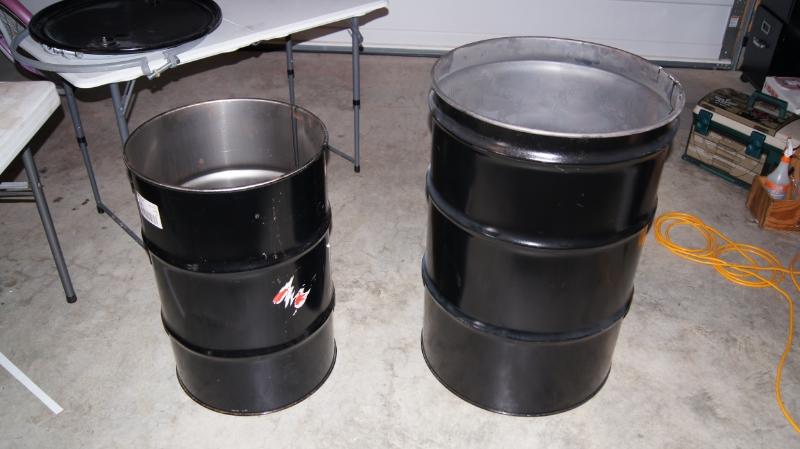
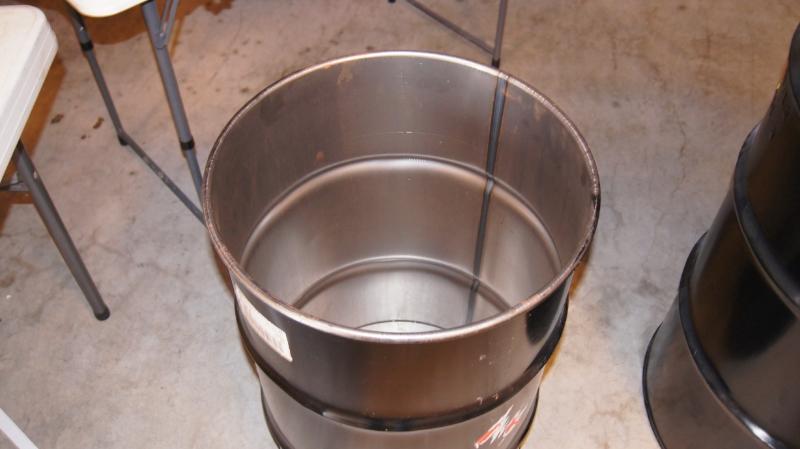
The 30 Gallon. The ID is 18 3/16" and OD is 19 3/16" at the opening with an Outside Height (OH) of 28 9/16 and inside (IH) is 27 11/16".
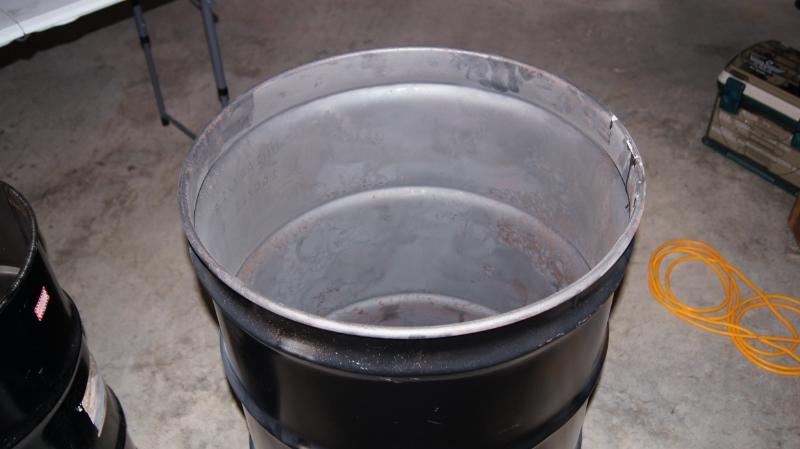
The 55 Gallon. ID just shy of 22 1/2" and OD just shy of 32 1/2". OH is 34 1/8" and IH is 33 5/16".
I don't have welding capabilities and I really don't want to outsource any of the work. So I'm going to try and do all the work myself with what tools I have. If I have to buy a tool, that's no big deal as long as they aren't an arm and a leg. I already know I need a step drill and a weed torch and I'm currently working on getting those. I have also been searching for Weber lids and currently have a lead out for a 22 1/2" Weber grill to part out. Just not sure if it will fit or what I will need to do to make it work. So any suggestions on that would be nice. I don't think that the drums have any type of liner in them but I'm going to hit them up with the torch to be safe. I can't fill them with wood and burn them due to neighborhood regulations. Eventually, I would like to get them stripped down and painted but that's later on after I get all the materials. I am currently on vacation for the next 30 days so this will be my main project to get done amongst the good ole honey do list and other household projects that I've been putting off.
My plans are to have 3 intakes on each. I like the ball valve idea and will probably go that route. As far the charcoal baskets, is the expanded metal that Lowes carries good enough, or should I try and find something heavier? I'm afraid if I go heavier, I will need to outsource to get the baskets built. The stuff Lowes has seems like I will be able to bend it with some force and is safe for grill use according to the packaging it comes in. Cooking grates are going on the back burner until I'm sure what kind of grills I can acquire and take the grates out of those. Trying to keep this as cheap as possible.
Total cost so far: $0.00. Both drums were given to me.
Chad.