DWrek's UDS Build

  • Some of the links on this forum allow SMF, at no cost to you, to earn a small commission when you click through and make a purchase. Let me know if you have any questions about this.
SMF is reader-supported. When you buy through links on our site, we may earn an affiliate commission.

dwrek

Newbie
Original poster
Nov 2, 2012
24
11
New Smyrna Beach, FL
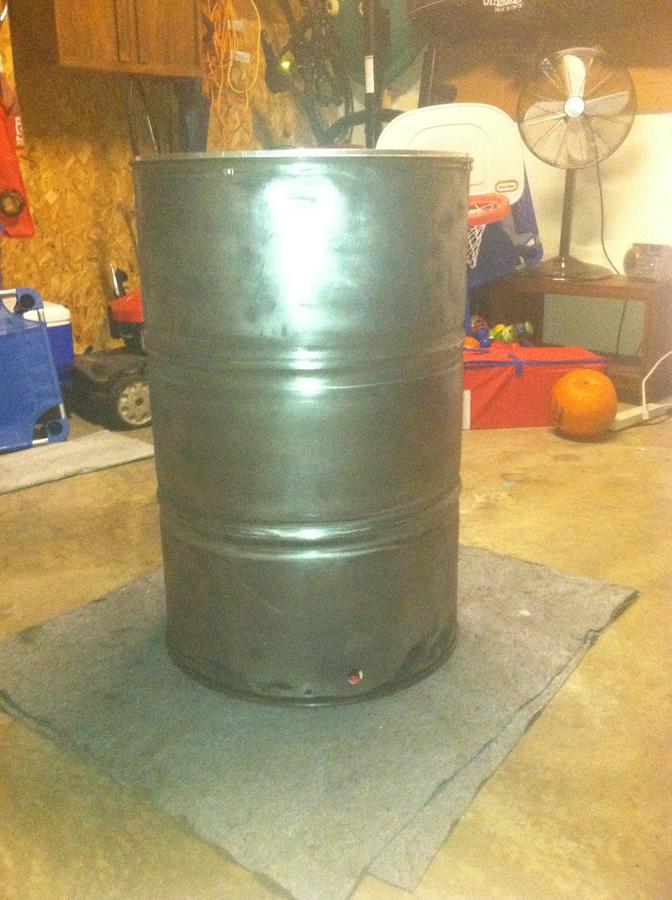
Hello Guys, started my UDS build this weekend.  Wanna use this thread to ask questions as they arise.  I promise to search the threads first 
biggrin.gif
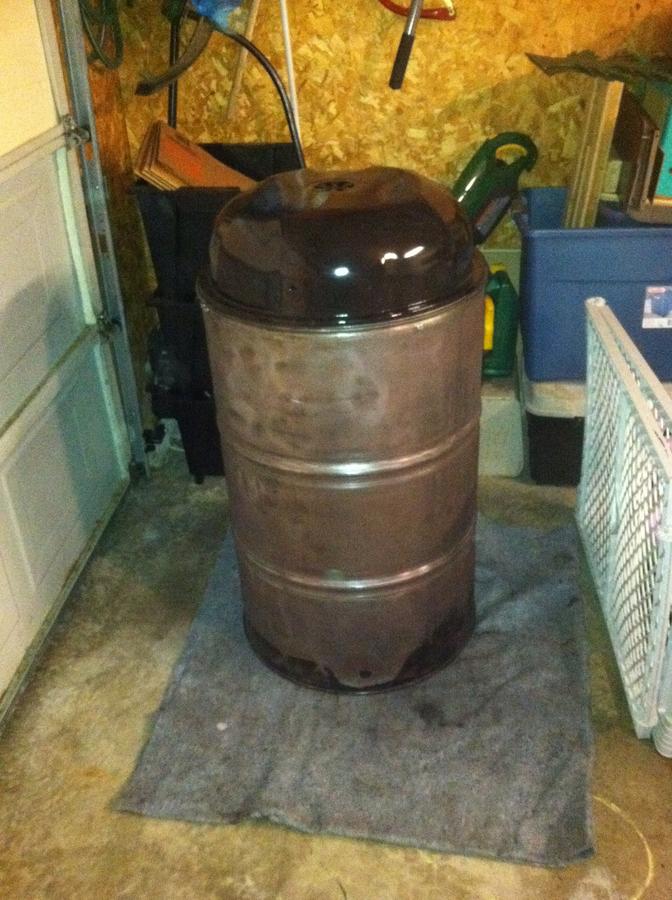
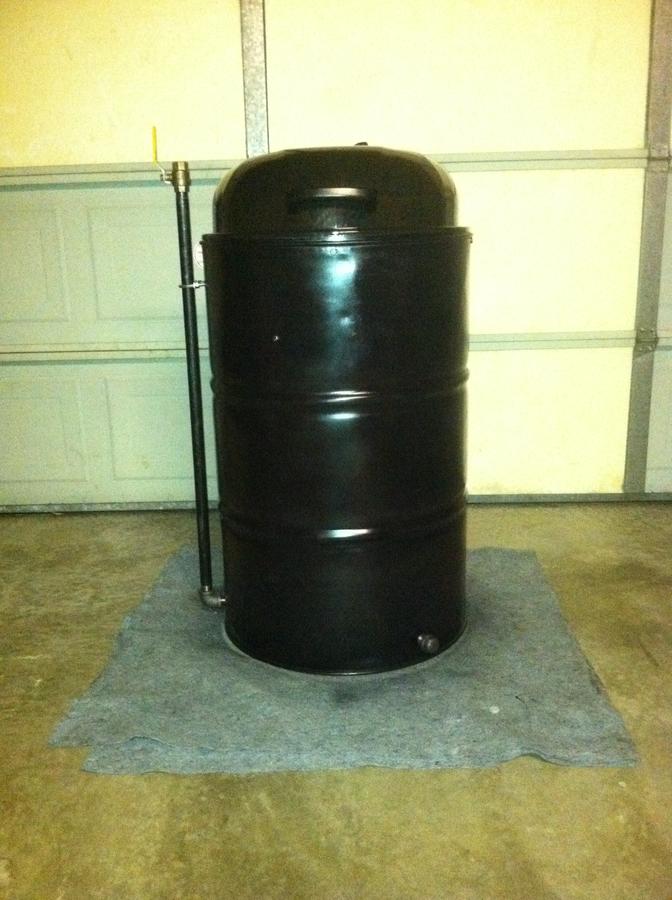
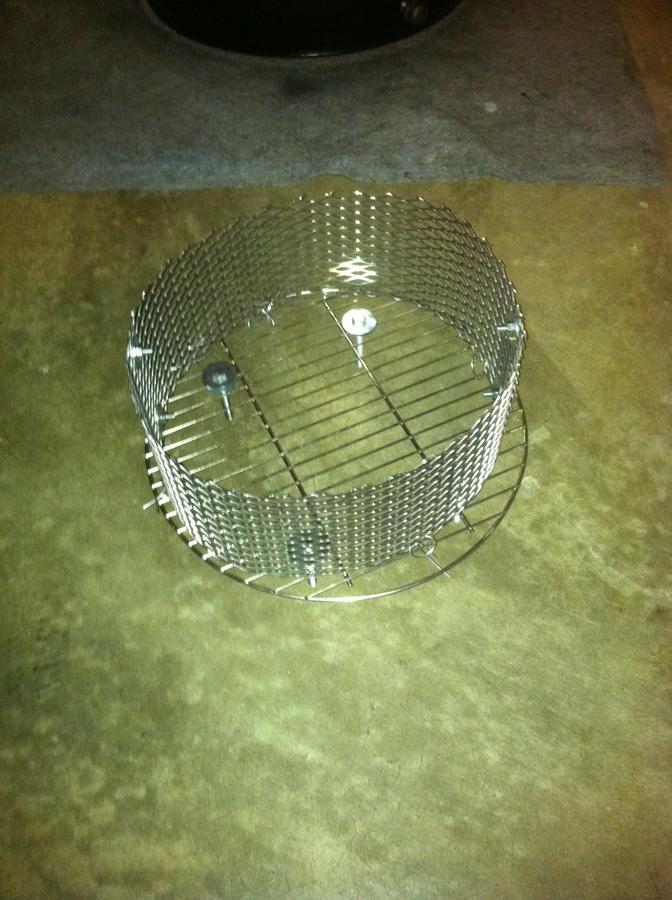
.  Will post pics as I progress.  

First question... I cleaned by drum today.  I scrubbed it with some simple green and did a burn-out.  What I can't find for certain is do I leave the black soot in there or do I need to scrub that out?

Thanks, looking forward to your feedback along the way...
 
Derek, evening and welcome to the forum.....  Clean out what you can, oil the inside with veggie oil, spray is fine, and fire it up as if you were smoking some food.... try to get the UDS to around 400 or so to set the oil, you can re spray and do it again if you think it needs it..... You are looking for an oil film that covers the inside like you would a cast iron fry pan.....   Then you are ready to cook......     Dave
 
  • Like
Reactions: dwrek
Thanks Dave, I took the wire and sander to it.  I experienced some unexpected rain, so had a little rust to deal.  Kind of pain, but feels good to be on to the fun part.  

I was also able to rig up a flange for my hood.  I was stressing out I wasnt going to be able to get my lid to fit, but it fits the lid perfect.  Below is my progress so far.  

Here is whats next on my list, let me know if guys see anything out of order (or can be done better).  The threads and pics have been a big help.  Thanks guys!.

- Give it a coat of paint

- Drill the holes

- Give it another coat

- Insert hardware

- Season it up!


Was going to wait for sunlight to get some pics, but I gotta show ‘er off.  The UDS is complete enough to start cookin.  Ill season tomorrow, then test ‘er out Saturday.  It was more work than I expected, but definitely rewarding.  Got a lot of ideas from the threads, thanks for the help.


Fire basket was a little easier than expected once I found the expanded metal.  Just need to add an ash pan.

I put the cooking grate 7"down.  It sits 25" above the charcoal grate.


I got a little ghetto with the hinges, but I can easily swap out those spacers.


I don’t have a stat in it yet, but can use the Maverick until I get one. 


Gotta think of a name for it, then tag it!
 
Howdy DWrek.

Looks like a great build and I really like the hinges.

Last weekend I found a cheapo 22 1/2 kettle grill at the Dollar General Store so I fashioned a flange and put some stove gasket around it and it seems to work pretty good.

So my friend, I am asking for a detailed list of parts and fab of your hinges. I will forever be in your debt. 
77.gif


Here is my mod if you care to take a peek.

I need to do a little bending on the lid to make it fit better


First test run with some spares, taters, onions and asparagus


Hope I didn't
hijack.gif
 
Thanks for the feedback guys!

I bought a MasterForge at Lowe's.  Lowe's also had the 1.5" strip of aluminum. The lids fits perfect with the flange.

The MasterForge also came with hinges for the lid.  For the spacers I used (3) 1/4" nuts.  Heres a better pic.

 
Just some feedback on temp ranges.  I installed a stat with a 3" stem.  I also have a Maverick.  The Maverick was registering temps 50 degrees higher in the center of the grate (over the fire basket) than the stat was showing on the outside.  

I installed bolts to place a diffuser if needed.  I didn't have a problem keeping temps down, so I probably wont use it much.  But its there if needed, mainly if I need to use the whole rack and want to keep temps uniform across the cooking surface.
 
Is anyone selling a flange for the lid?  I would love for my lid to fit better.     If so, please PM me with pricing.
 
Is anyone selling a flange for the lid?  I would love for my lid to fit better.     If so, please PM me with pricing.
Jim, Some members have bolted a 3-4" wide, thin metal strip to the inside of the top of the drum for the lid to fit on....  It doesn't have to be thick metal, just something to hold the lid...     Dave
 
Looks great! I am getting ready to build one myself and have one question. I have heard that if you have the ball valve intake to high, it won't draw right. Have you experienced any of that? I only ask because I was thinking about doing something similar.
 
Looks great! I am getting ready to build one myself and have one question. I have heard that if you have the ball valve intake to high, it won't draw right. Have you experienced any of that? I only ask because I was thinking about doing something similar.
Hey Big Griz, thanks for responding.  I am not disputing that claim, but I have not had any problems getting my temps up in this thing.  Usually the other 2 intakes are closed during cooking, so if I needed more air I could open those as well.  

What you could do as a safety measure is put the U-bolt low enough so if a 3 footer doesn't work you could easily swap it for a 2 footer.  
 
Jim, Some members have bolted a 3-4" wide, thin metal strip to the inside of the top of the drum for the lid to fit on....  It doesn't have to be thick metal, just something to hold the lid...     Dave
Dave - care to define 'thin'.  I've got the Weber lid but don't know how to determine thickness of metal strip w/o buying several.  Thanks, Steve
 
Dave - care to define 'thin'.  I've got the Weber lid but don't know how to determine thickness of metal strip w/o buying several.  Thanks, Steve
Missed-Em, I got mine from Lowe's, I believe it was 1/16.  Thin enough to bend with manual effort, thick enough to hold its rigidity without scoring when bending.    
 
  • Like
Reactions: missed-em
SmokingMeatForums.com is reader supported and as an Amazon Associate, we may earn commissions from qualifying purchases.

Latest posts

Hot Threads

Clicky