First time Mini WSM

  • Some of the links on this forum allow SMF, at no cost to you, to earn a small commission when you click through and make a purchase. Let me know if you have any questions about this.
SMF is reader-supported. When you buy through links on our site, we may earn an affiliate commission.

grumpysmoke

Fire Starter
Original poster
Jul 23, 2012
35
10
Wylie, TX (Lake Lavon)
So after browsing this forum I have decided to build a Mini WSM. I intend to use it for cold as well as hot smoking.

Want to be able to do Ribs, ABT's Salmon, etc. as well as cold smoke cheeses.

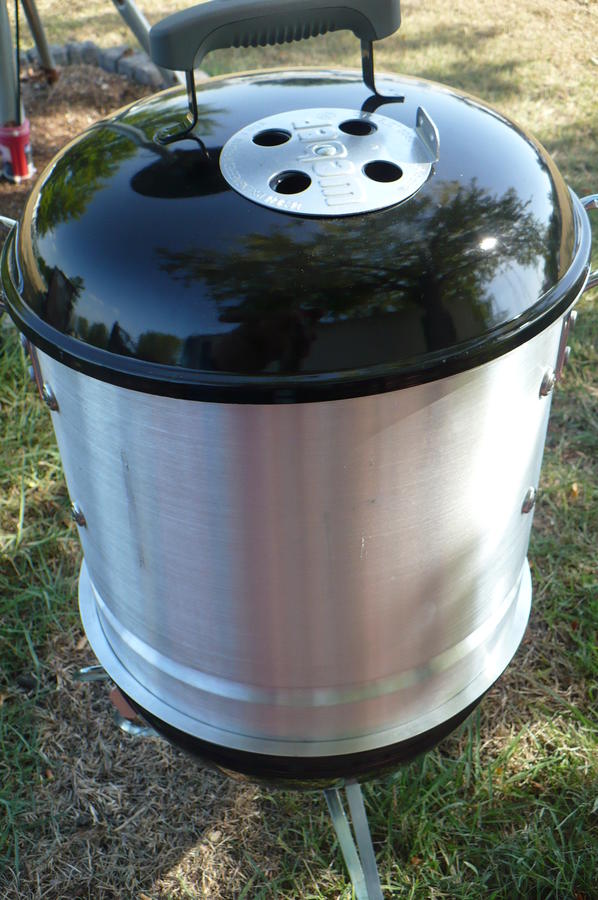
Just ordered a Smokey Joes Gold and have sent an email to Todd as to which of his products will work best with a WMS.

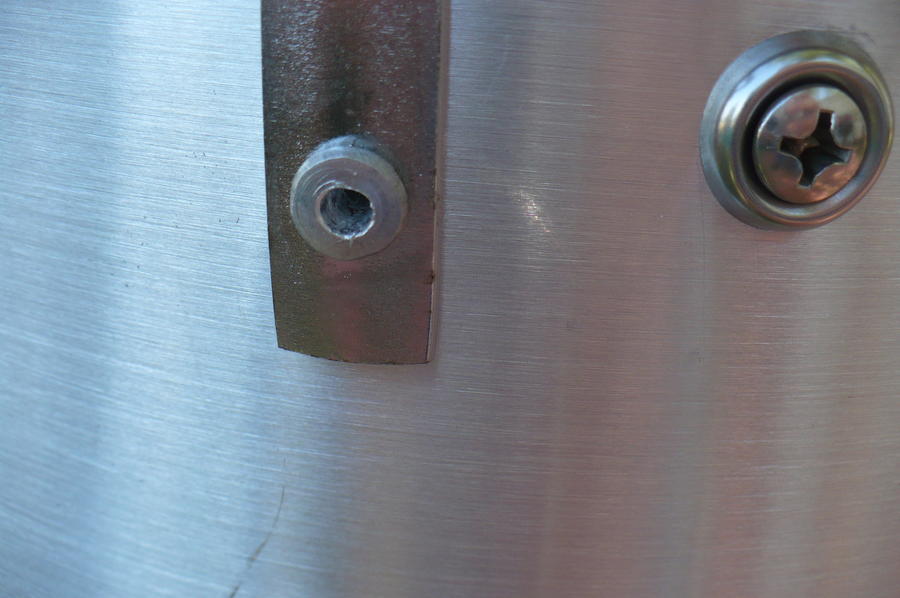
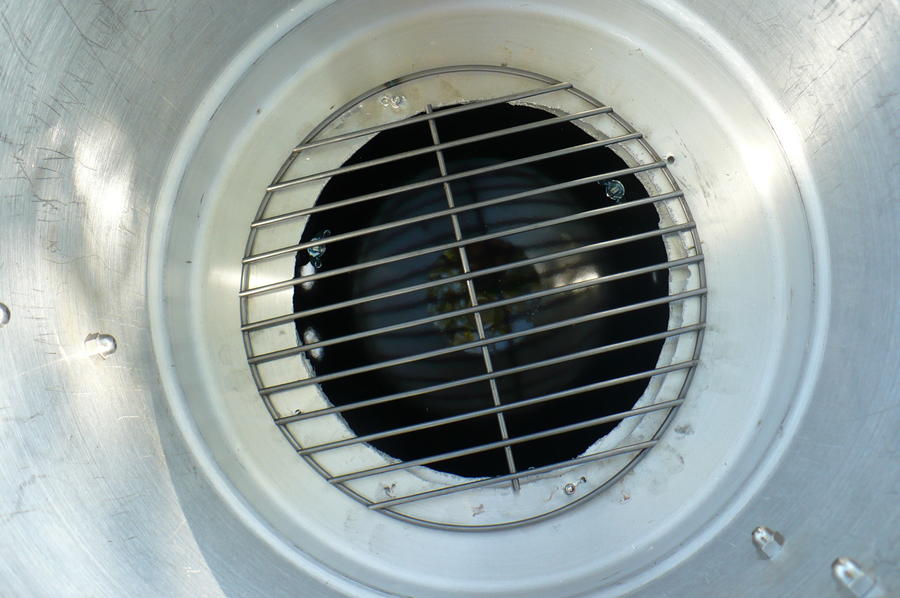
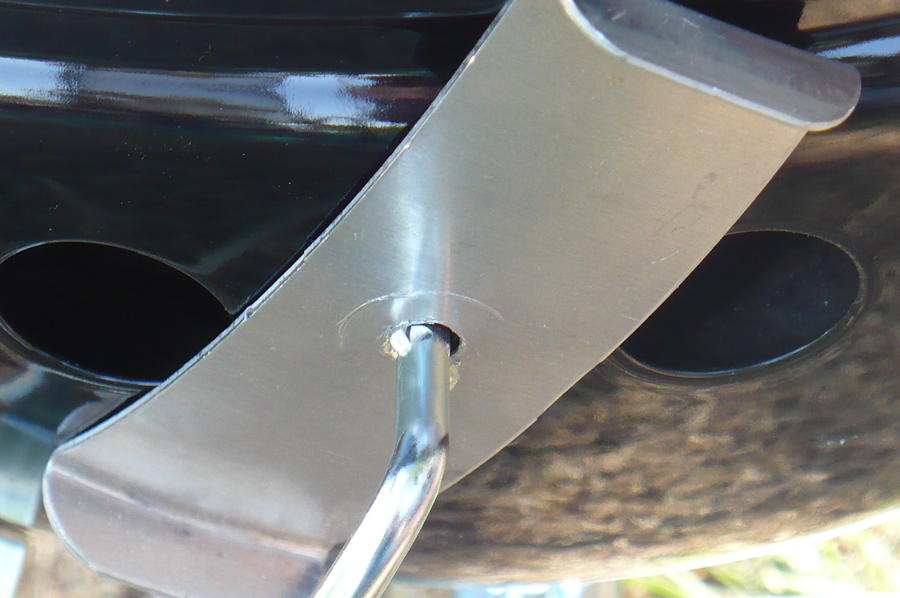
As I gather all of the pieces together I will be posting QViews along with the build process.

Naturally, I would appreciate any suggestions, advice along the way.

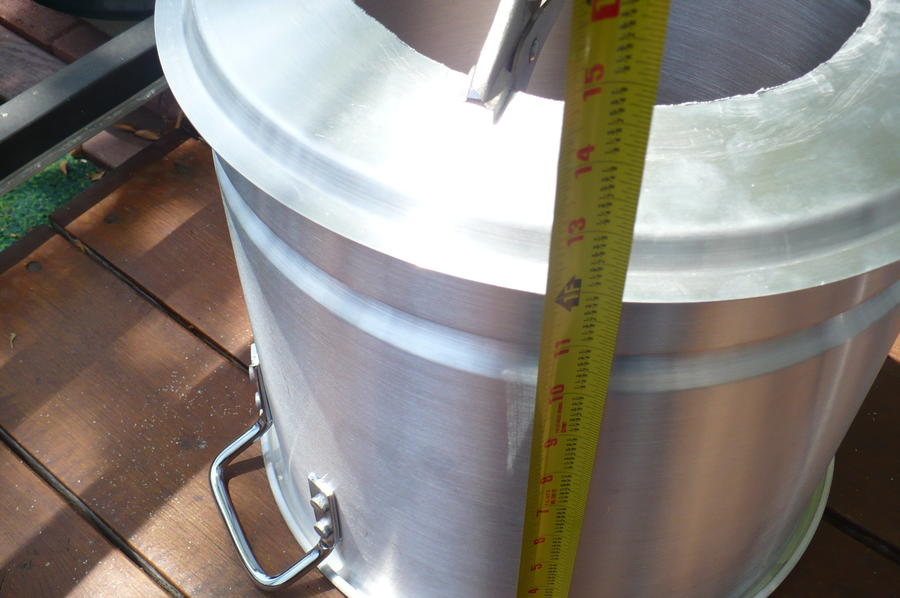
I intend to take my time with this so postings may take a little bit, just want to do it right the first time.

As they say, measure twice, cut once. If at any time during the build process I get stumped, confused, exasperated, or otherwise DGAS, I will stop and post the problem for forum members to offer their input.

Hopefully, this will turn into a nice build with everybodys help.

Nice to be here,

GrumpySmoke

grilling_smilie.gif
 
Last edited:
Grumpy, morning and welcome to the forum.....  This is a great forum and great members willing to share their knowledge....   Glad you stopped in....   Dave
 
Welcome Grumpy. Good choice on going with the Gold version of the Smokey Joe, as in my opinion it works a lot better for lower temp smoking than the Silver. One thing you may want to think about is making a charcoal basket. I used a stainless steel colander at first, which worked well but didn't hold enough coals for longer cooks. I've since made a basket using an aluminum mesh "gutter guard" I got for $3.99 at Ace hardware. It was roughly 4.5"x36". I bent it into a ring a fraction of an inch larger in circumference than the charcoal grate and wired it together. Then I bent the lower 1" inwards, forming a lip on the inside on which the grate sits. This way, I can easily remove the grate and still use the grill in "grill mode. The basket sits roughly 1/2" above the top of the top of the grill and easily inside the hole in the bottom of the pot. I've not yet tested it, so I can't comment on it's effectiveness, but I'm thinking if it doesn't melt, it should work very well. It's pretty heavy gauge aluminum, so hopefully it'll hold up for a while. The reason I suggest the basket is that if you just dump the coals in the bowl, especially if you fill it up to try for a longer cook, it doesn't get enough air to burn uniformly and ends up kind of only burning next to the vents. Good luck and let us know how your build goes!
 
 
Last edited:
biggrin.gif
  Received my SJG late yesterday. Going on the "Steamer Hunt" this morning and to gather all the other hardware I will need.

Interestingly enough, I ran across a reference to a 36qt steamer that is supposed to work and is heavier gauge than the Imusa. Going to check it out first. If not, I have several Imusa steamers lined up that I can try.

Side note: I was browsing other forums and ran across this dated June 27, 2011

http://tvwbb.com/eve/forums/a/tpc/f/3471094836/m/5870049575/p/36

I quote:

Regarding these pots, I have been in contact with the president of IMUSA here is my reply from him on this.

Hi Jeff,

That is correct, the stock pot itself has two different molds. Unfortunately, the made in Colombia was discontinued late last year as a result of manufacturing issues with the mold which forced us to stop producing them..

Thanks again for your interest.

Best,

Manny Gaunaurd
President
IMUSA USA, LLC
 
Using the lid for the base is BRILLIANT!! Thankfully I saved my lid and just went and checked the fit. Perfect. The pot fits inside the lid really snug, and the lip sits on the grill like it was made for it. Do you mind me asking how you attached the lid to the bottom of the pot? I was thinking rivets or maybe hi temp epoxy.
 
Attached lid initially with pop rivets but the aluminum on these pots is so thin that today I am going to redo it and use Stainless bolts/nuts along with washers to adjust spacing. Hardest thing is making sure the lid doesn't shift while attaching it and cause uneven spacing or tilt to the pot. Will Qview when I do it.

Glad you like it and good luck.
 
 
Last edited:
From the inside:

Bottom grate is charcoal grate from SJG


Forgot the clay saucer so took the cut-outs from bottom of pot, lid and also cut-out from steamer tray, wrapped in heavy duty foil.

Figure for the initial burn-in that this would at least provide a heat shield.


Next grate, bottom cooking grate, sitting where steamer tray would sit. Notice that the Wire ring is bent where the handles are?

That is because the supports for middle tray were a little to close to the bottom and bottom grate would not clear them without the bends.


Middle grate.


Top grate. Will be posting qwiew of initial burn-in next.

 
GrumpySmoke, Howdy;

You didn't show cuttin' out the steamer rack, How big of a hole did ya make and

are ya usin' it (the outer portion), for any part of the 'works' ???

Basic courisocity gets me askin' ?'s

Thanks for your thoughts...

hank
 
Initial burn in. Loaded 50 Kingsford Mesquite Briquettes. Using 15 lit ones (in the center) to start the rest of the coals using Minion Method


Bottom vents 3/4, or so, open


10 minutes into burn, temp at top vent which is wide open......


20 minutes in, side port.....


30 minutes in, still in side port....


To be continued....
 
Last edited:
Cut Steamer rack same size as all the others basically using the same original template.

Cut-outs are approx 8 1/2 inces.

As much as I hate to discard any material, I could not find any use for the outer portion.

Guess I could quarter it and feed it into the foil wrapped saucers? LOL

Going to be making a charcoal basket next, try another burn in and see what happens.

Also going to get clay saucer and try that.

Goal is to get a good 6 to 8 hour burn while maintaining a safe temp.

Maybe even an overnight burn.
 
 
Last edited:
1 hour in...


2 hours...


Took lid off for picture of temp probe.

You can see the white lead with a black tip...


Temp dropped to 212 while lid was off...


Recovered nicely within 2 minutes...


Sitting in an ice bath...


In ice bath, guess this one doesn't like the cold...


Boiling water...


Boiling water, more accurate at high temp...


Went and checked on the smoker every hour until .....

At 5 hours...


This completes the initial build and burn in.

Next up, which I will be doing today, is attach the lid (bottom) a little better using stainless bolts.

Making charcoal basket from expanded metal.

Personalizing the smoker drum.

Thanks for viewing and keep on smoking.
 
Ok, I don't think this forum has any sort of awards for builds or cooks, but if there is, I nominate you in the category of "Best Mini WSM".

FANTASTIC BUILD!! I love the graphic too.
 
Grumpy, Howdy;

When you re-attached the lid the the pot's bottom did you,

use anything other than the ss bolts washers and nuts, such

as a sealant or gasketing material?

Ya do have one of the better lookin' minis to date.

hank
 
I can't thank everybody enough for all the kind comments.

Glad you like it.

Have been a bit busy lately taking care of other stuff, BUT, will be posting Qview of charcoal basket build, attaching lid to bottom, etc.

Will try to answer all questions at that time.

Thanks for viewing and keep on smoking.
 
SmokingMeatForums.com is reader supported and as an Amazon Associate, we may earn commissions from qualifying purchases.

Latest posts

Hot Threads

Clicky