Chief's 30 and 55 gal UDS builds

  • Some of the links on this forum allow SMF, at no cost to you, to earn a small commission when you click through and make a purchase. Let me know if you have any questions about this.
SMF is reader-supported. When you buy through links on our site, we may earn an affiliate commission.
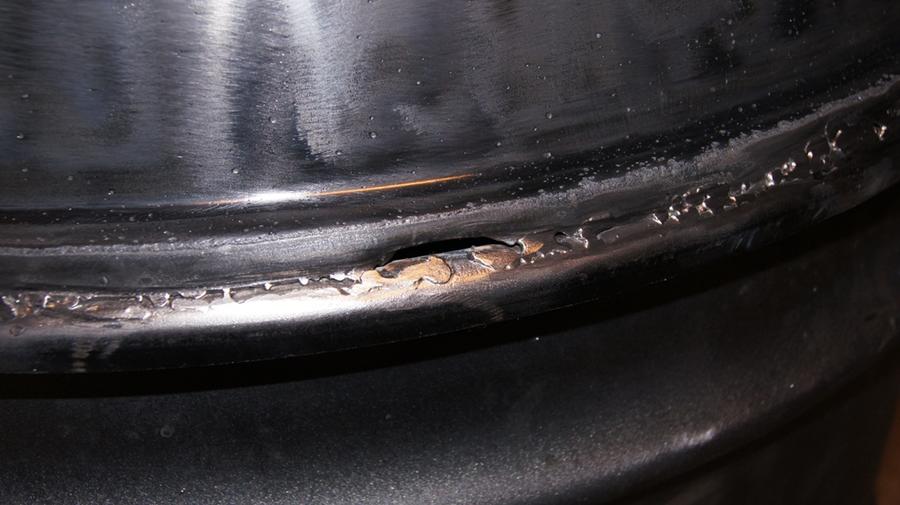
So been researching on how to fill the burn through and found some real good YT videos and got some of them to fill but some just went bigger.


Some of the welds went really good using Lincoln wire instead of the HF wire.

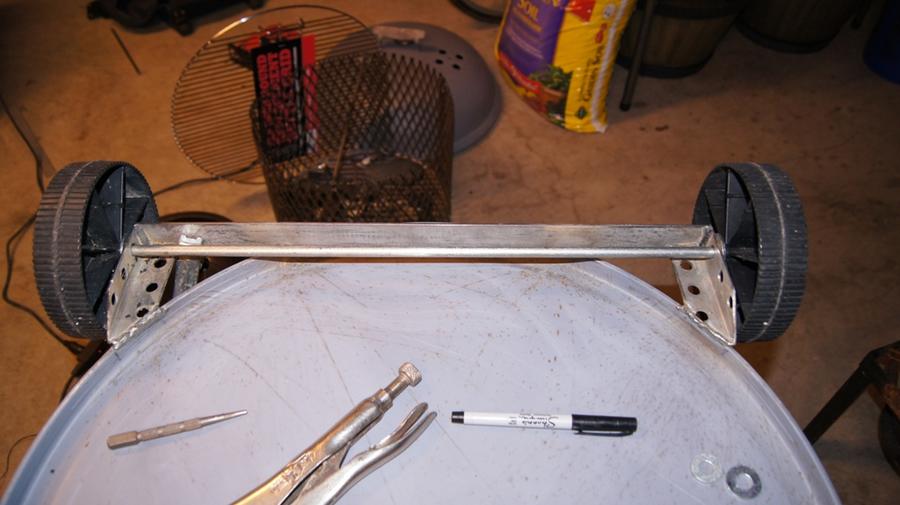
After grinding them down here is what I got.

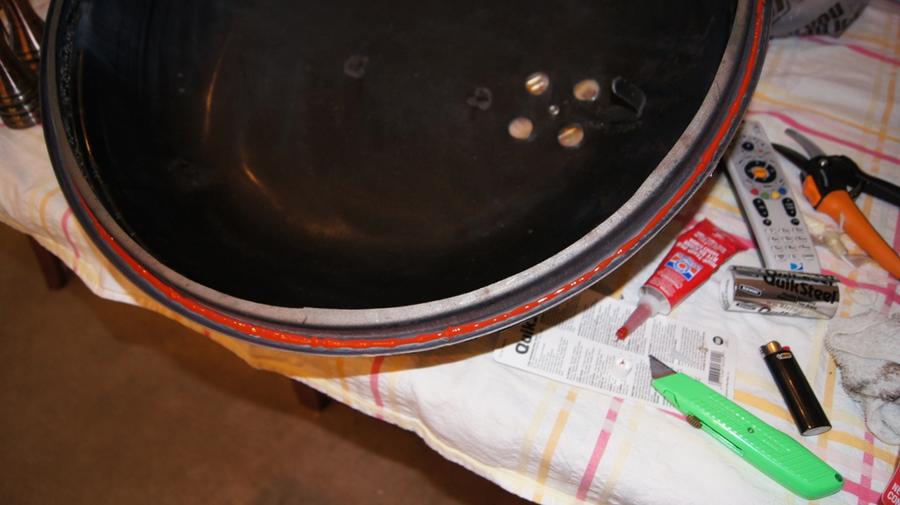
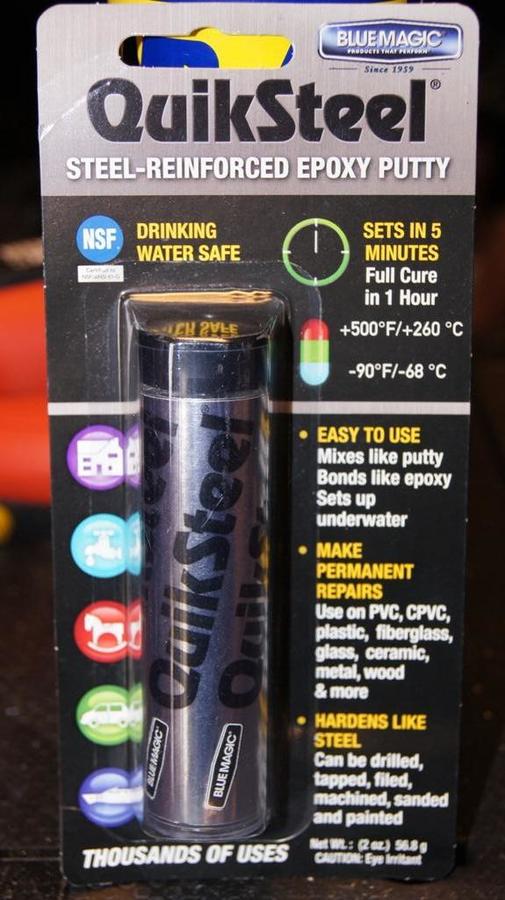
So as I was in the auto parts store trying to figure out what's wrong with my truck (which is another issue), I found this stuff.


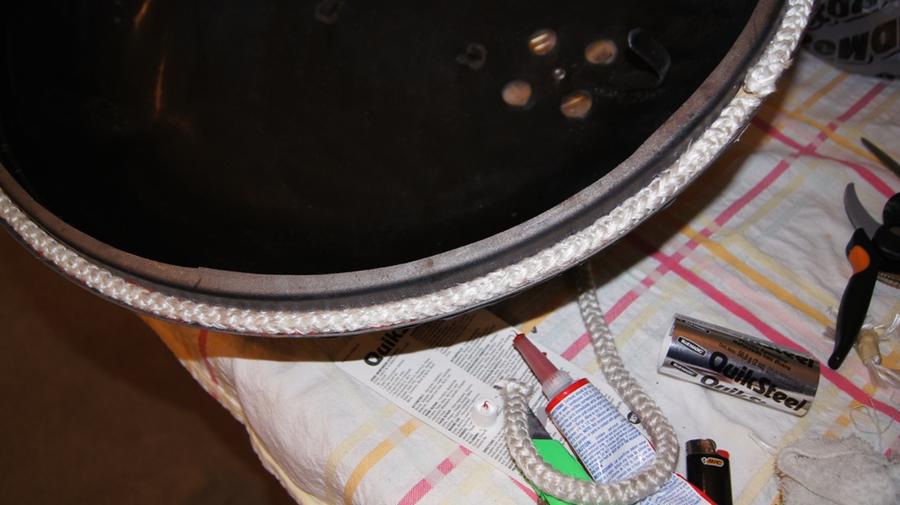
I've used something similar to it years ago but this is high temp and safe for drinking water. Figured I would go back to my plastic modeling days using modeling putty.


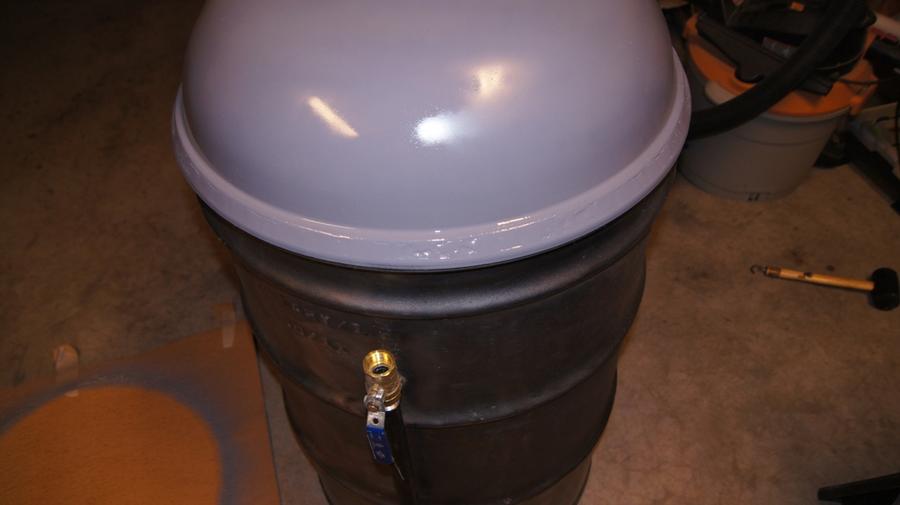
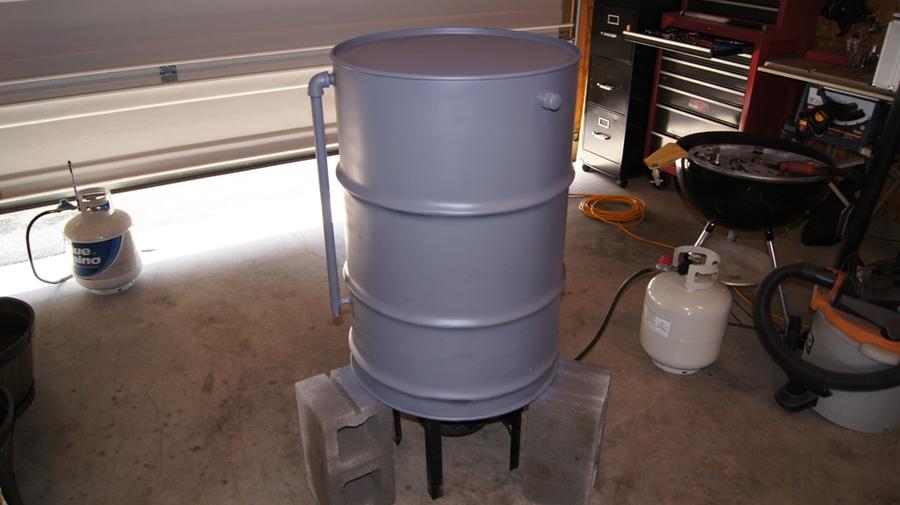
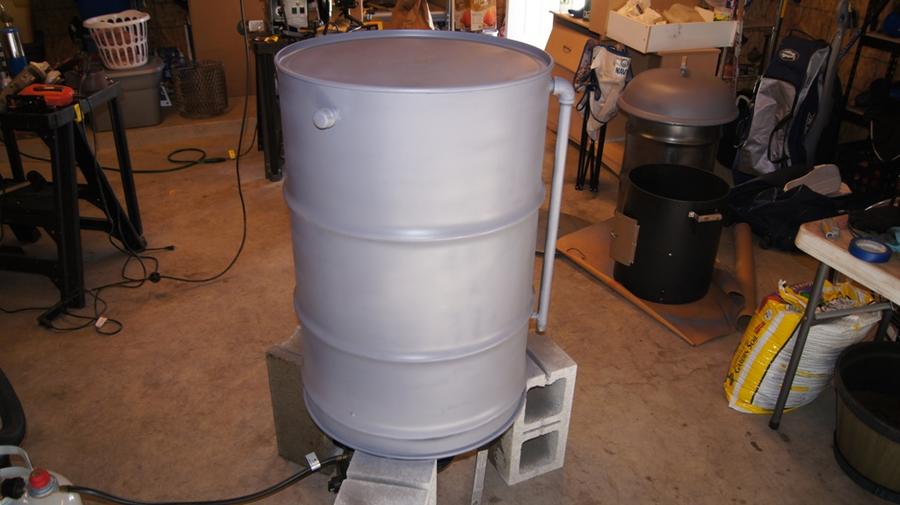
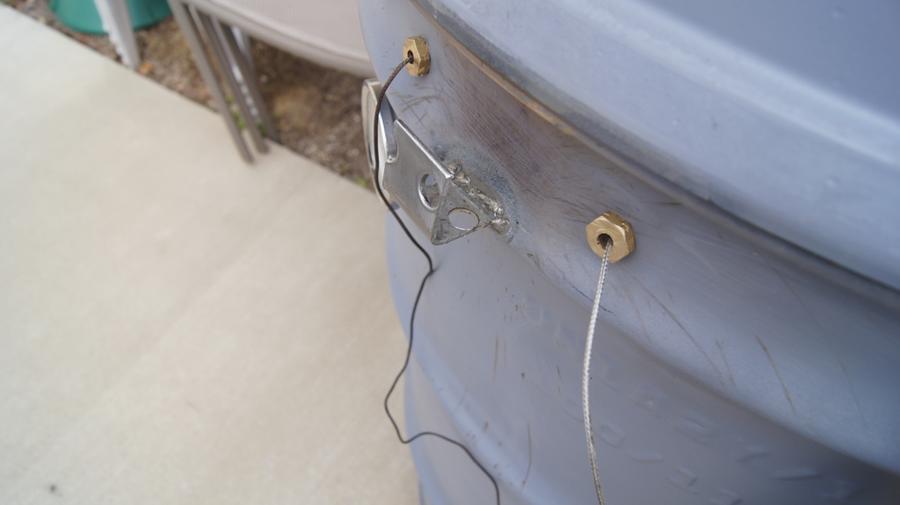
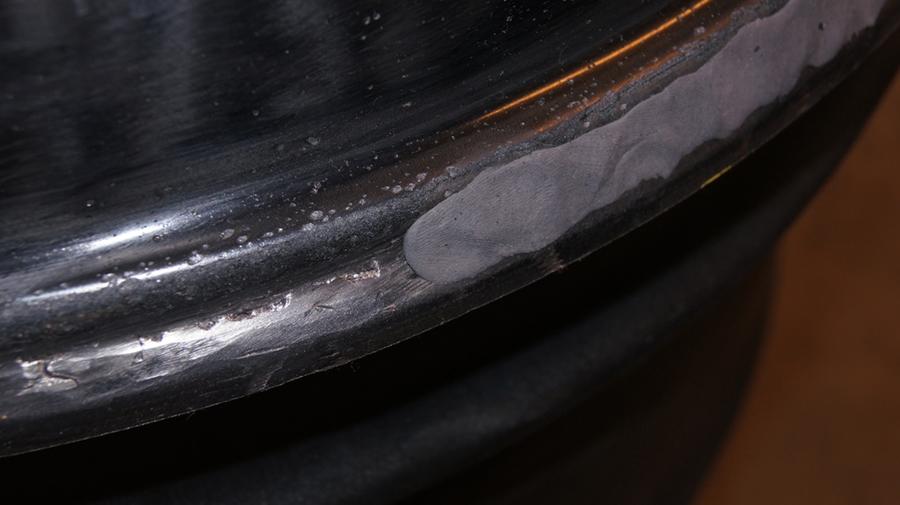
Doesn't look like much right now, but after being patient and sanding (just like building models), it should have a nice smooth transition and once painted, you won't be able to tell. This stuff cures as hard as steel and can actually be tapped for screws.


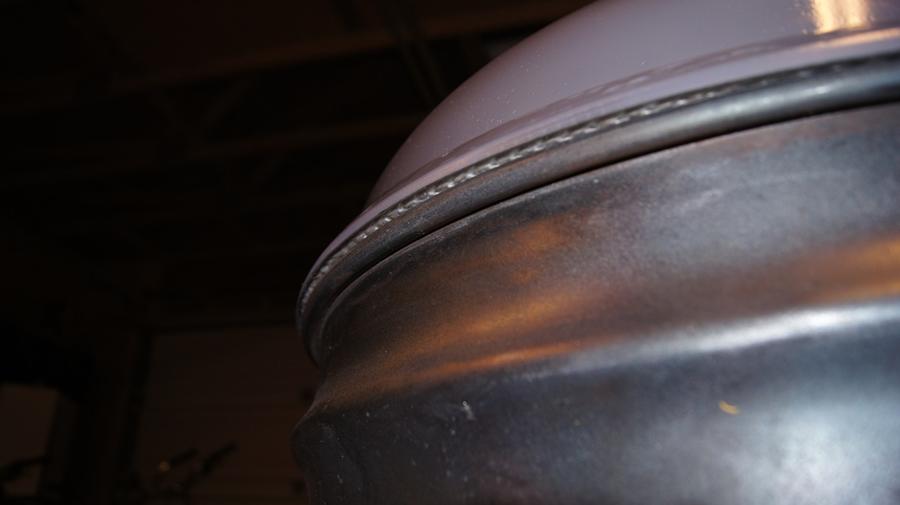
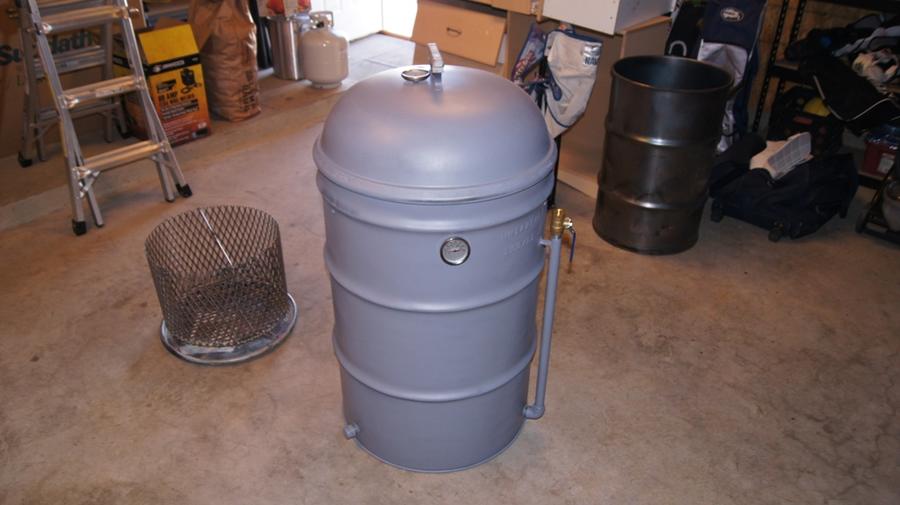
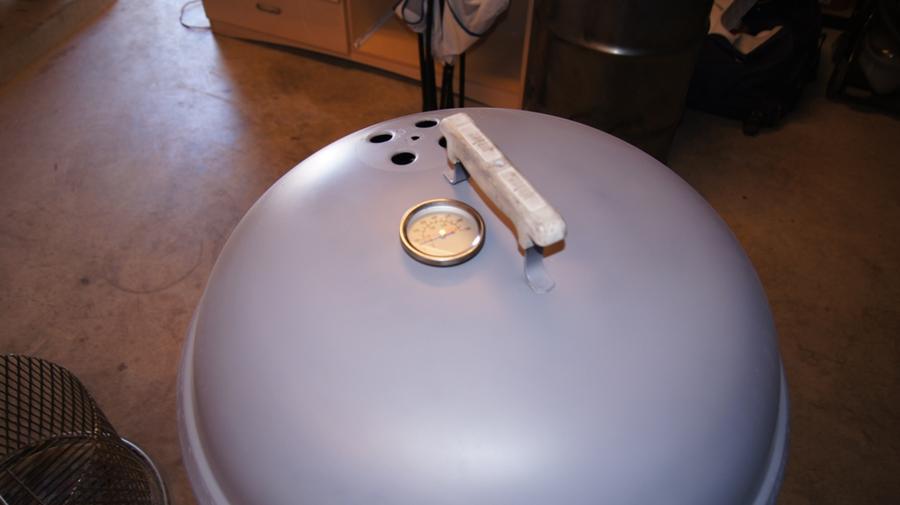
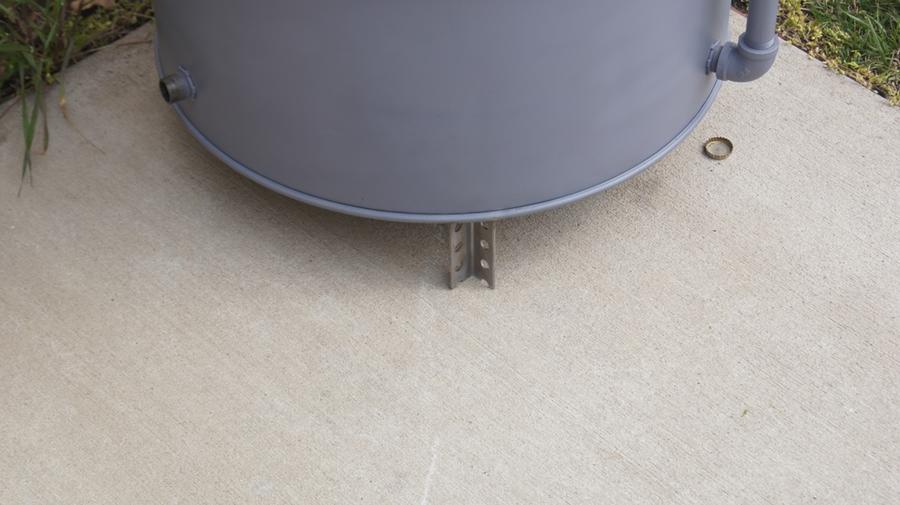
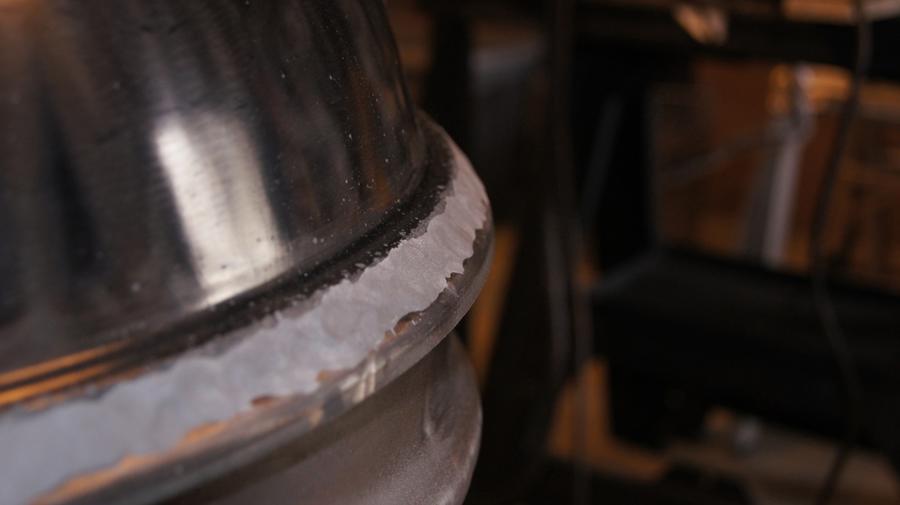
Side shot of the profile before sanding. Next update will be after sanding and painting with VHT high temp primer.
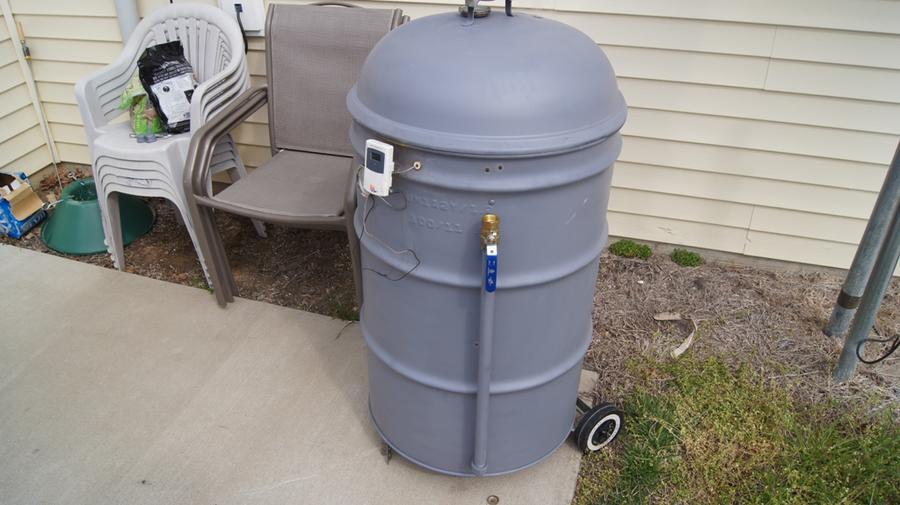
It's getting there.

Total cost so far:

55g = $81

30g = $44

Chad
 
Last edited:
So it took about 1.5 tubes of the QuikSteel and I really like the way it turned out.


This is after sanding and priming with the VHT Flame Proof Primer. Not as smooth as I would have liked to get it, but this is a lot better than my welding.

I also got the rope gasket in place. Fits in the channel and sits on the drum perfectly.


Just need to finish up prepping the 55g drum and then at least get a coat of primer on it so I can season it and see how it seals and temp control goes. Then I can concentrate on the 30g. Hopefully be able to smoke a turkey or brisket this weekend. In-laws are coming in for Easter so it would be nice to have at least the 55g done and maybe smoke something for Easter dinner.

Chad
 
Last edited:
The 55g is just about complete and seasoning it as I type.


It was kind of a chilly morning so I decided to warm the barrel up using three cinder blocks and my deep fryer burner. It worked beautifully. Got the barrel warmed up to about 90° and then shot the primer. (Burner was turned off before shooting the primer)


Added two thermometers from my ECB that I bought trying to mod it. Still need to finalize the exhaust but this will work for now.


Seasoning and has been going since approx 3:15. No meat on it since I didn't have anything thawed out and ready to go. I just wiped the inside of the drum with olive oil and lit a basket of Kingsford Original and some lump charcoal. We went out for a couple of drinks and it was sitting at 250° with one nipple open and the ball valve at about 1/8" open. When we returned it was sitting at 214°. I'm already happy with it just for the temp control. We'll see how it goes over night. The smoke in the picture reminds me of the Pope getting selected...lol.

I do want to apologize for the lengthy build thread. That's just the way I am. I guess it's my Navy training and being a Chief. Chief's always go the extra mile to make sure something is explained well.

Chad
 
Last edited:
  • Like
Reactions: remmy700p
I do want to apologize for the lengthy build thread. That's just the way I am. I guess it's my Navy training and being a Chief. Chief's always go the extra mile to make sure something is explained well.

Chad

+++++++++++++++++++++++++++++

Don't worry about being chatty... I need something to read with pics.... Your thread fits just fine.....  Dave

By the way...... what do you call that color.............. Battleship Grey  ????
 
Well the seasoning went great. When we got home last night and the temp was at 214° I opened the ball valve and got it back up to around 260°. I adjusted the ball valve some to get it to level off and went to bed. I woke up this morning at around 7:00 and it was sitting at 170°. I opened it all the way and it started rising again this time leveling out at ~220°. I think that was the last temp I saw before I fell back asleep. When I woke up at 11:00 (don't judge me...lol. I'm on vacation), it had dropped to 114°. I only used about 1/3 of the basket capacity and to get almost 14-16 hours out of it, I'm impressed. Can't wait to get some meat on it. Hopefully this weekend while the in-laws are here. I do want to thank everyone that has ever posted their UDS builds here for this idea and for some neat tweaks that I will continue to do as time permits. Next is going to be wheels. Will probably hook them up tomorrow. Thanks again everyone.

Chad
 
 
Well did a little bit more work on the 55g today and I think I'm ready to smoke. Here's what I did today.


I went to Lowe's and got some adjustable shelf hardware from the closet section. Three 48" rails and six matching supports.


After taking the ECB rack supports out, I cut 18" sections and made 3 of them. I then tack welded them in the drum.


The stock shelf supports were to long so I trimmed them down as well to 2" from the rail slots.


Here is one rail and support complete.


All three in place with the rack at the top most level.


Decided to do the same thing down lower if I want to use a water bowl (ECB bowl pictured), or even a diffuser. Supports are 4.5" long with a little notch cut in the tip to keep the bowl from sliding around and falling off the supports.


All together ready for meat.

The nice thing about this system is I can adjust the grate to whatever level along the 18" rails in 1" increments. This was kind of expensive but I think well worth the cost. This ran me $29 but have enough rail for both drums and might be able to take one back. The rails won't be as long for the 30g. I still need to go back and get more supports for the 30g.

Chad
 
Last edited:
You have taken UDS to a new level Chad!  Great build.
Thanks but I don't know about all that. Just did a bunch of researching and got a ton of ideas from this and other sites and tried to come up with my own. I have yet to be able to smoke something on it but the plan is to smoke a turkey on Easter. I will post some Q-View of the process. The 30g has been sitting there waiting to be completed. I will be able to get to it soon now that the weather is starting to warm up a bit. Basically going to be a smaller version of the 55g.
 
Happy Easter everyone!!!

I finally got the 55 up and running today after doing some quick add-on's yesterday.


Got the front leg added to level it back out. Not sure if this will stay like this or not.


Added somewhere to hang my ET-73, as well as inlets for the probes.


All ready to smoke a turkey.


Here's dinner before going on. Nothing special. Just a simple rub my wife put on it. Her secret recipe. We didn't brine it either since it was already "enhanced".


Had some rain move into the area so had to think quick to keep the rain from going into the exhaust. Worked great but, I now have runs of grease going down the back of the drum. Oh well. They'll wipe off.


Right off the smoker. She smelled awesome.


First time smoking a turkey. Didn't have much of a smoke ring but she was super moist and tasted amazing. Just the way I like 'em...lol

Love this UDS. It held temps really well. I used lump along with soaked apple wood chips and some Jack Daniels barrel chips mixed in with the lump. I couldn't find apple chunks so had to get what I could find. Might be why I didn't get a good smoke ring. Anyway, the UDS, with all vents opened maintained 270-285°F. Didn't even touch it. Turkey smoked for just over 4 hours. Not sure how big it was as we didn't look at the label. I want to say maybe 10-12lbs. I filled the basket to maybe 1/3 capacity, maybe a bit more. I will look tomorrow to see how much lump I have left over. It looked to be about 1/2 of what I used though. Very impressed with the efficiency of these things.

Now it's time for a nap...lol.

Chad
 
  • Like
Reactions: remmy700p
Great job on the bird.....  
icon14.gif
 .....  Glad the smoker works well for you....   Dave
 
For my venting options I bought Weber vents from Amazon and put three down the bottom of the barrell and one in the lid. The holes are 3/4'' so I bought a 3/4' hole saw.
 
Your bird looks great! Great write up on your build process too! I really like the adjustable shelf bracket idea. I looks like the cheap welder from HF is working good too. As a non-welder I may have to give it a try too.
 
how many pounds of charcoal did it take in each of your burns?

I'm not sure. I just filled the basket up about 1/3 full both times. I've been meaning to go buy a fish scale so this might be a good reason to go get one.

looks like the cheap welder from HF is working good too. As a non-welder I may have to give it a try too.

Yes the HF 90A welder is doing great. I did swap out the stock HF wire with Lincoln and it welds great. This was my first time ever welding anything. I have learned a lot watching videos on YT. The more I do it, the better the welds tend to be.

I really like the adjustable shelf bracket idea

I had a slight issue with them but figured out the problem. I originally had the supports from my ECB installed and when I put the adjustable rails in it left the bolt holes from the original supports. So I wouldn't have any air leaks, I put the screws back in the holes with the nuts behind the rails. This prevented the adjustable shelves from being able to be placed in that area on the rails. The screws and nuts were blocking the tabs on the shelf supports from sliding into the rails correctly. Easy fix, I just have to remove the screws and nuts and plug the holes. I'll probably use the QuikSteel putty I used on the lid.

Chad
 
Looks great man looking forward to my first UDS build.
Thanks. I am loving it more and more every time I cook on it. Here is some Q-View of some ribs I did yesterday. I would have done the 3-2-1 method but got a late start. So I just maintained 225-240° until they were done which took about 4 hours. I then let them rest for about 1/2 hour wrapped in foil and covered with towels. Internal was about 180° and when you bit into them, you would get a nice bite with no falling off the bone. You only got what you bit off.


Two full slabs of StL style ribs from BJ's sliced in half to fit on the rib rack. I coated the ribs with a honey mustard then put my dry rub on. Don't ask me what's in the dry rub. I just threw a bunch of spices together. I know there is paprika, salt, pepper, garlic and not sure what else. I had a couple of store bought dry rubs that were almost out and I combined them and then added more to taste...lol.


Here is one of the halves after resting and getting ready to be devoured.


Here it is sliced in half so we can see the juices and smoke ring. No BBQ sauce was used.

So that is two 4-5 hour smokes and I think it's time to try an over-nighter. Maybe a pork butt. I am loving this thing like I said. I actually was able to take a 2.5 hour nap during this smoke. It is so nice not having to babysit while it is cooking.

Chad
 
Last edited:
SmokingMeatForums.com is reader supported and as an Amazon Associate, we may earn commissions from qualifying purchases.

Latest posts

Hot Threads

Clicky