I've noticed only about 2 or 3 modifications for the
Weber Smokey Mountain Smokers for hanging meat inside the smoker. Unfortunately those methods require a CNC machine or a torch of some sort for welding. Neither of which I have nor are they economical for me. So I took a different approach and figured if an grill grate can hold multiple cuts of meat then I can hang multiple pieces from a grate. Here's what I did to modify my 18.5"
WSM.
Tools you'll need
- Cordless Drill
- 1/4" drill bit
- 1/2" six flute countersink
- Needle nose pliers
- Regular or Lineman's pliers
- Pencil
- Level (optional)
- Socket wrench
- Allen wrench
- Nail set.
Materials
- 10.5" grill grate
- 1/4" Rubber Lined Clamps (4)
- Socket Cap Screws/Smooth 1/4-20-7/8" (4)
- 1/4"-20 hex nut (4)
Instructions
I used the level to help me figure out what would approximately be level for the grill grate inside the lid of my
WSM. Remember to straddle the lid thermometer when drawing the line around the inside so you know roughly where you want the grill grate to sit in it. I removed the rubber lining on the 1/4" clamps and then using the lineman's pliers I straightened my clamps out so I could re-bend them around the grill grate. I did this to the remaining 3 clamps. With the grate set in place and folding the clamps so they sit against the lid I used a punch to dimple the lid so the drill bit didn't walk on me. I drilled the first hole from the inside of the lid. Then switched to the counter sink and used it to de-bur the metal on the outside so that the socket cap screw would sit flush. Then using a socket cap screw I set it through the new hole and clamp holes and then threaded the hex nut finger tight. From there I proceeded to do the remaining three holes. Using the socket wrench and allen wrench I tightened the hex nut...not the socket cap screw. I wanted to avoid scaring the outside finish. The end result looks like the following. Now I can use short meat hooks or bacon hangers.
The whole setup up.
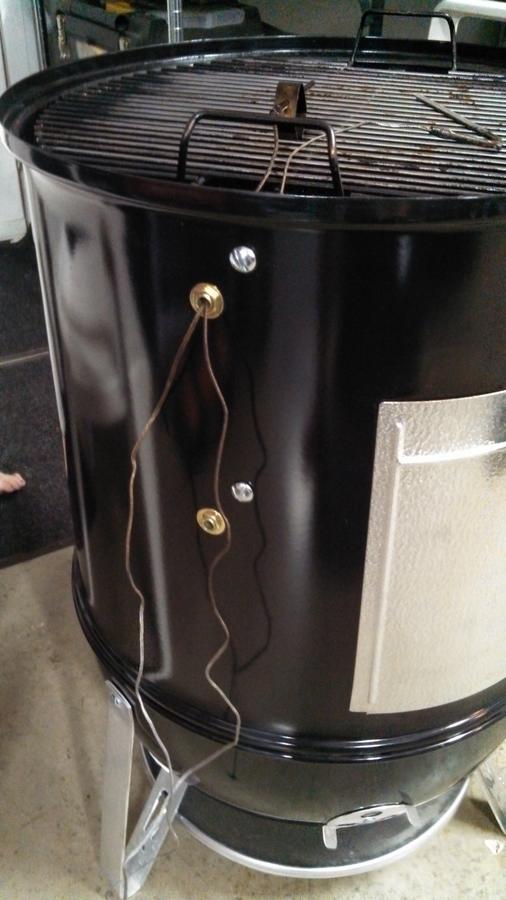
Closer inspection of the outside of the lid. We can see the 4 Socket cap screws.
The inside of the lid...lots of room its up pretty high. Also my top grate is removed for space.
Close up of the finished mod. Now hang the meat from the grate as needed.
There is approximately 16 to 18 inches of space between the 2.
Thanks.