- Oct 13, 2015
- 8
- 11
Hey smokingmeatforums,
I just joined your forum after I stumbled across it in a google search. I've always enjoyed eating good BBQ, and we do go out to eat at smoke houses whenever we can find one, but we live in Southern New Hampshire, and there aren't a lot of great que places around here. Learning to smoke my own was a great decision
My first foray into back yard smoking was with a COS (Cheap Offset Smoker) that was a gift from my wife and kids for fathers day 2 years ago.
Stock COS before any modifications
After assembling the unit, I built a charcoal basket to fit into the firebox.
I also added a full length baffle in the cooking chamber and moved the chimney, to make it into a reverse flow design. Note the partially blocked off communication port between the two chambers in the firebox above. That is part of the Reverse Flow baffle plate added in the next picture.
Which required the chimney to be moved to the firebox end of the cooking chamber
All of that worked pretty well, except the firebox and charcoal basket were too small for my liking, so I converted to propane heat source. Low pressure LP burner bolted to a metal grate in the firebox generates plenty of heat with the burner turned down low.
And a second grate over the burner for the smoke pan (I've replaced the thin, tin pan in the photo with a small cast iron fry pan and use the thin pan as a lid to help control the wood from getting enough O2 to flame)
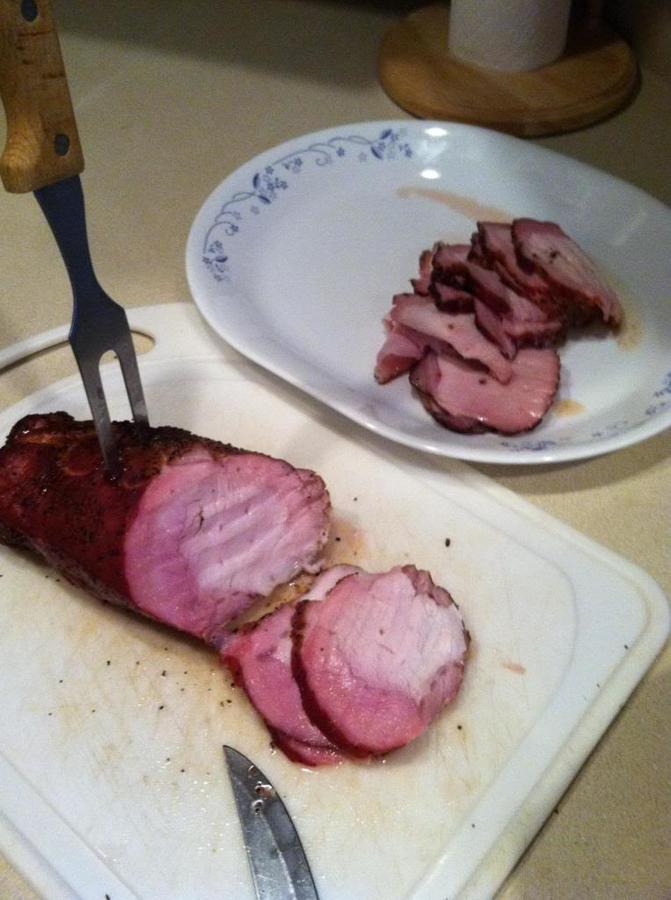
So that's the story of my Cheap offset smoker. The grille works pretty well, and has turned out some pretty tasty meals, Here's a nice pork tenderloin smoked up in just a little over 4 hours of low and slow.
But as I said, the grille is a bit undersized for bigger clods of meat, and even with the propane heat source, you do still have to continuously feed the smoke pan about every 1/2 hour or so, at least for the first few hours of cooking.
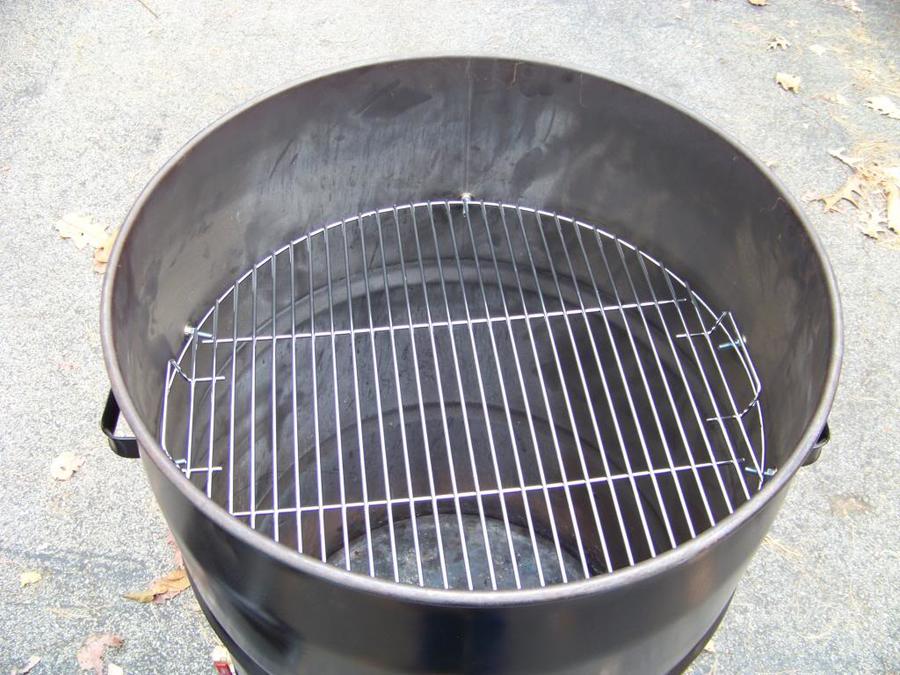
So, in my next post, I'll tell you about my Big (not so) Ugly Drum build...
Go big, and stay home!
I just joined your forum after I stumbled across it in a google search. I've always enjoyed eating good BBQ, and we do go out to eat at smoke houses whenever we can find one, but we live in Southern New Hampshire, and there aren't a lot of great que places around here. Learning to smoke my own was a great decision
My first foray into back yard smoking was with a COS (Cheap Offset Smoker) that was a gift from my wife and kids for fathers day 2 years ago.
Stock COS before any modifications

After assembling the unit, I built a charcoal basket to fit into the firebox.

I also added a full length baffle in the cooking chamber and moved the chimney, to make it into a reverse flow design. Note the partially blocked off communication port between the two chambers in the firebox above. That is part of the Reverse Flow baffle plate added in the next picture.

Which required the chimney to be moved to the firebox end of the cooking chamber


All of that worked pretty well, except the firebox and charcoal basket were too small for my liking, so I converted to propane heat source. Low pressure LP burner bolted to a metal grate in the firebox generates plenty of heat with the burner turned down low.


And a second grate over the burner for the smoke pan (I've replaced the thin, tin pan in the photo with a small cast iron fry pan and use the thin pan as a lid to help control the wood from getting enough O2 to flame)

So that's the story of my Cheap offset smoker. The grille works pretty well, and has turned out some pretty tasty meals, Here's a nice pork tenderloin smoked up in just a little over 4 hours of low and slow.
But as I said, the grille is a bit undersized for bigger clods of meat, and even with the propane heat source, you do still have to continuously feed the smoke pan about every 1/2 hour or so, at least for the first few hours of cooking.
So, in my next post, I'll tell you about my Big (not so) Ugly Drum build...
Go big, and stay home!