Brick BBQ Pit And Smoker Build (Kansas Style)

  • Some of the links on this forum allow SMF, at no cost to you, to earn a small commission when you click through and make a purchase. Let me know if you have any questions about this.
SMF is reader-supported. When you buy through links on our site, we may earn an affiliate commission.

david1975

Newbie
Original poster
Mar 26, 2015
20
10
Kansas
Thanks to Wes for giving insight. Here is the start:

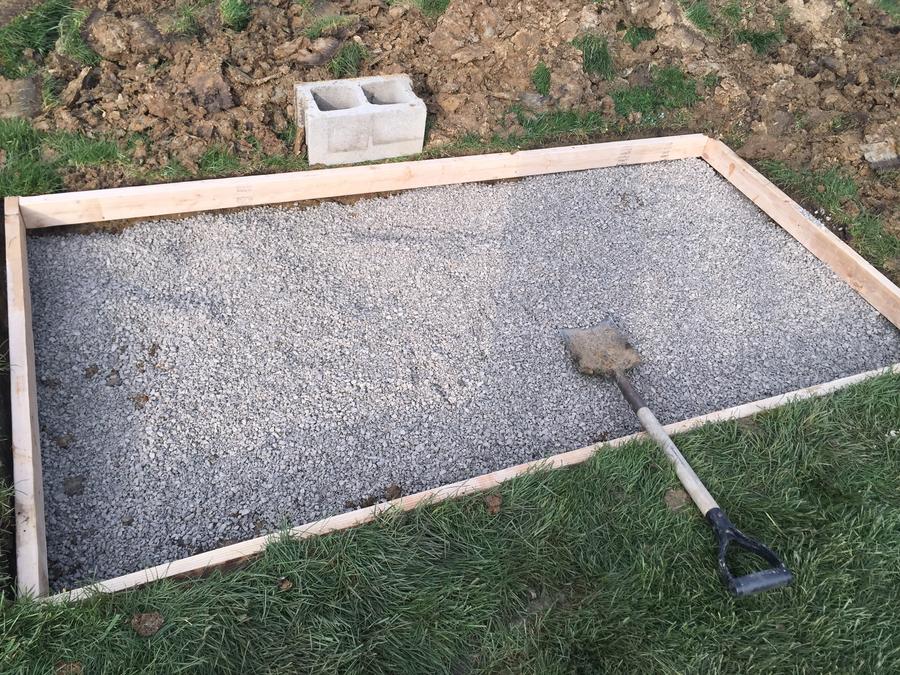
I wanted the smoker in a semi shade area for when I grill in the summer months so I settled on a spot by my largest tree. I then dug an 8x4 hole 8 inches deep. 3 inches of gravel and 5 of concrete. After I tampped the gravel I built the forms. When I dug the hole, I had to splice a telephone line to extend it out of the area. It rained as I was doing this so the splice got wet and I had bad tv reception for a day and a half. No biggie though because I record all my shows and I had ample beer in the fridge to pass the time.


After non stop rain for like 2 weeks I then was able to pour the concrete. I used 5500 PSI concrete mix with a combo of 1/2 inch and 3/8 inch rebar every 10 inches and 2 inches off the edges. I used the 1/2 rebar for the grid that will support the smoker because this is where the bulk of wieght will be. The smoker is 35x35 inches for the exterior (27.5x25 interior or close to that). The actual grilling BBQ is 35 inches in length with a 23 inch countertop (hope to start that this week).


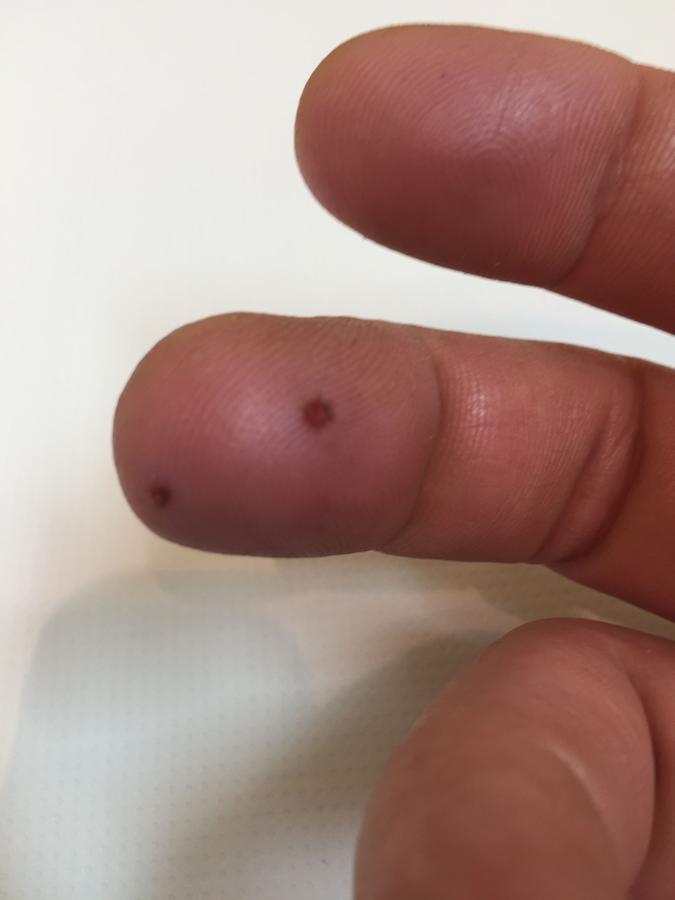
Next I started, with the help of my wife, the cinder block frame for the smoker. Now, I youtubed how to lay brick and it isn't as easy as it looks. Much respect to those who do that for a living because it is backbreaking work. Anyways, we got off to a slow start trying to figure it out. We used S Type mortar. Word to those who will try to build a cinder block smoker---where gloves and plastic gloves when handling the brick and when rubbing the mortar. The mortar dries your skin and the little fine gravel cuts like a razor after a while. Or you can man up like me!!!


For the Lintel I used a 2 inch angle bracket that was 34 inches long and a 1 inch bracket also at 34 inches long to support the brick for the firebox frame. I did not buy the doors yet and should have but the build had to continue on. The brick is 4 inches wide so I wanted 3 inch coverage for the lintel to support the brick.
 
Last edited:
Not sure what you mean by rubbing the mortar. If your smoothing the joints, scrape excess with the trowel, and use a joint tool. It looks kind if like an "S" but not so curved. Like $5. Looking good so far.
 
Thanks Krabby! I went on a budget and got the cheapest block but also wanted them because they weighed less than the standard blocks. They did not have a lip like the standard ones. Both sides were flat and I couldn't get the hang of outing the mortar down so that there wouldn't be a gap. Most of the mortar went in the middle so I had I had a few small gaps on the joints that I had to rub in. Hope that makes sense? The trowel didn't get it in so I had to use my fingers and then I used that tool to get a 3/8 inch line in between the joints. Yeah, I know, armature way of doing it but it was hot that day an the mortar was drying fast. Totally unprepared but it is structurally totally solid.
 
You could mix your mortar a little thicker and a tucking tool is used to tuck mortar in spots that got missed. They are a few dollars too. A butter knife bent and ground down to 3/8" would work in a pinch. There are also bags that look like big cake piping bags you can squeeze mortar into the joints. I understand. I'm doing mine on a budget too.
 
If you see a construction site with concrete work, ask a steel worker for a piece of rebar.

We just reqrouted the old fireplace in the kitchen. Looks totally awesome by the way, for a 150+ year old fireplace.
 
Last edited:
So I got the smoker to the planned height. For the top of it, I etched out 3/16 of an inch on the front of the top part of the smoker to place a 2 inch wide, 3/16th inch thick angle bracket for additional support for the roof. 


So I started the roof of the smoker few days after getting the bricks laid to the desired height. Built the frames and started to pour the crete and as you would expect it started to rain even though the forecast said that it would rain in the middle of the night. Well, I got it poured and used a water heater flue as my chimney ( 4 inch diameter). The roof is 2 inches (38x38) thick with 36 inch 3/8 rebar. I used 2x6s that were under my deck. In the rush to get the crete poured with the flue in it, I tarpped it but the flue is now at a slight angle just in case you thought that this was designed like that! Oh well, it'll add to the aesthetics. I poured the roof on my driveway hoping the crete will slope at an angle for drainage. If it doesn't work I guess I'll add extra mortar to get the slope when I put the roof on. 


Last edited:
Looking good David.

There is no shame in wearing gloves.   Water and brick don't mix.  It will wear your hands out!    If you talking about voids in your joints, you can point them with your trowel.  It just takes a little practice.   Biggest thing about masonry is take your time.   Plum, level and square.   Simple as that.

Smoker looks good man.  Keep up the good work.

popcorn.gif
  
beercheer.gif
 
Thanks Wes. I am glad you told me not to make the smoker too small. I made it larger than what I planned and I am very glad because with the original dimensions it would have been very tough to almost impossible for me to get in there and lay the fire brick or make repairs later on. I am not a little guy!! Thanks for the tip.
 
I started the grilling area last night. Thanks to all the replies on this thread. I made the mortar thicker and used that tool and wore gloves this time!!! It went much better than the smoker. Still not a professional and probably won't ever be, but I think for the first time it looks pretty good.I made sure that it was level and tested it using the beer bottle approach! 


I am going to get the doors ordered today and also the grilling area chorcoal pan. Ant suggestions on what to use for the pan as far as rust etc? I am looking for a cheap material that will not rust. Also, does any one have any suggestions on how to seal and paint the cinder blocks? I was going to put facing up but I think I'll just paint it. 
 
 
Thanks Wes. I am glad you told me not to make the smoker too small. I made it larger than what I planned and I am very glad because with the original dimensions it would have been very tough to almost impossible for me to get in there and lay the fire brick or make repairs later on. I am not a little guy!! Thanks for the tip.
LOL,  I layed mine up all at once.   A lot easier working in an open top.   

Man, I love the beer level!      :-)
 
Been raining like crazy so haven't had much time to do any work. I got the firebrick in the FB and mortared. I also got the door ordered. Had to descale them and and got them painted with high heat paint. Getting close to being done. Need to install the doors, shelves, and racks. Need to grind a few bricks then seal them and either paint the whole thing or get some facing. I am going to try to paint first because it's a lot cheaper.


Here is what it looks like with the doors just sitting in there before I painted them.

 
Last edited:
This is taking way longer than I wnted. The heat has benn 90 plus all weekend. I got the doors on. I couldn't get the shine on them like I wanted and because of the heat .....I don't care any more. I need to order the grates for the smoker with a water pan and get the grates for the bbq (bbq is in the middle of the entire pit. The counter with opening will hold my propane charcoal and wood). I also Need to Order the charcoal pan Tor the Bbq. Tuen i Need to brick the flue out.
 
SmokingMeatForums.com is reader supported and as an Amazon Associate, we may earn commissions from qualifying purchases.

Latest posts

Hot Threads

Clicky