I couldn't figure out to move this thread from the "roll call" area so I just started a new thread here and re-posted the first post...
Hey folks...
My name is Pete and I'm located here in beautiful Aurora Colorado. While I am new to the whole world of smoking (other than an odd chicken or rack of ribs here and there) I am an avid cook and consumer of all things tasty (meat or otherwise).
I joined the forum mainly to learn about all things smoking and to share my refrigerator>smoker conversion/build. In the last few years I have reconnected with my father and we have begun a tradition of hunting once a year together. Up until this year I have had most of the meat from our hunting (venison mostly) made into jerky and sausage by the meat processor. This year I have decided take things into my own hands and learn the process myself.
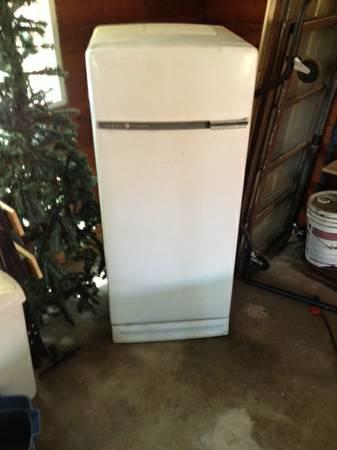
I looked into smokers on the web and got recommendations from friends on what to buy. After much research and a quick peek at CL, I found a great candidate fridge for conversion and decided to take that route. I love fabrication of all kinds and am a tinkerer by nature so this seemed to be the best option for me. So off I went to pick up my new/old GE fridge for 35 bucks. I figured is was kismet anywho as the fridge came up as the third hit in the CL search and the posting was less than two hours old. I arrived to pick up the fridge and the seller noticed my Coast Guard plates, turns out he was in basic just a year before me and we chatted for a good hour about our adventures. I don't imagine there are a whole lot of "Coasties" around these parts so I considered it a sign that I made the right choice to build my own!
My plan in a nutshell:
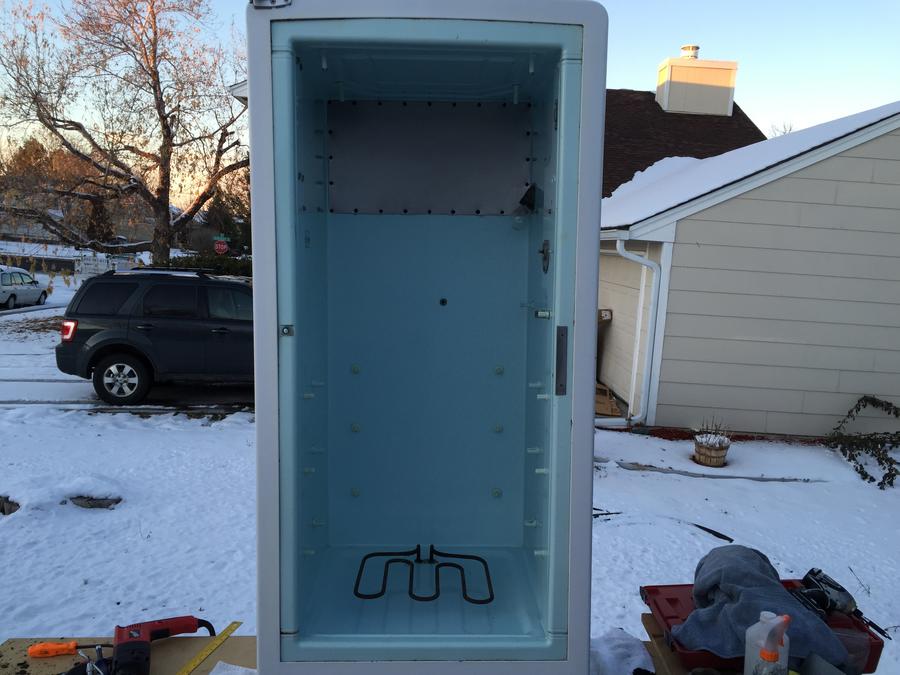
Fridge: old medium size GE fridge. It has mostly metal insides with the typical plastic door liner and trim around the outer/inner shell gap.
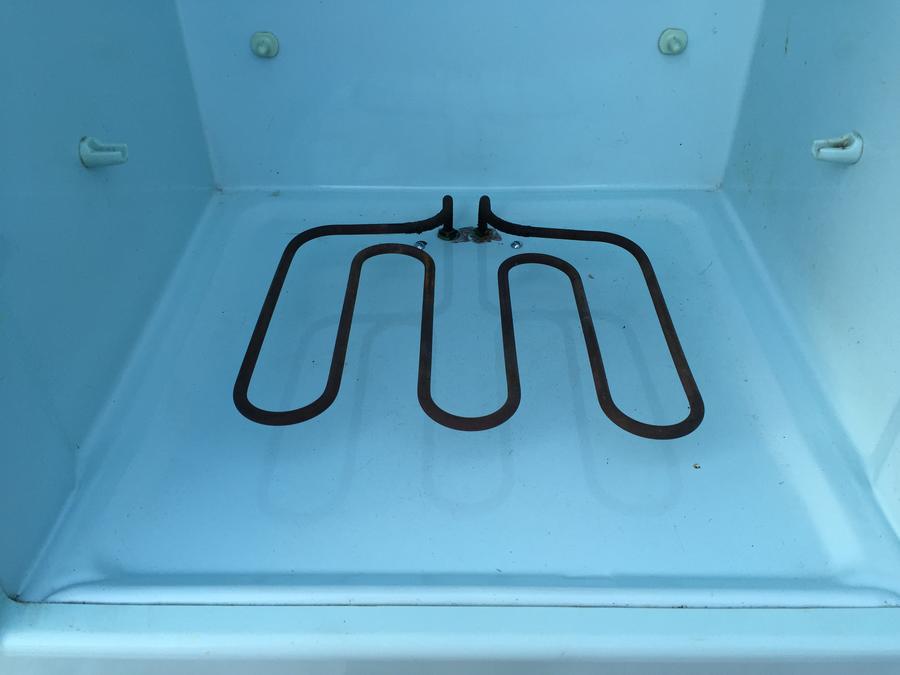
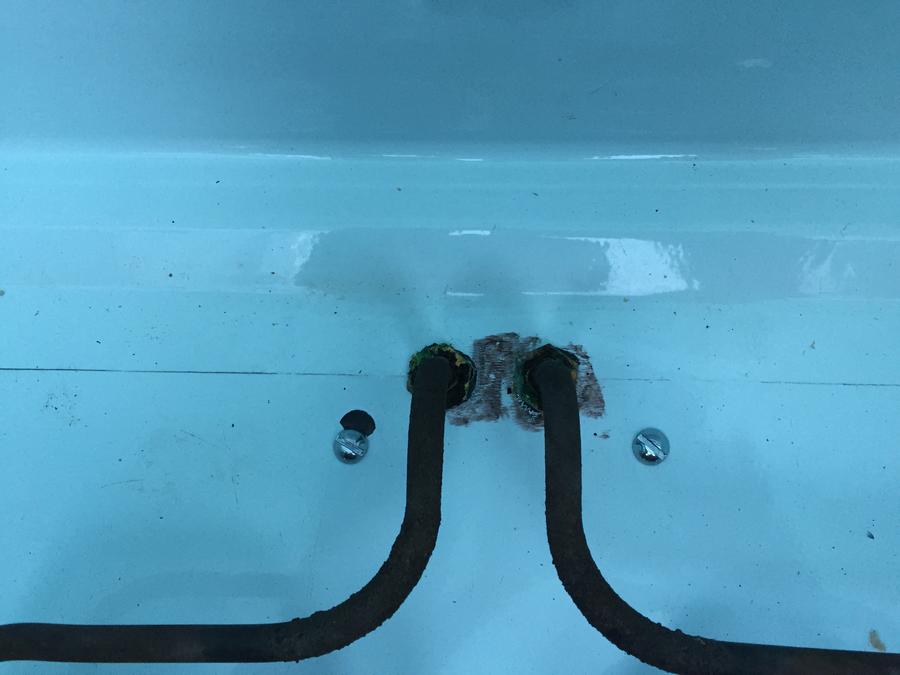
Heating element: Re-purposed from my old rusted out electric smoker. It works and looks to have enough power. If it doesn't then it will be easy to replace. I was able to get the internal temp up to 300 with little effort and time so I figure its a good start as I understand that most smoking happens at 250 and lower anywho...
Smoke: After much consternation I decided to go with the Masterbuilt "cold smoke adapter kit" for smoke generation. I wanted to be able keep the process as automated possible without the need to buy pellets/pucks/etc from a specific manufacturer. I'm hoping the Masterbuilt unit will get me there. I found many many options in this area but liked the cost of the Masterbuilt and 99% of reviewers seemed to like it a bunch.
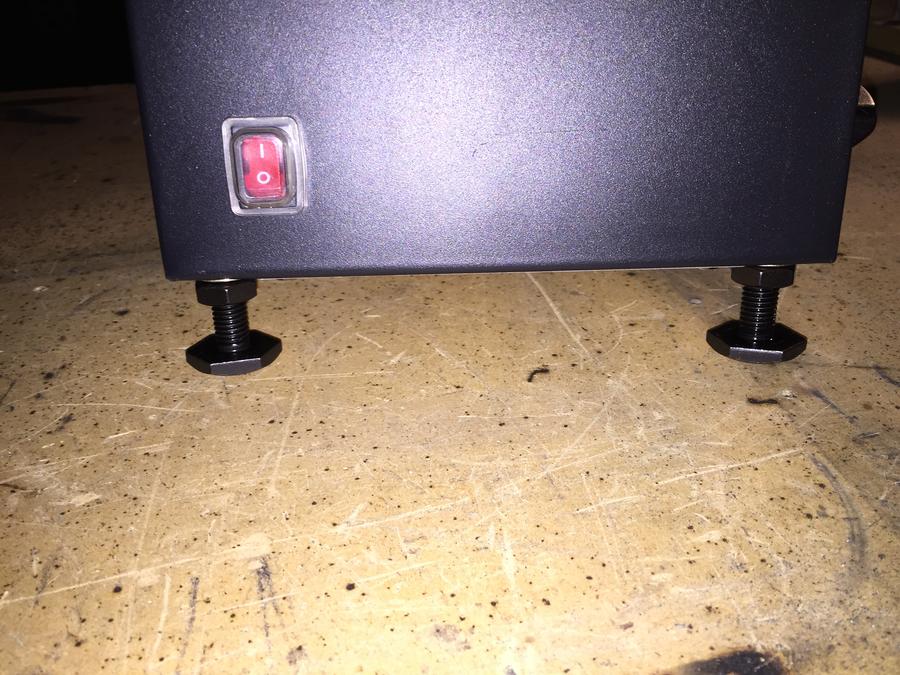
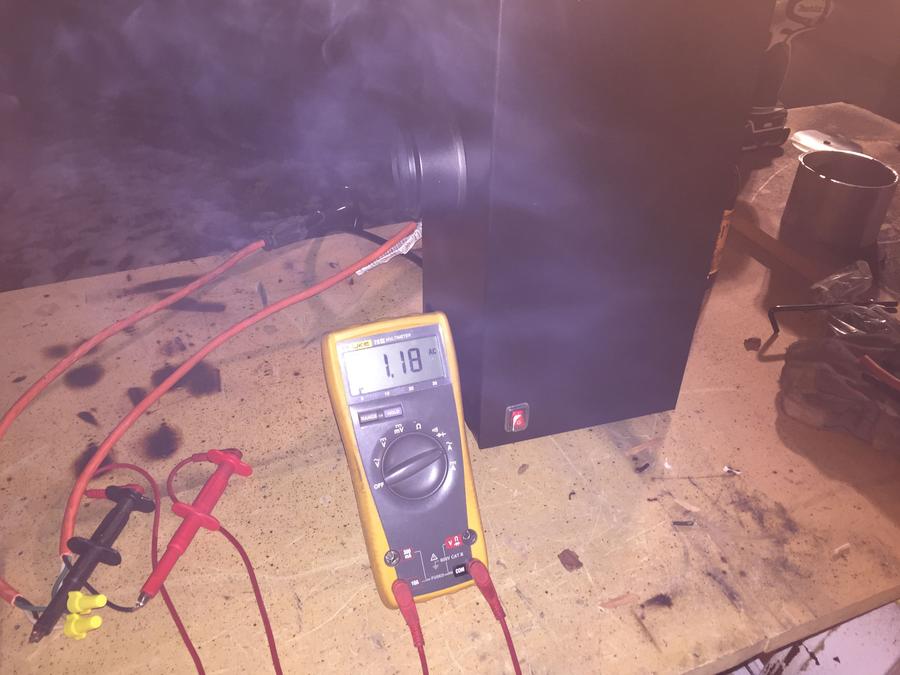
Controller: Well this is where I went a little overboard. I love electrical/electronic goodgies and gadgets. The more flashy lights, dials, switches, indicators n'stuff the better. There seems to be no shortage of this sort of stuff for the smoking world so I went bananas. I chose an Auber dual sensor PID controller (Model# SMD-100) and all the accoutrements. Instead of using the "plug and play" unit, I took the build it up yourself route (new in November from what I understand) for two reasons. One, I love to wire things up and this gave me the ability to do so along with the opportunity to add all the fancy switches and lights that I most likely wont need or use but love to have anyway. Two, on the more practical side, I liked that doing it this way gives me to ability to go with a larger heating element (and larger SSR) if need be without having to replace the whole control system.
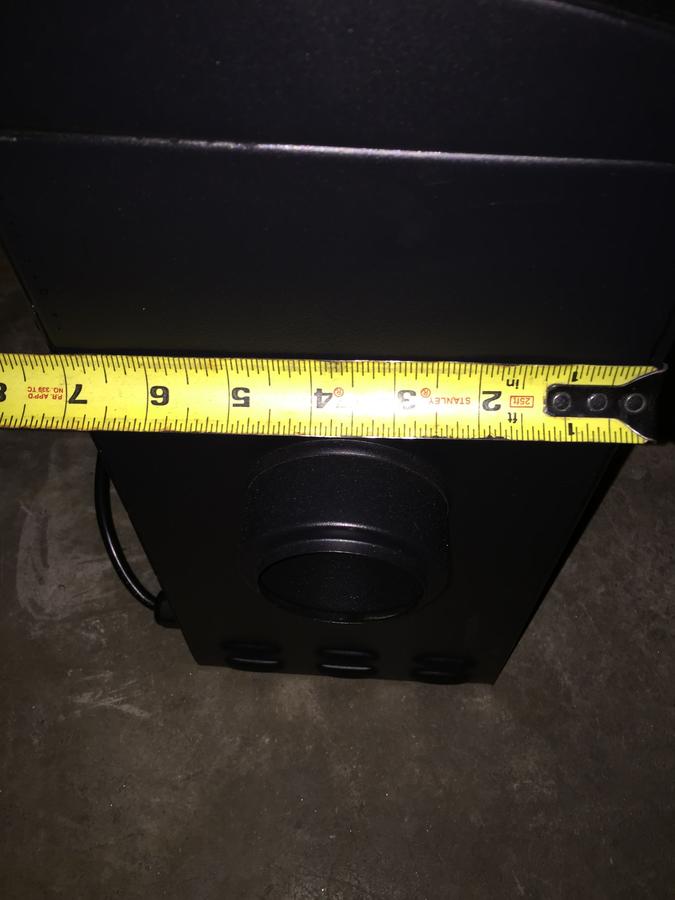
Venting and airflow: I'm planning on going with the standard vent at the bottom and smoke stack (with damper) at the top setup to start. That being said I have built into the control system the ability to control a fan. I'm hoping that this will allow me to pull enough air through the smoker to be able to use it as a dehydrator as well as just a hot/cold smoker. I'm not sure it will work but I will have fun finding out.
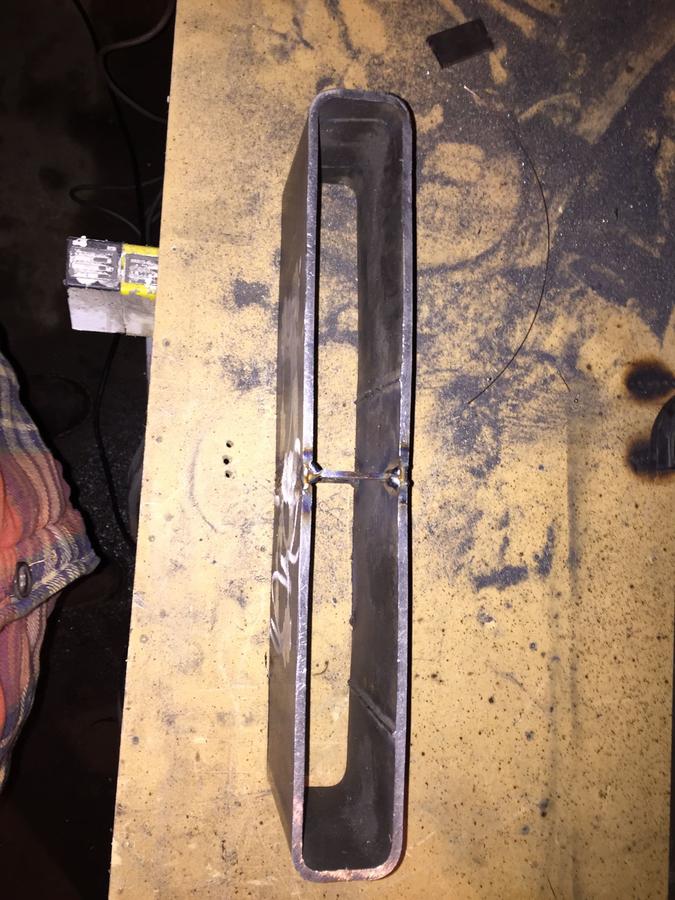
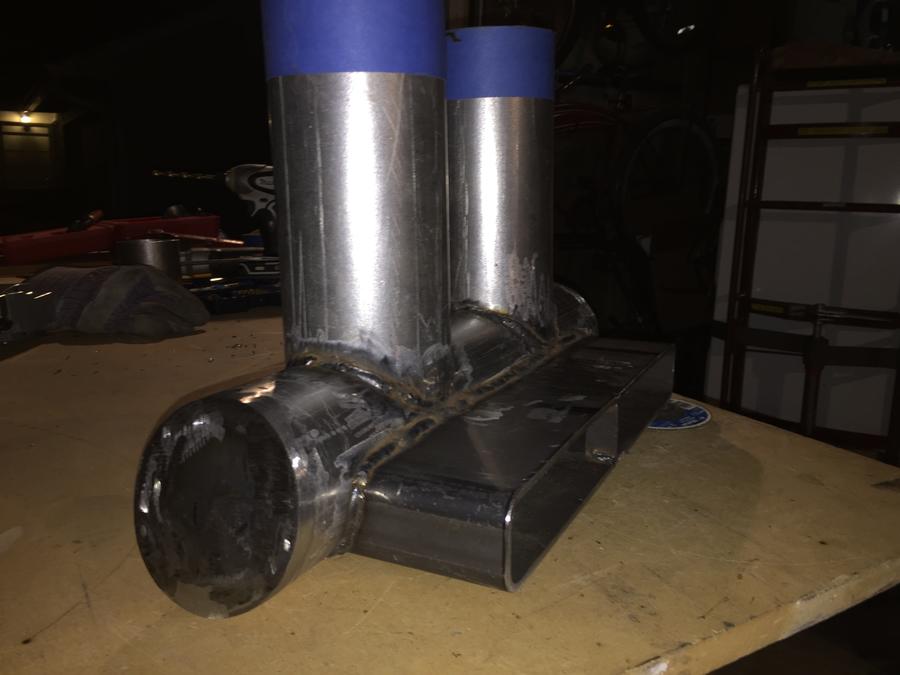
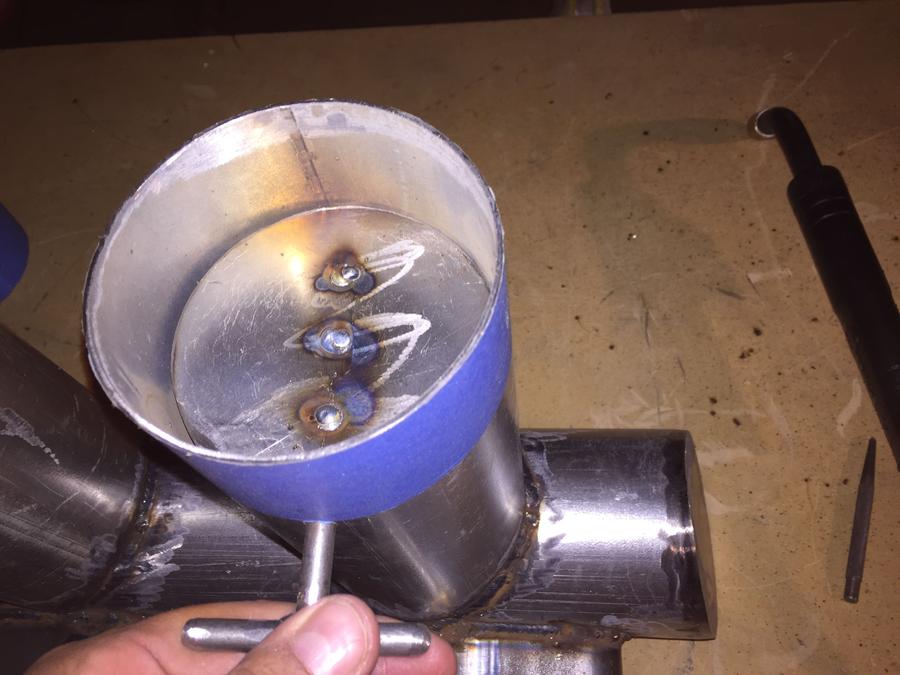
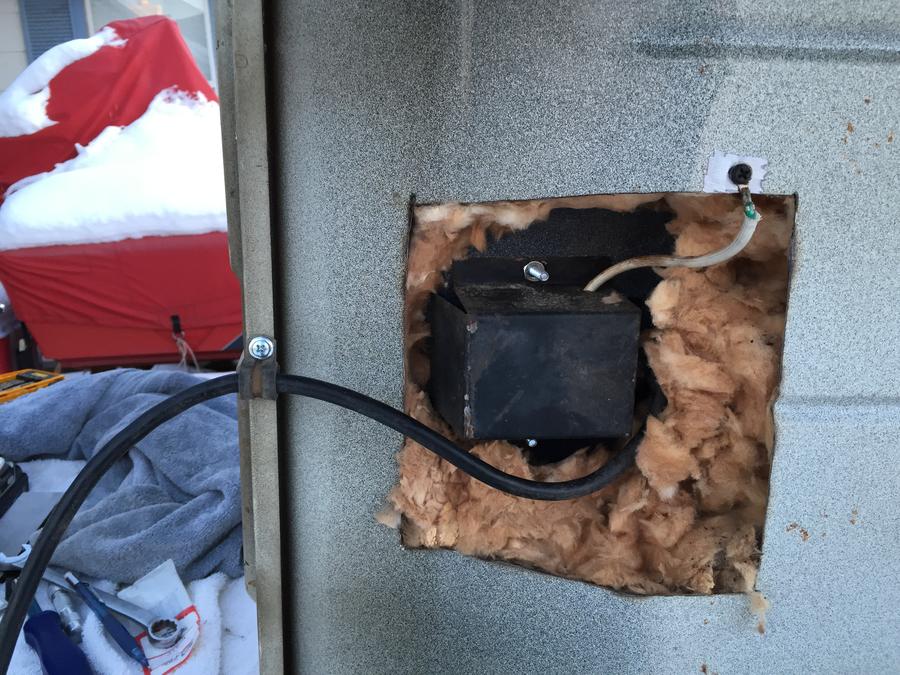
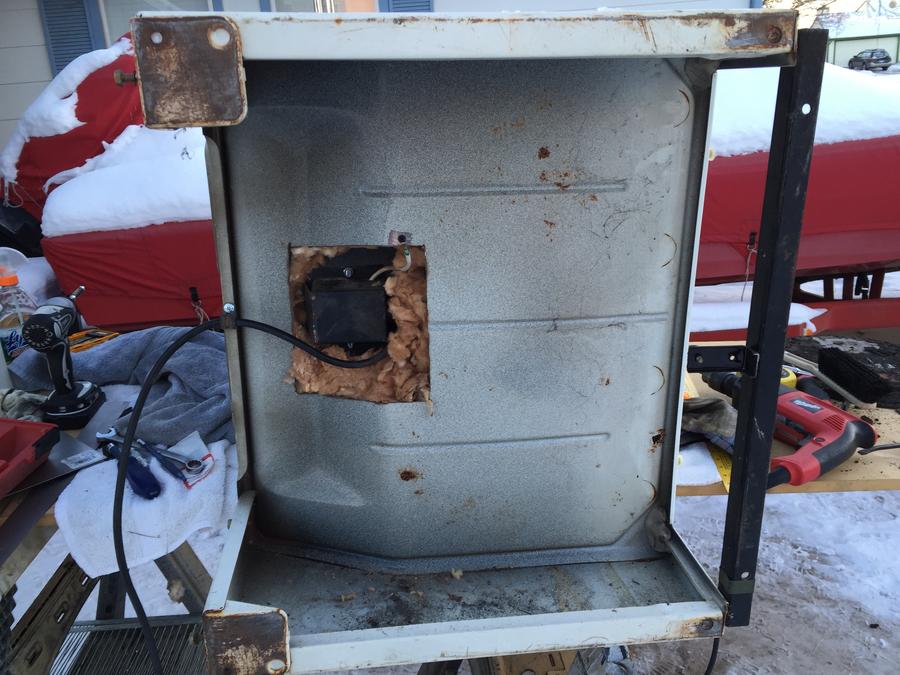
I suppose that is enough for now. Attached are a few pics of the fridge before I started the conversion and where I am now. I picked up the raw materials for fabricating the shelves, drip shield, and replacing the door liner yesterday. I will work on that while I wait for the smoker, PID components, and smoke stack to arrive. I'm also planning on putting the unit on casters to make it easy to move around and store as needed.
Would love to hear all your thoughts and suggestions. Thanks for reading!
Pete...
Hey folks...
My name is Pete and I'm located here in beautiful Aurora Colorado. While I am new to the whole world of smoking (other than an odd chicken or rack of ribs here and there) I am an avid cook and consumer of all things tasty (meat or otherwise).
I joined the forum mainly to learn about all things smoking and to share my refrigerator>smoker conversion/build. In the last few years I have reconnected with my father and we have begun a tradition of hunting once a year together. Up until this year I have had most of the meat from our hunting (venison mostly) made into jerky and sausage by the meat processor. This year I have decided take things into my own hands and learn the process myself.
I looked into smokers on the web and got recommendations from friends on what to buy. After much research and a quick peek at CL, I found a great candidate fridge for conversion and decided to take that route. I love fabrication of all kinds and am a tinkerer by nature so this seemed to be the best option for me. So off I went to pick up my new/old GE fridge for 35 bucks. I figured is was kismet anywho as the fridge came up as the third hit in the CL search and the posting was less than two hours old. I arrived to pick up the fridge and the seller noticed my Coast Guard plates, turns out he was in basic just a year before me and we chatted for a good hour about our adventures. I don't imagine there are a whole lot of "Coasties" around these parts so I considered it a sign that I made the right choice to build my own!
My plan in a nutshell:
Fridge: old medium size GE fridge. It has mostly metal insides with the typical plastic door liner and trim around the outer/inner shell gap.
Heating element: Re-purposed from my old rusted out electric smoker. It works and looks to have enough power. If it doesn't then it will be easy to replace. I was able to get the internal temp up to 300 with little effort and time so I figure its a good start as I understand that most smoking happens at 250 and lower anywho...
Smoke: After much consternation I decided to go with the Masterbuilt "cold smoke adapter kit" for smoke generation. I wanted to be able keep the process as automated possible without the need to buy pellets/pucks/etc from a specific manufacturer. I'm hoping the Masterbuilt unit will get me there. I found many many options in this area but liked the cost of the Masterbuilt and 99% of reviewers seemed to like it a bunch.
Controller: Well this is where I went a little overboard. I love electrical/electronic goodgies and gadgets. The more flashy lights, dials, switches, indicators n'stuff the better. There seems to be no shortage of this sort of stuff for the smoking world so I went bananas. I chose an Auber dual sensor PID controller (Model# SMD-100) and all the accoutrements. Instead of using the "plug and play" unit, I took the build it up yourself route (new in November from what I understand) for two reasons. One, I love to wire things up and this gave me the ability to do so along with the opportunity to add all the fancy switches and lights that I most likely wont need or use but love to have anyway. Two, on the more practical side, I liked that doing it this way gives me to ability to go with a larger heating element (and larger SSR) if need be without having to replace the whole control system.
Venting and airflow: I'm planning on going with the standard vent at the bottom and smoke stack (with damper) at the top setup to start. That being said I have built into the control system the ability to control a fan. I'm hoping that this will allow me to pull enough air through the smoker to be able to use it as a dehydrator as well as just a hot/cold smoker. I'm not sure it will work but I will have fun finding out.
I suppose that is enough for now. Attached are a few pics of the fridge before I started the conversion and where I am now. I picked up the raw materials for fabricating the shelves, drip shield, and replacing the door liner yesterday. I will work on that while I wait for the smoker, PID components, and smoke stack to arrive. I'm also planning on putting the unit on casters to make it easy to move around and store as needed.
Would love to hear all your thoughts and suggestions. Thanks for reading!
Pete...


Last edited: