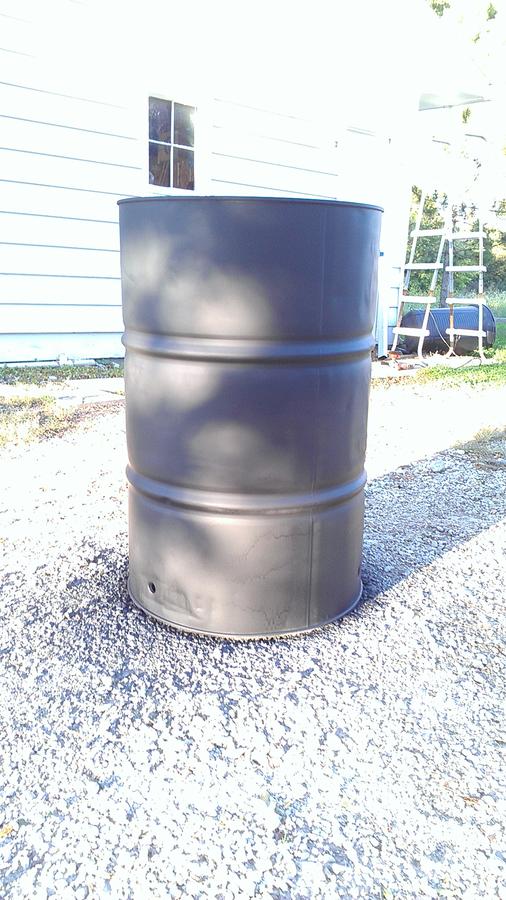
So I picked up a drum a couple years ago. Some time between then and now, I've picked up a replacement grill grate, gate valves, 3/4" nipples, $100 worth of expanded metal, and to my surprise I know where it's all at.
Last weekend I needed to get 3 butts smoked, and had to have some one else do it. booo. That kicked me into to gear to start looking at the project again. I've been waiting all this time for a Weber grill lid...come to find out my dad has been sitting on one this whole time. I'm still not sure when I'll be able to get the lid from my dad, but I read somewhere on here about grinding off the rolled seam and having a perfect fitting lid.
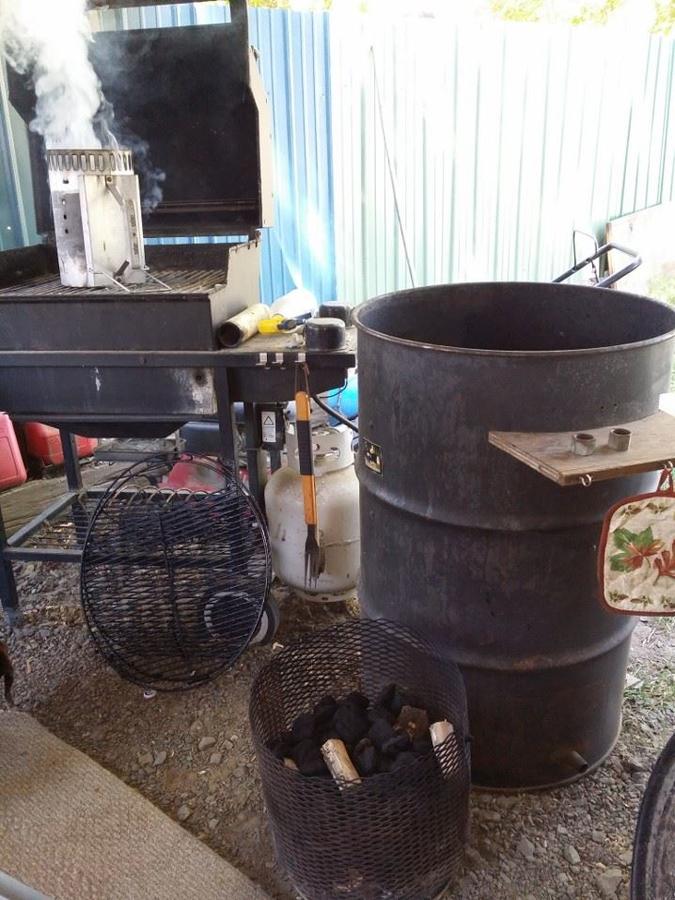
So I decided that today was the day. Spent the morning grinding the lip, drilling the hole, and doing the initial burn out.
Unfortunately sitting out in the weeds for the past couple years has taken it's toll on it. So there will be some extra wire wheeling and grinding to get it cleaned up.
I was planning on using some Loctite Extend Rust Neutralizer spray, then some Rustoleum primer and then a couple coats of paint. Unfortunately the can of Loctite that I have says not to use on surfaces that will exceed 200 degrees. Reading on their website I don't see that warning, so next time I'm in the store I might take a look and read a new can to see what it says.
http://www.loctiteproducts.com/p/s_...ons/Loctite-Extend-Rust-Neutralizer-Spray.htm
I'm not sure if I'll be able to find the materials (and time) to fab up the shelf and storage cubby, but here's a drawing of what I'd eventually like to have.
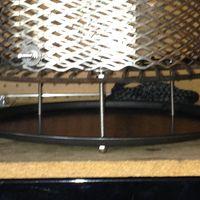
Now that it's burned out, most of the paint is gone. There was surface rust on the inside, do I need to do anything more than wash it out and wipe it down with some vegetable oil?
Last weekend I needed to get 3 butts smoked, and had to have some one else do it. booo. That kicked me into to gear to start looking at the project again. I've been waiting all this time for a Weber grill lid...come to find out my dad has been sitting on one this whole time. I'm still not sure when I'll be able to get the lid from my dad, but I read somewhere on here about grinding off the rolled seam and having a perfect fitting lid.
So I decided that today was the day. Spent the morning grinding the lip, drilling the hole, and doing the initial burn out.
Unfortunately sitting out in the weeds for the past couple years has taken it's toll on it. So there will be some extra wire wheeling and grinding to get it cleaned up.
I was planning on using some Loctite Extend Rust Neutralizer spray, then some Rustoleum primer and then a couple coats of paint. Unfortunately the can of Loctite that I have says not to use on surfaces that will exceed 200 degrees. Reading on their website I don't see that warning, so next time I'm in the store I might take a look and read a new can to see what it says.
http://www.loctiteproducts.com/p/s_...ons/Loctite-Extend-Rust-Neutralizer-Spray.htm
I'm not sure if I'll be able to find the materials (and time) to fab up the shelf and storage cubby, but here's a drawing of what I'd eventually like to have.


Now that it's burned out, most of the paint is gone. There was surface rust on the inside, do I need to do anything more than wash it out and wipe it down with some vegetable oil?