- Oct 7, 2012
- 15
- 10
I'm finally getting the time to build my new smoker. I've been wanting to do this for some time. This will be my first patio smoker and will then be on to my trailer mounted 250 gallon.
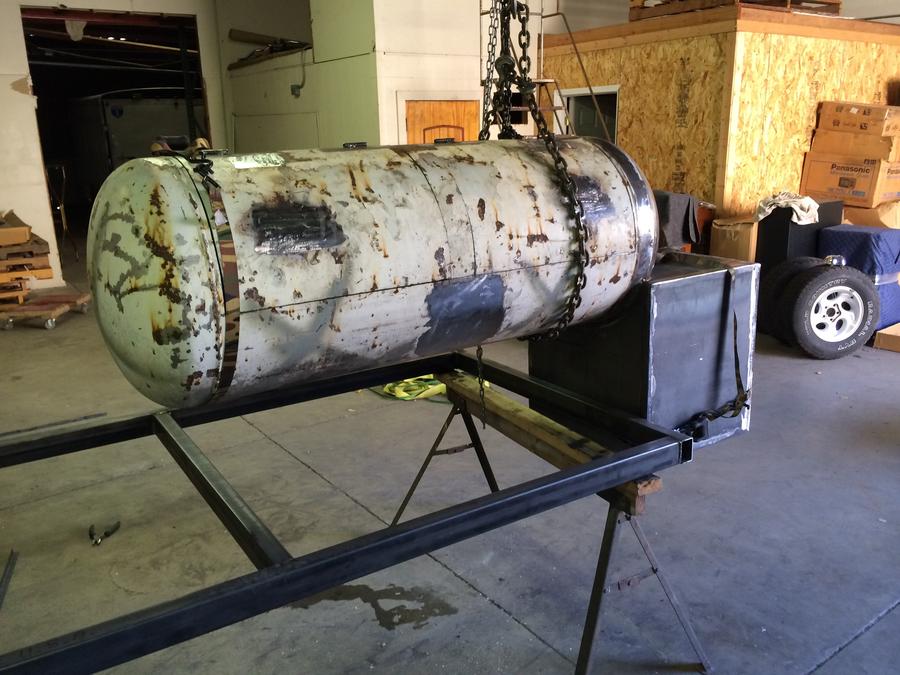
There she is. Had a interesting drive home with the valves off and the mercaptan smelling up the place. Lets just say people were staying a few car lengths behind me.
Began the calcs for he cut out etc. Yes, that's a protractor on an iphone.
Crude drawing of the dimensions.
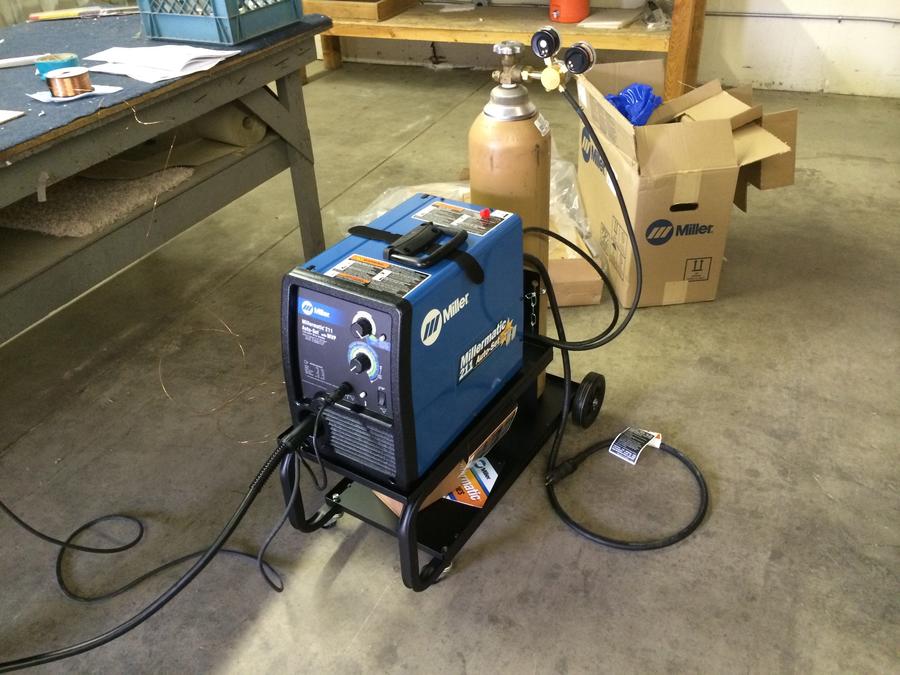
Used CO2 to purge the tank of oxygen before the first cut. Had the bottle almost empty from my beer fridge. FYI, washed the tank out with a bottle of dawn soap and filled, emptied and them one more fill to rinse.
Marked cut lines for the torch. This will be the bottom.
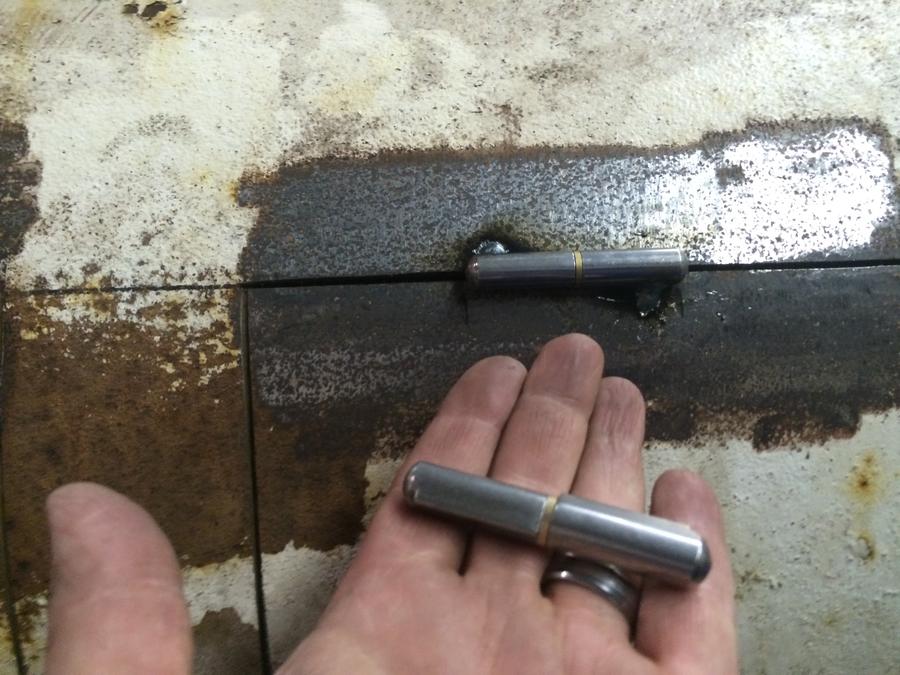
Torched, removed all the old hinges and misc hardware. I'll weld a plate in there to accept the drain pipe.
Thanks for looking, more to post later.

There she is. Had a interesting drive home with the valves off and the mercaptan smelling up the place. Lets just say people were staying a few car lengths behind me.
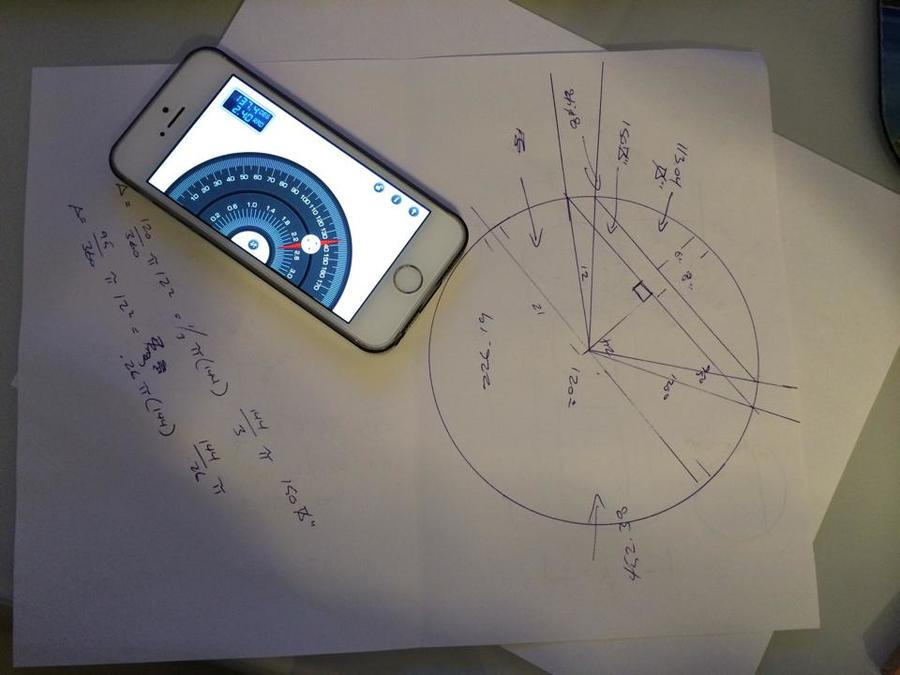
Began the calcs for he cut out etc. Yes, that's a protractor on an iphone.

Crude drawing of the dimensions.

Used CO2 to purge the tank of oxygen before the first cut. Had the bottle almost empty from my beer fridge. FYI, washed the tank out with a bottle of dawn soap and filled, emptied and them one more fill to rinse.

Marked cut lines for the torch. This will be the bottom.
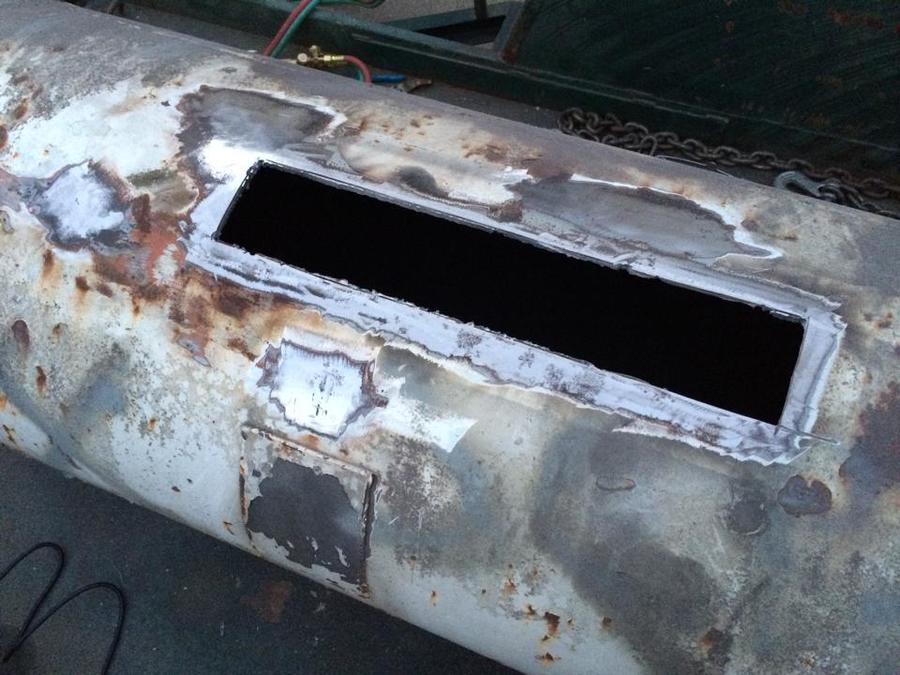
Torched, removed all the old hinges and misc hardware. I'll weld a plate in there to accept the drain pipe.
Thanks for looking, more to post later.
Last edited: