Here are some progress photos ... alot has been done up to date and alot of hours. none of this would have been accomplished without the use of my buddies machine shop and my other buddies fabricating shop. majority of work and design was in the machine shop, the cutting, bending and welding of the aluminum face plate , door skin, and heater splash pan were done at the fabrication shop. i managed to burn a few holes myself ... some call it welding ... ha haha
smoke generator on the left, works great. nice piece of checker plate on a dolly to wheel this monster around, rack shelves in place, heat source (brinkman) in place
closer look at smoke gen ... just need a damper flap put on
side view showing fresh air vent, has a moving baffle that is spring loaded, same as my exhaust stack baffle, spring loaded to hold position... GOTTA LOVE ALL THE EXTRAS AND INGENUITY OF MACHINE SHOP DUDES !!!!!!
all of the metal and pipe used was scrap from the shops, the checker was mine and was left over from the floor boards in my river boat, the only real cost is the PID, aquarium air pump, brinkman heater, the 2 door latches, and door gasket. not bad for what i will end up with ....
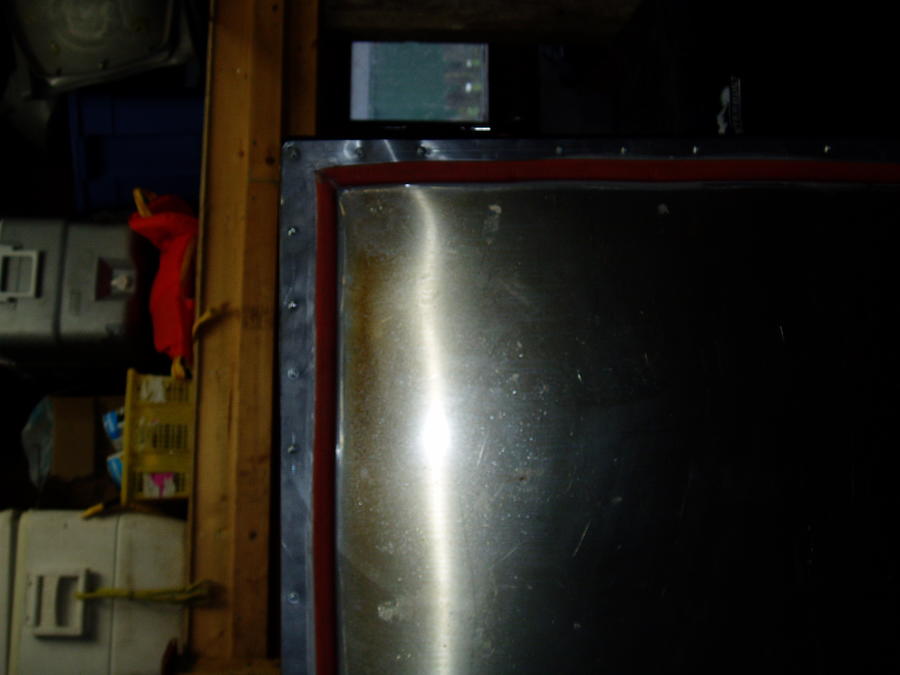
so thats the update so far ...... the insert to tie the inner tub to the outer freezer box is done and ready to screw into place, the inner door is skinned and will be putting the gasket on it tomorrow. had to cut the racks down a bit so some welding left on them. the air/heat diffuser is drilled and ready to mount on the inner top, checker needs to be mounted to the dolly,
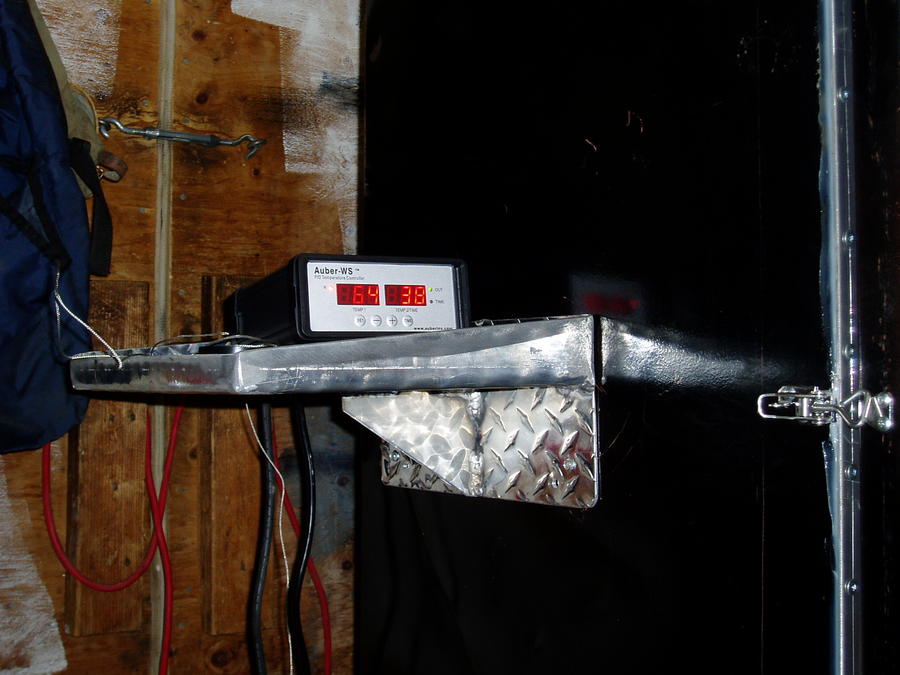
waiting for my PID and then will get a nice side shelf bent up out of more checker plate, mount the temp probe.... THEN HEAT THIS SUCKER UP AND CURE THE INSIDE :o
more to follow in the next days
thanks to all the great info and picks that i had access to on this site :)
CHEERS !!!!!

smoke generator on the left, works great. nice piece of checker plate on a dolly to wheel this monster around, rack shelves in place, heat source (brinkman) in place

closer look at smoke gen ... just need a damper flap put on

side view showing fresh air vent, has a moving baffle that is spring loaded, same as my exhaust stack baffle, spring loaded to hold position... GOTTA LOVE ALL THE EXTRAS AND INGENUITY OF MACHINE SHOP DUDES !!!!!!
all of the metal and pipe used was scrap from the shops, the checker was mine and was left over from the floor boards in my river boat, the only real cost is the PID, aquarium air pump, brinkman heater, the 2 door latches, and door gasket. not bad for what i will end up with ....
so thats the update so far ...... the insert to tie the inner tub to the outer freezer box is done and ready to screw into place, the inner door is skinned and will be putting the gasket on it tomorrow. had to cut the racks down a bit so some welding left on them. the air/heat diffuser is drilled and ready to mount on the inner top, checker needs to be mounted to the dolly,
waiting for my PID and then will get a nice side shelf bent up out of more checker plate, mount the temp probe.... THEN HEAT THIS SUCKER UP AND CURE THE INSIDE :o
more to follow in the next days
thanks to all the great info and picks that i had access to on this site :)
CHEERS !!!!!