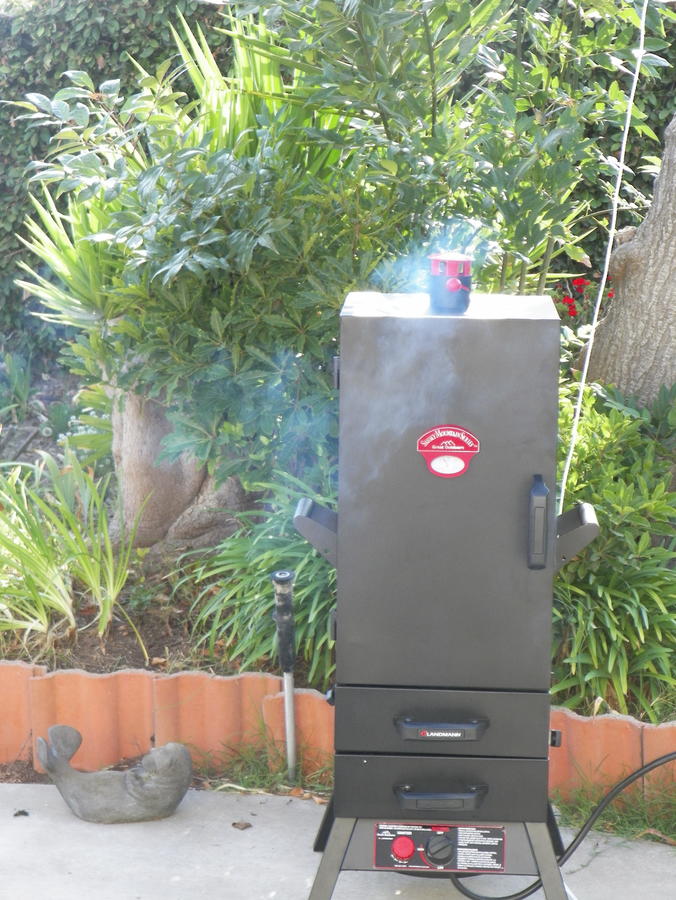
I've been moving slow with my pair of Landmann 3895GWLA's for my catering business (since it's not officially open yet.) But I decided to post pictures of my unboxing of one of the smokers, assembly, and my door seal mod that I have done so far.
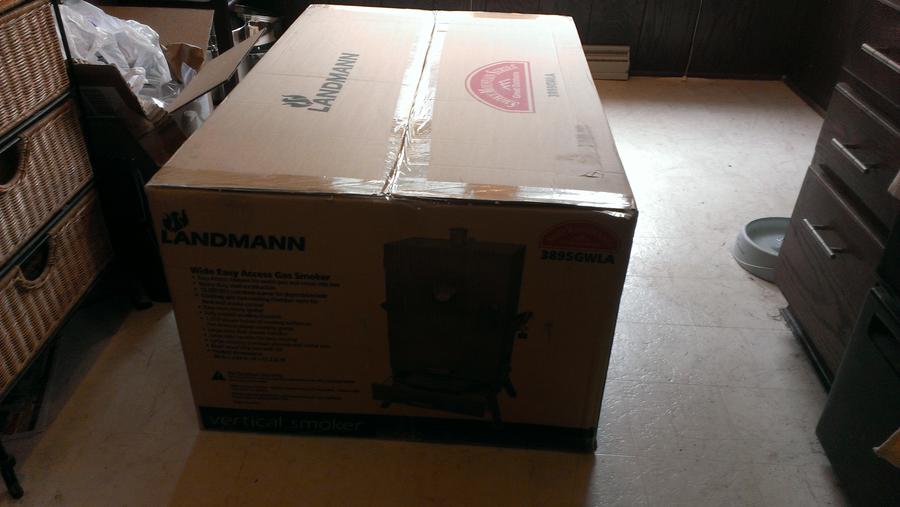
First off going from a cheap offset smoker to this I've been really impressed by the build quality of this smoker and the packaging. With my old offset Char-Griller I had to do a lot of work just to get it assembled because of poor craftsmanship and horrid packaging. The Landmann 3895GWLA was packaged so well, I was amazed by how much care went into the packaging!
So without further adieu, here are the pics of the unboxing and build.
I was not impressed with UPS, while this was just about 100 lbs. delivered, the UPS guy wrestled with this and he actually dropped it off the back of the truck onto his cart and had trouble even walking it up to the door with his cart! My normal UPS guy is pretty stout and strong and uses great care, this guy filling in couldn't have weighed much more than 130 lbs. soaking wet. Oh well, the amazing boxing kept it safe!
I was impressed how strong the cardboard was! It supported my weight even!
Of course like any other red blooded male, I got ahead of the instructions and had to
disassemble the legs after putting them on because the control panel needed
to be installed in between them... Doh!
Back on track!
I had planned to buy a stainless whip with a built in needle regulator,
but Landmann uses a proprietary fitting here and have it sealed with
a non-serviceable glue and I was too worried about breaking it.
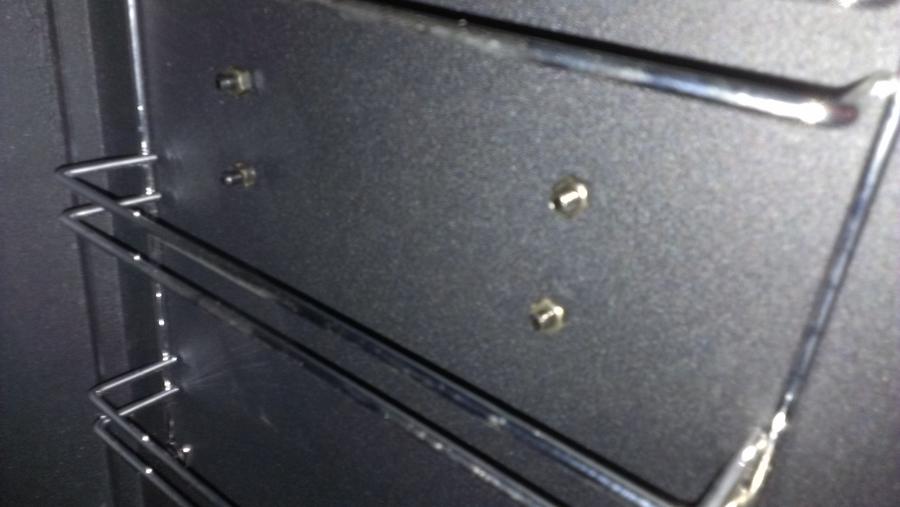
SAUSAGE RACK!!!!
Nice brass burner.
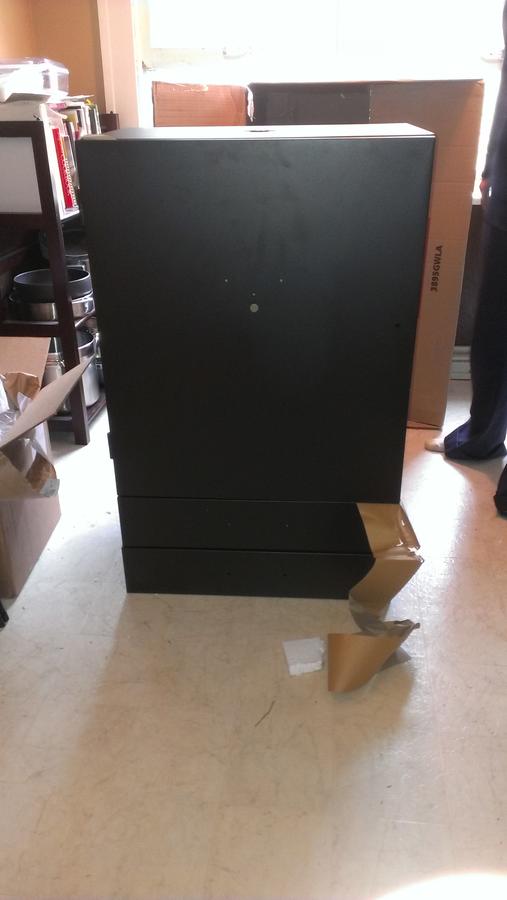
And done! As I said, everything went together beautifully! And I guess I didn't
get a good picture, but all the corners inside were packed in styrofoam with angle iron around it!
Full inside view of the meat area.
And now for the mods done so far.
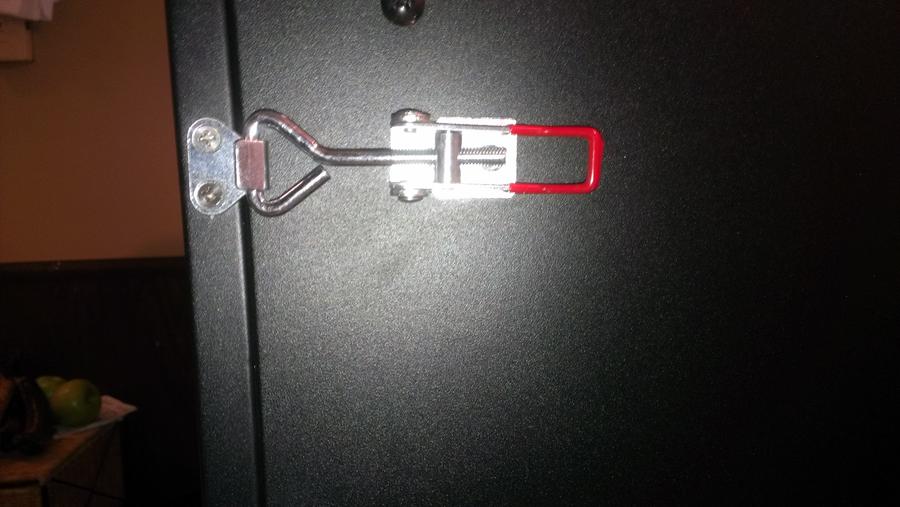
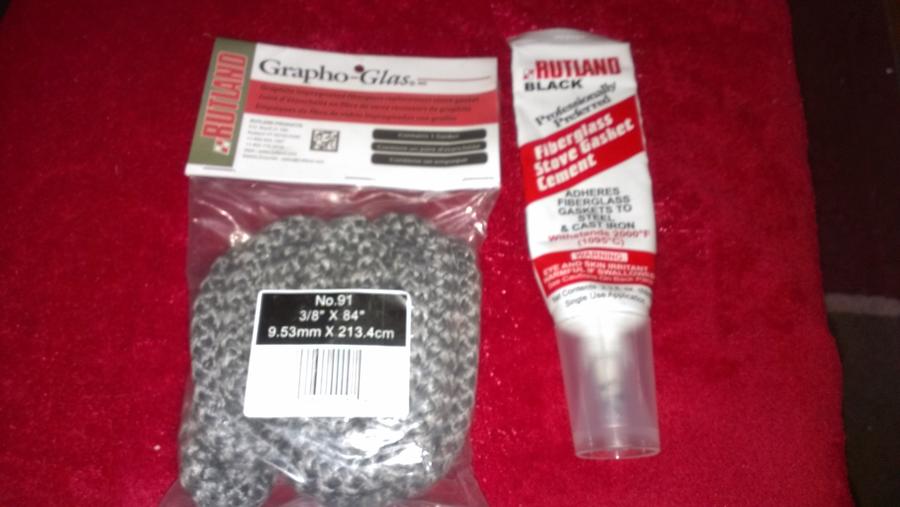
I don't like the magnets used on this smoker to hold the door shut, and I knew putting in a fiberglass style gasket would cause it not to close properly so my solution was to pick up two 4" Amico toggle latches from Amazon, sadly they didn't come with screws so I had to buy some. Then I bought a Rutland Grapho-Glas No. 91 gasket and stove cement to seal the door.
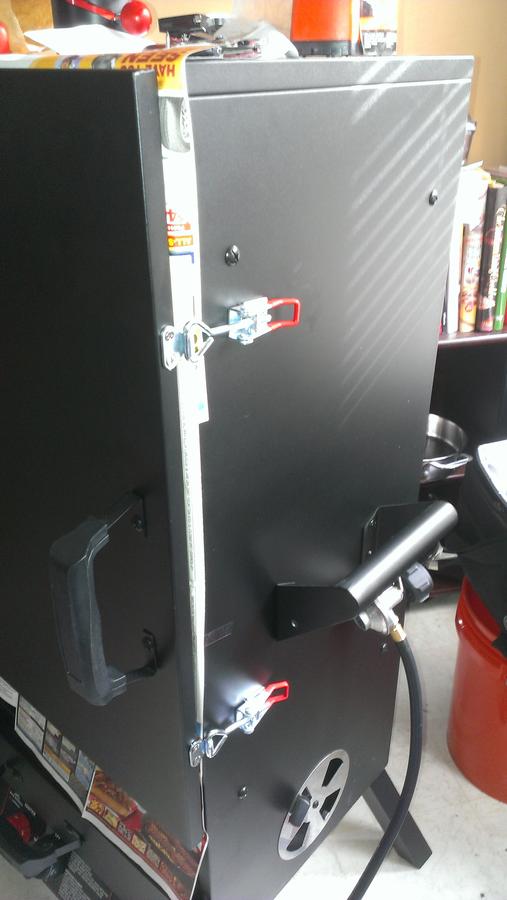
Drilled pilot holes and zipped in the screws, (The hinge length is adjustable so it doesn't have to be perfect the first shot!)
I cleaned the edge area, laid out the glue and stretched the gasket somewhat tight (One No. 91 will fit this door with stretching.)
Fully glued on and trimmed, I let it sit for about 30 minutes before putting it back on to "squeeze" the glue and gasket down.
I lined the body of the smoker with newspaper to keep any glue from getting on the body.
And snugly latched her up!
I bought the gasket & glue from my local Ace, it was in the next day and didn't have to pay shipping!
And that it is so far. I'll be cutting off the regulator and inserting a needle valve this week and sealing up any other seams or smoke loss points I find. I don't think I'll have too many though as all the welded seams seem to be at the bottom, I'm just thinking a few of the screw areas and around the chimney stack. I'll post more pictures when I get the needle valve on.
First off going from a cheap offset smoker to this I've been really impressed by the build quality of this smoker and the packaging. With my old offset Char-Griller I had to do a lot of work just to get it assembled because of poor craftsmanship and horrid packaging. The Landmann 3895GWLA was packaged so well, I was amazed by how much care went into the packaging!
So without further adieu, here are the pics of the unboxing and build.
I was not impressed with UPS, while this was just about 100 lbs. delivered, the UPS guy wrestled with this and he actually dropped it off the back of the truck onto his cart and had trouble even walking it up to the door with his cart! My normal UPS guy is pretty stout and strong and uses great care, this guy filling in couldn't have weighed much more than 130 lbs. soaking wet. Oh well, the amazing boxing kept it safe!

I was impressed how strong the cardboard was! It supported my weight even!


Of course like any other red blooded male, I got ahead of the instructions and had to
disassemble the legs after putting them on because the control panel needed
to be installed in between them... Doh!

Back on track!

I had planned to buy a stainless whip with a built in needle regulator,
but Landmann uses a proprietary fitting here and have it sealed with
a non-serviceable glue and I was too worried about breaking it.


SAUSAGE RACK!!!!


Nice brass burner.


And done! As I said, everything went together beautifully! And I guess I didn't
get a good picture, but all the corners inside were packed in styrofoam with angle iron around it!

Full inside view of the meat area.

And now for the mods done so far.
I don't like the magnets used on this smoker to hold the door shut, and I knew putting in a fiberglass style gasket would cause it not to close properly so my solution was to pick up two 4" Amico toggle latches from Amazon, sadly they didn't come with screws so I had to buy some. Then I bought a Rutland Grapho-Glas No. 91 gasket and stove cement to seal the door.
Drilled pilot holes and zipped in the screws, (The hinge length is adjustable so it doesn't have to be perfect the first shot!)
I cleaned the edge area, laid out the glue and stretched the gasket somewhat tight (One No. 91 will fit this door with stretching.)

Fully glued on and trimmed, I let it sit for about 30 minutes before putting it back on to "squeeze" the glue and gasket down.

I lined the body of the smoker with newspaper to keep any glue from getting on the body.

And snugly latched her up!
I bought the gasket & glue from my local Ace, it was in the next day and didn't have to pay shipping!
And that it is so far. I'll be cutting off the regulator and inserting a needle valve this week and sealing up any other seams or smoke loss points I find. I don't think I'll have too many though as all the welded seams seem to be at the bottom, I'm just thinking a few of the screw areas and around the chimney stack. I'll post more pictures when I get the needle valve on.