Michigan-ready RF build

  • Some of the links on this forum allow SMF, at no cost to you, to earn a small commission when you click through and make a purchase. Let me know if you have any questions about this.
SMF is reader-supported. When you buy through links on our site, we may earn an affiliate commission.

doodleq

Smoke Blower
Original poster
Feb 13, 2013
140
11
Near Grand Rapids, MI
Hey, all...
Getting started on a new project...I built a double drum last year and while it worked, it really took a bunch of babysitting, and simply couldn't hold temp in the cold. This one will be built on a car hauler...other cookout stuff will be added once the smoker is up and running.
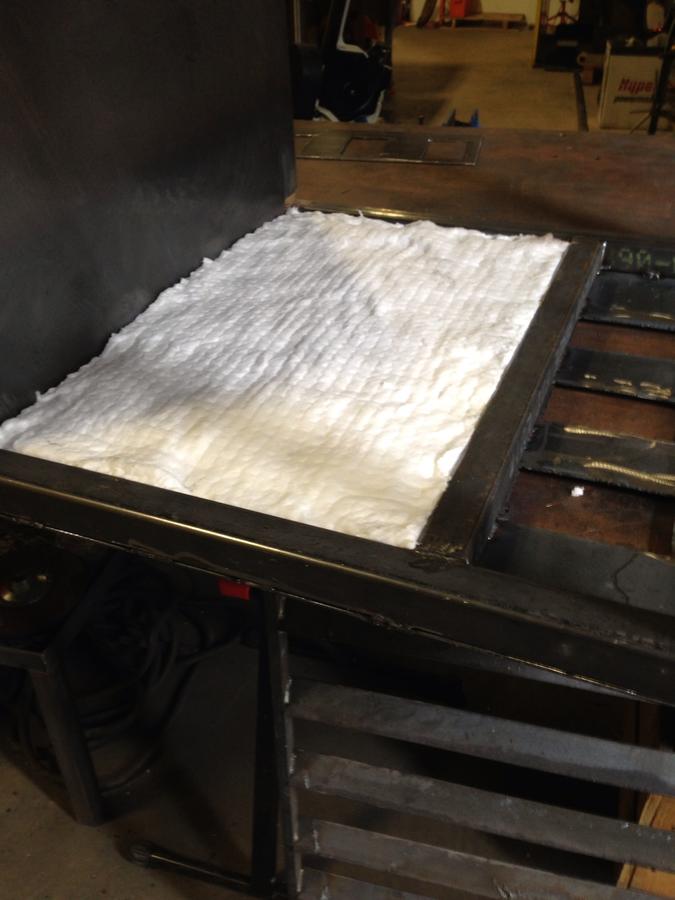
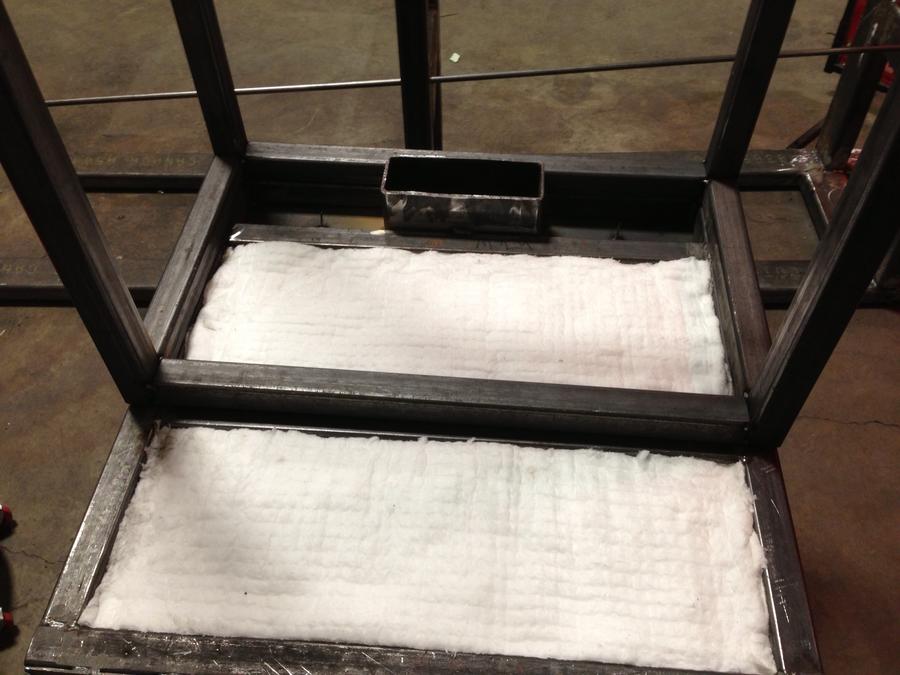
The basic plan is to build a RF unit out of a section of 24" 1/4" pipe, 78" long. The firebox will be/is 27x27 out of 1.5" square tube, or effectively 24" cubed. The space between the square tube will be insulated with 2300 degree insulation, which should help if I want to run it in the winter. There will be a warmer chamber above, also insulated, but I'm adding a closable vent between the FB and warming chamber, as well as between the FB and main cooking chamber so I can shut the main chamber down and just run the warmer without the heat loss of heating the whole 78" length in the winter or with small cooks. If this doesn't work, I'll weld the vent between the FB and warmer closed and run it traditionally.
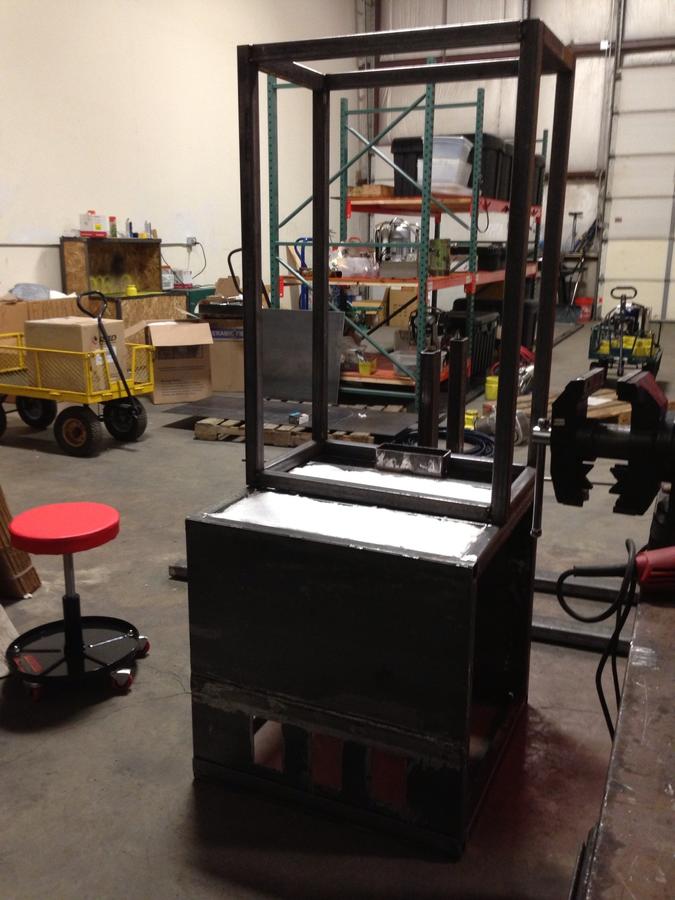
The whole thing will sit on a skid I built out of 2" x 4" x 1/4" square tube, which will eventually be loaded and welded to the trailer.
So here's where I am now:
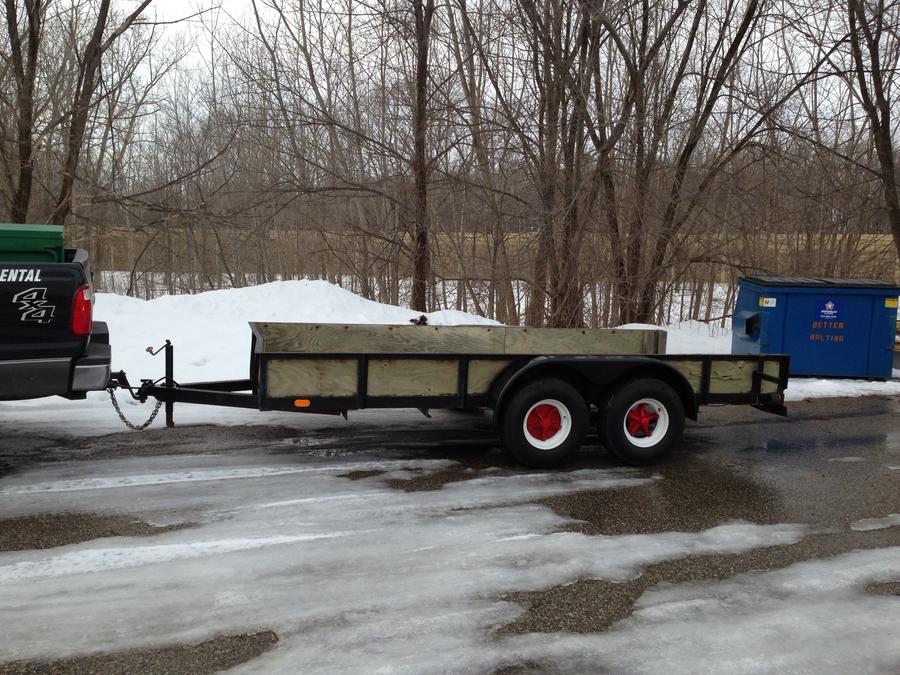
Trailer
Stripping it to find future mounting points
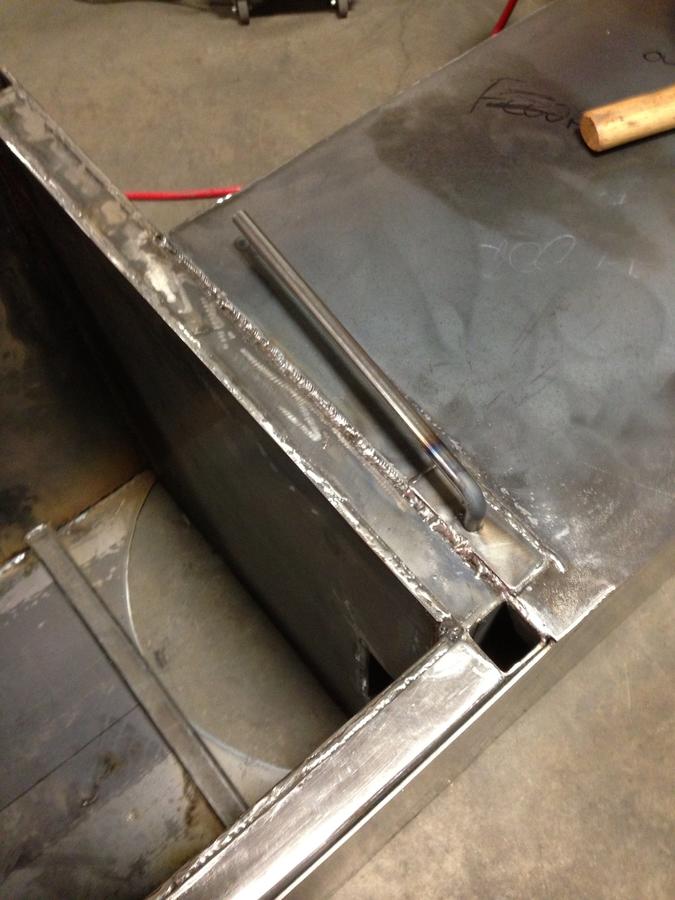
Outside of FB...rough now, but I needed to figure out where this would land for other considerations. I left room to mount a blowers if I decide to add one later.
Capped the ends of the skids so I don't end up with a wasp condo...
Here's the skid...the verticals will be fish-mouthed to accept the pipe
 
This warped quite a bit as expected, but lots of clamps and running a continuous bead (read "hot") pulled it back ok
This is the top of the FB, and the vent to the warmer. Ran the rod through to hold the position.
Something I saw on a thread here...nails to prevent the insulation from sagging.
Insulation in place.
Got a couple more pieces in place, buts that's pretty close to where I'm at. Next up will be laying out and cutting the plate that will transition between this and the pipe, and fabricating and installing the baffles and controls.
 
Hey DoodleQ
welcome1.gif
where abouts are you in Michigan??  Hope you are close.  Nice looking build.
popcorn.gif


Stan
 
Not too much free time, but I did get the steel cut for the warmer/upper chamber. It came out nice and square. I need to grind the (mig) welds where they will meet inner or outer skin and route some controls. Hoping for some time to plasma cut the plate that will attach these components to each other and meet the cook chamber (as well as the holes and vents in it.
I'm sort of building backwards as I have everything except the cook chamber...I can't get it quite yet based on where it is and some soft ground with the snow melt, so I'm hoping all my math is right.
I've got a rig planned to plasma cut the internal radius' to meet the tube "in space without a template. I think it will allow me to virtually drop the pipe I and be ready to weld. If I get to it Wednesday I'll post pix.
 
Thermometer question for those in the know...is there any big advantage to mounting NPT fittings vs. the regular drill though type? How long a probe is recommended (24" pipe)? Any help would be appreciated!
 
Doodle,

I am no expert, I am new to this site as well, it is a wealth of information.  The members here help out with great advice.  I prefer the NPT fitted thermos.  The threads are coarse and durable, thermometers can be changed easliy if broken.  I plan on drilling a hole in the door a bit larger than the thermo and then welding a cut piece of matching pipe (threaded) to the inside if the door.  Placement should be as near as possible to your cooking rack height.  Clearance to/from rack would determine the length. 
 
 
Thanks, Radioguy. I'm definitely planning on the NPT route now. I appreciate the advice on the probe ht.

Got a bunch done on the smoker today, although it doesn't look like it. One of those days setting up future work...lots of cutting 1/4" stuff, which just goes slow.
I marked the height of the bottom of the tube, made a frame with a nail on it and located it with a plumb line to the center marked on the floor, then marked the frame 12" below the nail (the radius of a 24" pipe). Then I wound a piece of mig wire around the plasma cutter head and nail locating the 12" mark. Then it was just a matter of following the wire to match a radius on both posts, then switching to the back side do the frame and repeating, then repeating the process on the the other set of uprights. Cutting the short sides was just freehand, and a bit of grinding should have them pretty close to fitting the tube when I get it.

I plotted out the transition plate, cut it to size, and welded a nail to make the radius for the firebox to tube cutout. The rectangle goes to the warmer. Both will have adjustable baffles.

A bit more welding out of the firebox, but not worth any addl pix. The firebox, warmer, and transition plate will start going together in the next couple of days. In theory anyway, I can run just these two even before the tube goes on, at least after I figure out a chimney!
 
Thermometer question for those in the know...is there any big advantage to mounting NPT fittings vs. the regular drill though type? How long a probe is recommended (24" pipe)? Any help would be appreciated!
Q, evening..... Pipe couplings will allow you to remove the therms and check calibration or keep them from getting broke while in transport.... Usually a 2" stem is good....  The dial therm is a reference only, to be compared with remote therms placed on the food rack... Food Rack Temp 225..... Dial Therm Temp 210...   When the dial therm reads 210, you can pretty well be assured the cook rack is 225 type thing...  This ain't no exact science....  But pretty darn close....  

Dave
 
I plan on using pipe couplings welded to the door for my thermos as well. I bought 4" probes. I want mine level when mounted. There will probably be 2" or 3" sticking inside the cooker because they will have to stick out far enough to keep the dials from contacting the door. I am going to put them 1" above the cooking grates.

Dave,

Thanks for the temp difference numbers. I did not think of that, but it makes sense.
 
Last edited:
Dave, I hadn't thought of using the thermo's as a relative instrument, but it makes sense, thanks.
Rasimmo, good point on accounting for the curve, thanks!
05sprcrw, thanks...I'm guessing I'm not the first one to think of that, but it did the trick. My plasma cutter is the small Hypertherm. Great unit, but it's awful slow on long cuts on the 1/4" stuff. I've been ordering sheet goods sort of pre cut...in other words, if there were a number of 27" long pieces, I'd consolidate that into one long 27" piece. Makes the longest cuts go away, but still saves some cut charges and produces less waste cost.

More work than play today, which is not a bad thing. About 45 minutes of misc. grinding and welding, but nothing worth taking a picture of. Weekend's coming, though! I try to do mostly mig welding in the shop during the week if my guys are around since its cleaner ( on gas), and stick early, late, or on weekends. Some bigger multiple piece tie ins coming up that will be 6011/7018 joints for sure!
 
Got some more done this afternoon. The bottom of the FB external seam is welded out (mig) and the transition plate is attached. Since this is structural, this will be stick welded. I tried to dial in my parameters inside the FB before making welds that will be visible.
I also made my first error, forgetting to leave metal for about 25% of the tube. Oh well, it's easier to put metal back on than wood, right?
Outer seam
Fillet on the warmer
The missing piece:
 
Got the rear skin fitted up and a bunch of welding of the external skin to the framework...I didn't have nearly the time I would have liked, but what can you do? On the upside, I have most of the parameters dialed on for the various joints, so it will be easier to work on it a few minutes at a time as I'm able. I did have to spend some time cleaning as my work area was getting unbearably dirty and disorganized and I don't like to work like that. Here's where thing stand:
 
Squeezed in an hour for the smoker; cut out & insulated the warmer floor, welded it out (mig), and cut and tacked on the last piece of skin for the outside (less the top, which won't happen until I'm ready for the chimney.
 
Kingfishcam, thanks...moving along pretty well. Since winter has reappeared, kinda reinforces why I'm going through all the trouble of insulating this thing.

Jarjarchef, thanks. Learned a whole bunch by snooping around here!

Got quite a bit of time to work today (since I have my own business, it's up for debate if that's a good thing or not!)

Back of the warmer skin is all welded to the tube ((rushed a bit when I was working before work hours and popes a couple of tacks and warped a sheet, but nothing unfixable) inside, the back of the warmer insulated, and the interior skin cut and attached. With the 1.5" tube construction and insulation, I've got to seal things up well, so virtually every seam is a full weld. Strong, heavy, and very, very time consuming! I also got the damper between the firebox and warmer attached and a guide attached.
closed
open

I've got a plan for an adjustable stop I'll get to pretty soon.

Here's what it looked like at the end of the day:

After moving this, I've determined it's much too heavy to be "hung" from the pipe, so I'm going to use 4 legs to mount it to the skid as well. There's enough of the 2x4x1/4" steel left, and it will be much safer. It's nearly unable to be slid on concrete as it is, and still needs the top of the warmer, a couple of pieces of interior skin, two double walled doors, and a chimney!

Speaking of which...if my main chamber chimney is to be approx. 2' x 6", what does anyone think would be appropriate on the warmer, seeing as it's higher? Both chimneys will have dampers to control flow is I'm running one chamber, the other, or both? Any input would be appreciated!
 
SmokingMeatForums.com is reader supported and as an Amazon Associate, we may earn commissions from qualifying purchases.

Hot Threads

Clicky