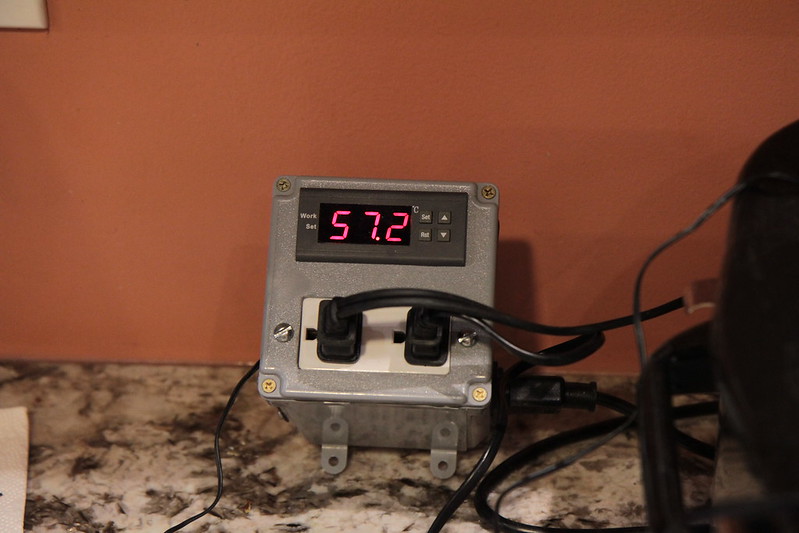
[h3] [/h3][h3]Polyscience Sous Vide Professional Immersion Circulator Clone[/h3]
Wow!, this definitely has been a fun ride.
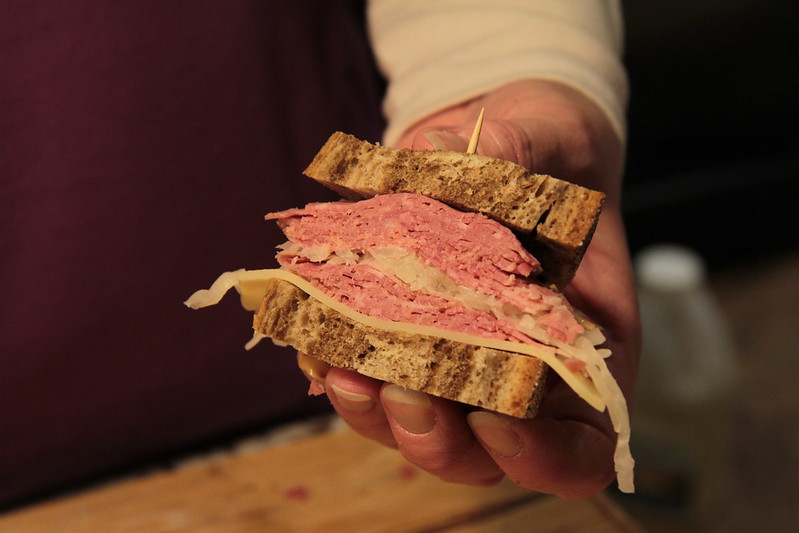
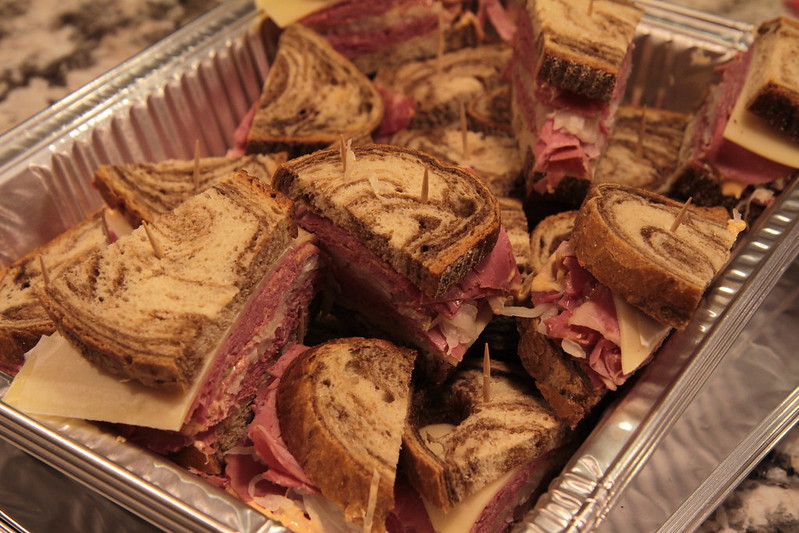
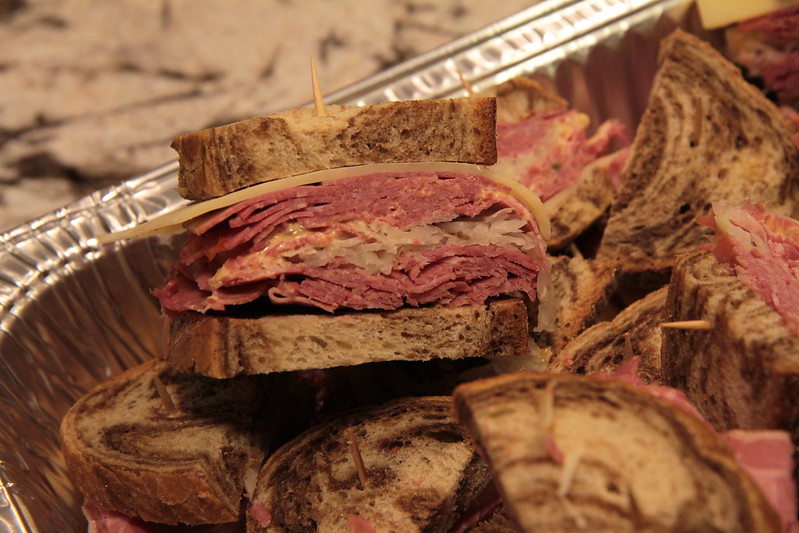
After building the Temperature Controller (unlinked) and cooking a few things like a Venison Roast, and Corned Beef (post coming later), I was instantly hooked.
I am not posting this build, however if you want to see the build email me and I'll send you my link
So after a bit more research I decided to build a "Polyscience Sous Vide Professional Immersion Circulator Clone"
Of course you could buy an immersion circulator as cheap as $199.00 such as the Anova sous vide circulator (unlinked google it) and they come in cool colors too, this build cost me about $130.00 but I have the satisfaction of building something on my own.
I am hoping to pair this method with some smoking and pit cooking.
With that said, I have to throw in a Disclaimer, this is not a tutorial on building a Sous Vide Immersion Circulator, this is to, "document" how I built mine, if you do decide to build one from this article, do so at your own risk, Wink. Now that we got that out of the way....
I picked up a Haake E52 Immersion Heater circulator from eBay and tested it out. This was most of my cost.


I ran my first test on a batch of wings 10lbs. (Sous Vide Wings) (post coming)
The Circulator worked flawlessly after about an hour the temps stabilized, my highest point the first hour was 171.1 after the initial hour it held within .5 degree, I'm quite impressed, I didn't even autotune it for the new water bath...I'm very happy!
After 7 hours of the machine being turned off and the lid removed, the water bath temp was at 100°
My next test was a 6 pound top round (post coming), some of the family prefer this cut cooked to medium I prefer medium rare at the most, I set the machine for 134° "medium Rare".
Dinner was planned for around 5:30 and I figured a two hour Sous Vide bath was plenty but due to unforeseen circumstances the dinner had to sit a bit longer in the bath, about an hour.
Being able to hold a steak at a desired internal temp is priceless!
Results were awesome and the bath held at .5 degree the entire cook. (Sous Vide Top Round) (post coming)
After the machine was turned off and at a room temperature of 72°, the temps with the lid on are as follows.
@ 2 hours 126°
@ 6 hours 99°
@ 24 hours 93°
The clone can be mounted on a stock pot, various coolers or food safe plastic tubs or Buckets, I opted for a 54 quart cooler for the initial testing, the circulator has no problem with this volume of water, the bags of food would circulate in the bath once they started cooking and gas would build up making them semi buoyant, this is why I made some weights for the bags.
I was worried about them touching the heating element and getting stuck there, but the way the clone is designed, it pushes stuff away from the heating element... pretty cool!
Wow!, this definitely has been a fun ride.
After building the Temperature Controller (unlinked) and cooking a few things like a Venison Roast, and Corned Beef (post coming later), I was instantly hooked.
I am not posting this build, however if you want to see the build email me and I'll send you my link
So after a bit more research I decided to build a "Polyscience Sous Vide Professional Immersion Circulator Clone"
Of course you could buy an immersion circulator as cheap as $199.00 such as the Anova sous vide circulator (unlinked google it) and they come in cool colors too, this build cost me about $130.00 but I have the satisfaction of building something on my own.
I am hoping to pair this method with some smoking and pit cooking.
With that said, I have to throw in a Disclaimer, this is not a tutorial on building a Sous Vide Immersion Circulator, this is to, "document" how I built mine, if you do decide to build one from this article, do so at your own risk, Wink. Now that we got that out of the way....
I picked up a Haake E52 Immersion Heater circulator from eBay and tested it out. This was most of my cost.
- I filled a 3 gallon bucket with cold tap water and turned it on, it heated the water to 160° in about twenty minutes, OK it works.
- Lets open it up and try to come up with a game plan. I started by removing the two screws that held on the chassis and place the screws and chassis to the side, hmmm, that was easy enough.
- After figuring out the wiring I Removed the temperature control knob and circuit board. FYI Brown color coded wire is the standard Hot and the Blue color coded wire is Neutral in Europe!
- Looks like a good bit of room for the Solid State Relay and P.I.D. Controller
- Removed the heating element and buffed it real good with steel wool.
- The heating element is 1,100 watts, that should be plenty.
- Removed the switch, Power light, and faceplate.
- Sanded, primed and painted the faceplate.
- Sanded Primed and painted the Chassis and Mounting bracket.
- I decided on the same color scheme as my Pit Build ("Frankensmoker" unlinked google it), Red and black
- After doing a dry fit I decided to change the color, "red" just wasn't working for me.
- Ahhh! That's better. Don't worry... it will look great when it's all put together, trust me.
- After several coats of paint I put three coats of Satin polyurethane on to protect the paint and reduce the gloss.
- Cleaned up the Cooling fan and oiled the bushing for the motor.
- Buffed the circulator housing and outside of the unit with steel wool, buffed all the screws on a wire wheel.
- Removed excess wires and tidied up the existing wiring.
- Marked the area to cut out with the rotary tool for the controller, I tried aligning it so no holes would show once the controller was snapped in place.
- While cleaning up the hole with a rotary tool, I had an Ooops moment so I switched to cleaning up the hole with a file.
- Dry fitting the controller, Note the Ooops slip below the controller, looks like a repaint job is in order.
- Two more coats of paint followed by three clear coats of Satin.
- Just so happens the relay fits the existing holes in the Haake, I did not use the holes, I also ditched the heat sink because it wont fit, twenty bucks lost because I wont be using the heat sink and the thermal paste that was ordered.... oh well!
- Wiring the Solid State Relay
- Using a cork for the Temperature probe, thank you Dave @ Shitty food Blog.
- Installed a switch between pin#2 on the solid state relay and the heating element. I did this to avoid the possibility of burning out the element. This also enables me to setup the P.I.D. without the heating unit submerged in water.
- Trying to get everything to fit and clear the circulator pump housing and fan. I was worried the motor housing would get too hot and melt the wires. I used 12 gauge stranded wire, I should have use 14 gauge solid, but what the hell, it's what I had.
- Trying to keep everything secure and away from the Circulator motor fan and housing, man it's tight! Yes, I'll clean up that tape job later.
- I put it all back together and was testing the circulator but had problems with the temperature probe. So I removed the chassis and switched the wires, still getting some weird readings.
- Here's a tip from the "dhenke" @ http://mythopoeic.org/ Jumper from the outer braided shield of the temperature probe to the PID controller. This was added after the fact to solve a problem with rapidly fluctuating temperature readings. I ran my jumper to wire pin#10 on the controller. Thanks "dhenke"!
- Testing the unit, everything works I did have to calibrate the unit by 6°F,Update, my last cook it was set to 3° variance. I confirmed the temperature with my thermapen everything was looking good until the temperature started going past the preset value 3°, 5°, 7° and just kept going like the energizer bunny.
- For the life of me I can't figure out how to get the dam thing to shut off at the preset temperature, if I auto tune after I set the preset value, then it holds at that temp fine, if I don't auto tune the temp just keeps climbing. I think I did something to the settings, I'm thinking it's the Hysteresis setting Hy, I will work on that tonight. Update, the temp will settle down but you need to give it a bit of time,
- Working on the Sous Vide bath, I decided to use my Coleman Stainless Steel steel belted 54 quart cooler, It appeared to be separating in some areas, so I cut a small hole in the plastic and pumped in a half a tube of construction adhesive , this is going to take forever and a day to dry.
- I made a quick lid for the water bath, I'm going to need a thicker lid. I way use the cooler lid and half it, If I cut the cooler lid I wont be able to use the cooler for anything other than a water bath.
- I made few weights to keep the food submerged, once they gas up a bit, they tend to be semi buoyant. I vacuum sealed some of my nuts, each weigh about 3 oz. I figured it would be a good idea to vacuum seal them because folks would not appreciate it if my nuts touched their food.
- Here it is!
I ran my first test on a batch of wings 10lbs. (Sous Vide Wings) (post coming)
The Circulator worked flawlessly after about an hour the temps stabilized, my highest point the first hour was 171.1 after the initial hour it held within .5 degree, I'm quite impressed, I didn't even autotune it for the new water bath...I'm very happy!
After 7 hours of the machine being turned off and the lid removed, the water bath temp was at 100°
My next test was a 6 pound top round (post coming), some of the family prefer this cut cooked to medium I prefer medium rare at the most, I set the machine for 134° "medium Rare".
Dinner was planned for around 5:30 and I figured a two hour Sous Vide bath was plenty but due to unforeseen circumstances the dinner had to sit a bit longer in the bath, about an hour.
Being able to hold a steak at a desired internal temp is priceless!
Results were awesome and the bath held at .5 degree the entire cook. (Sous Vide Top Round) (post coming)
After the machine was turned off and at a room temperature of 72°, the temps with the lid on are as follows.
@ 2 hours 126°
@ 6 hours 99°
@ 24 hours 93°
The clone can be mounted on a stock pot, various coolers or food safe plastic tubs or Buckets, I opted for a 54 quart cooler for the initial testing, the circulator has no problem with this volume of water, the bags of food would circulate in the bath once they started cooking and gas would build up making them semi buoyant, this is why I made some weights for the bags.
I was worried about them touching the heating element and getting stuck there, but the way the clone is designed, it pushes stuff away from the heating element... pretty cool!